Lesson 1 of 7 in Advanced Techniques
Pivot Turns
A pivot turn changes the bike's direction around one wheel instead of riding an arc. There are three kinds. In a brake-slide you lock the rear briefly so it steps out and swings the bike round to face the exit. In a rear-wheel pivot you lift the front with the clutch, anchor the rear with the rear brake and swing the front round. In a front-wheel pivot you load the front brake so the rear goes light and swing the back round. Learn them on flat ground first, both directions, and use the smallest pivot that gets the bike pointing where it needs to go.
Updated October 2026. Sources are listed below. How we work
On this page
- Why pivot turns matter in hard enduro
- Three pivots and when to use each
- Principles of a good pivot turn
- The brake-slide turn: your everyday pivot
- The rear-wheel pivot, step by step
- Pivots on a climb
- The front-wheel pivot: downhill switchbacks
- How to train pivot turns
- Pivot turn mistakes and fixes
- A 30-minute pivot turn session
- Progress cues: you're ready to move on when…
- Pivot turn questions
Why pivot turns matter in hard enduro
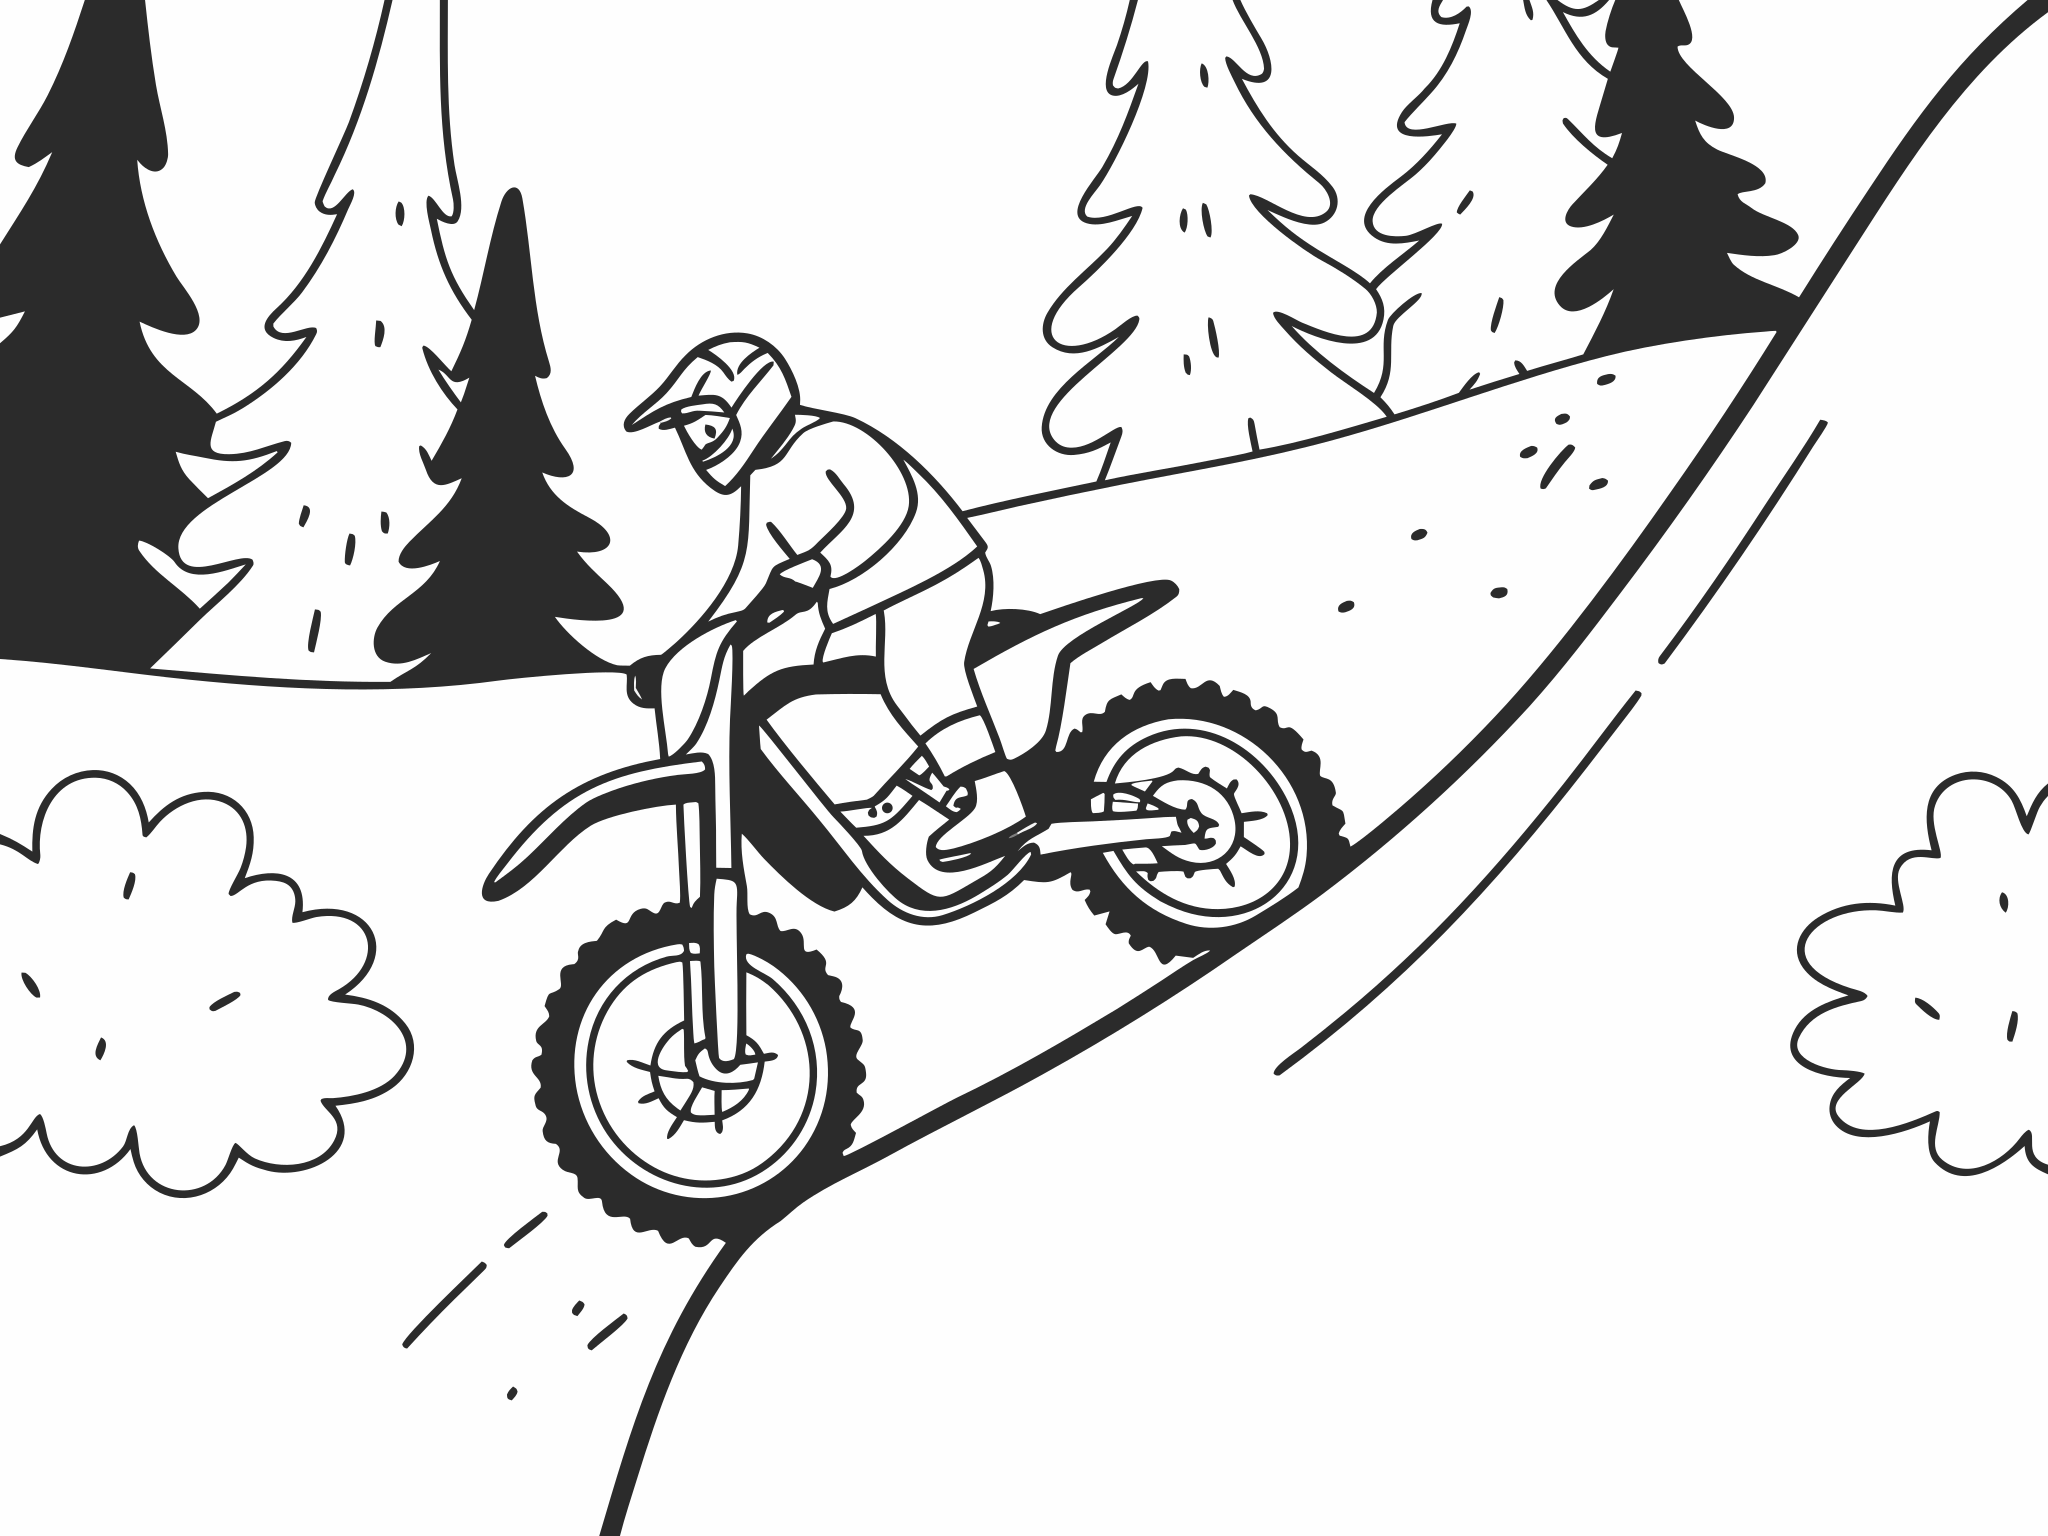
Hard enduro trails don't leave room for wide arcs. Switchbacks on steep hillsides, gaps between trees and rock shelves on a climb all ask the bike to change direction in less space than it needs to turn at full lock. A pivot turn is how you do it without stopping, getting off and dragging the bike round.
Pivots also save energy. Enduro21's write-up of a Graham Jarvis tutorial describes him using "small pivot turns to move the bike without expending energy", using his body weight to work the suspension and "just a little bit of clutch and throttle to let the bike do most of the work". That's the goal: a small, calm correction, not a wrestling match.
On big races they are constant. Nick Fahringer told Dirt Rider: "At Romaniacs, there will be hills where you will do 100 pivot turns. [I'm] not exaggerating." If each one costs you a stall, a dab and a restart, the hill wins.
A pivot turn is not a new skill. It's clutch control, rear brake, front brake and static balance combined at walking pace. If one of those is shaky, fix it first.
Three pivots and when to use each
Most switchbacks and tight trees need only the first. The other two are for places where even a slide won't fit.
| Pivot | Pivots around | Key controls | Use it for | Difficulty |
|---|---|---|---|---|
| Brake-slide (foot-down) turn | The front wheel, with the rear sliding round | Rear brake to step the rear out, then throttle | Flat or uphill switchbacks, tight trail turns | Easiest |
| Rear-wheel pivot | The rear wheel, front in the air | Clutch and throttle to lift, rear brake to anchor and land | Uphill switchbacks, rock shelves, tight trees on a climb | Medium |
| Front-wheel pivot | The front wheel, rear in the air | Front brake to load the front, body to swing the rear | Downhill switchbacks, turning in a trench or between trees | Hardest on the bike; easier off it |
Swipe the table sideways to see every column.
Principles of a good pivot turn
- Stand, with your knees bent. Jarrod Bewley rides tight switchbacks standing with his legs bent, "cowboy-style", which "lets the bike move independent of me". Daniel Milner will sit only in "the really tight corners" where speed is slowest; then a leg out helps balance.
- Choose which peg to weight. Weight the inside peg to turn the chassis; Milner says "weighting the inside footpeg helps turn the bike and maintain an arc." Weight the outside peg for grip; Fahringer's rule on a hillside is that "you have to weight the outside peg to create traction." Turn on the inside peg, drive out on the outside one.
- Right foot on the brake. On a left pivot, your right foot stays over the rear brake whenever the front could lift. On a right pivot the right foot is on the ground, so, as Pat Smage points out, you have no rear brake and rely on clutch and throttle to keep from looping out.
- Cover the rear brake whenever you can. It anchors a rear-wheel pivot, brings the front down if a lift goes too high and steadies the bike through a slide.
- Look at the exit. Turn your head to where the bike needs to point before it starts to rotate. Your body, and then the bike, follow.
- First or second gear. Low enough for the engine to pull from walking pace. The gear selection lesson explains why second is smoother.
- Small beats big. Rotate a little, settle, rotate again. Two small pivots are easier to control than one big one.
- Use the terrain. If pivots on flat ground are a struggle, Pat Smage plants his foot on a stump or rock for more leverage and more room under the bike. On a bank, your foot sits lower than the bike and takes a lot of its weight, so plant it firmly. Driving the front tyre into an angled rock helps lift the front on the rebound.
The brake-slide turn: your everyday pivot
This is the first pivot to learn and the one you'll use most. You arrive at the turn slowly, lock the rear wheel for a moment so it steps out and swings the bike round, then drive out.
Bewley describes it on a tight uphill 180: he locks the rear "briefly to perform a brake-slide to help turn the bike on the spot, before getting immediately on the gas". Milner puts the skill in one sentence: "The skill is in the transition from rear brake stepping the back out, to the throttle keeping it there."
How to ride it:
- Approach slowly in first or second, standing, turning your head to the exit.
- Turn the bars towards the turn and weight the inside peg, as Bewley does, to start the bike turning.
- Press the rear brake firmly for a moment so the rear tyre breaks loose and steps out.
- As the rear swings round, release the brake, move your weight to the outside peg for grip, and feed in clutch and throttle to drive out.
- Once the bike points at the exit, stand tall and ride away.
A brief lock is fine. A long skid ploughs a rut, wears the trail and gives you nothing to steer with. The rear brake lesson covers pedal feel.
The rear-wheel pivot, step by step
This is the pivot for when the front has to move and the rear can't: an uphill switchback, a rock shelf on a climb, a tree right in front of you. The sequence below is Australasian Dirt Bike Magazine's pivot wheelie for a stalled climb, turning left. Learn it on flat ground, turning no more than 90 degrees.
1Plant a foot and cover the brake
Stop with the bike upright. ADB's instruction: "try and get your left foot on the ground to steady yourself. This leaves your right foot on the rear brake." The planted leg is the pivot point. Cross Training Enduro's pivot turn video puts that foot out to the side and about 30 cm ahead of the peg.
2Lift the front on the clutch
In first gear, hold a little throttle and let the clutch out quickly but only a short way, as in a front-end lift. ADB: "Once the front wheel starts to lift, dab the back brake so you don't loop out." You only need the front a hand's width off the ground.
Let the suspension do the lifting. Karl of Technical Enduro Skills Training starts with the clutch already at the bite point, so the drive is there instantly. Then preload the suspension, and as it rises, move your weight back and pull "back on the handlebars, not up, back". Rolling in, Pat Smage grabs both brakes to compress the fork and brings the front up on the rebound.
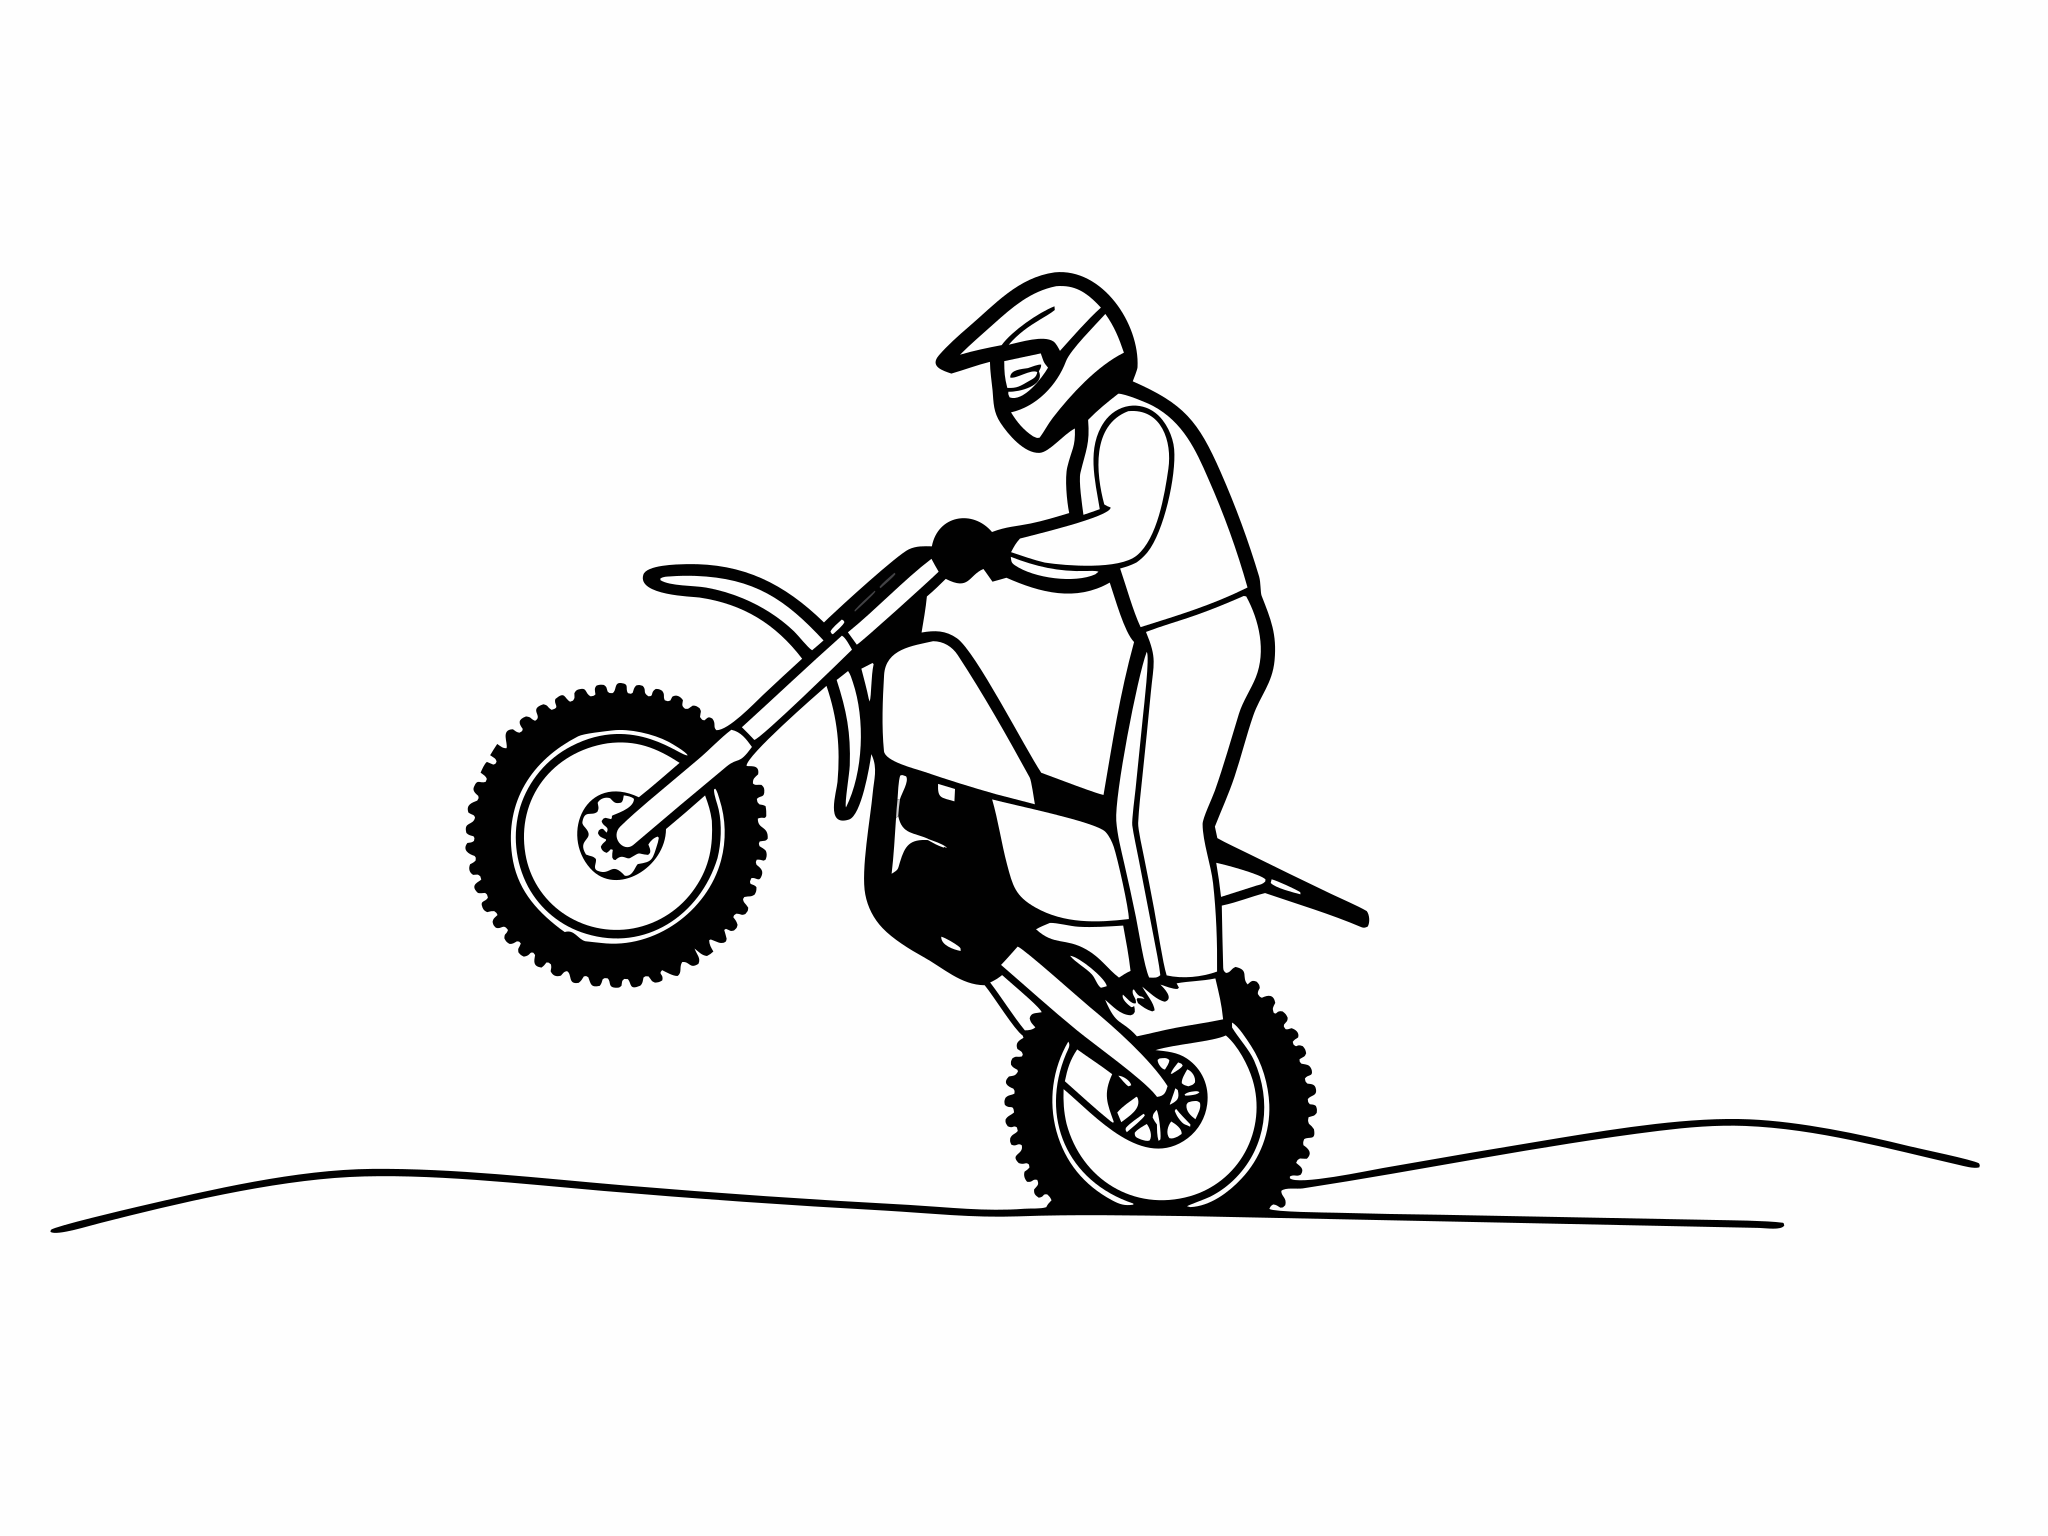
Every rear-wheel pivot starts with a controlled front-wheel lift. You need far less height than this to pivot. 3Swing the front round
With the bike balanced on the rear wheel, turn your head and shoulders to the left and let the bike rotate around your planted leg. ADB: "You will need to direct everything with your upper body but the inside leg is the pivot point."
Keep the bike upright as it turns. Karl turns it on its axis with a small push; pull it over and it falls on its side. Pat Smage works the angle with his arms so it never rolls too far either way.
4Brake the front down
Once the bike has turned far enough, ADB says "close the throttle and pull in the clutch. Jam the back brake on so it starts to bring the front-end down as well." Land the front, settle, then ride away or pivot again.
5Stop at 90 degrees
ADB's warning: "If you use too much throttle and too much muscle to pirouette the bike you will force the front wheel beyond 90 degrees." If you keep looping out, rolling back or over-rotating, go back to flat ground.
Pivots on a climb
On steep, stepped climbs the rear-wheel pivot is done on the move, from one flat shelf to the next. Fahringer describes it for Dirt Rider: "I coil my flywheel and my legs to wheelie the bike and initiate a rotation of my turn." His points are worth learning as rules:
- Weight the downhill peg. "My weight is on the downhill [foot]peg," he says, because that's what gives the rear tyre grip on a slope.
- Keep the free foot ready. "My unweighted foot … is available to dab on the side that I can touch."
- Land somewhere flat. "You always want your rear tire to end in a safe place to stop or regroup, so the flattest spot."
- Hold it on the clutch. When you land, "pull the clutch in and only have enough clutch drive to hold pressure, but not move."
- Aim high. "It's always better to aim high than low." Losing height on a climb is hard to win back.
When a climb has gone wrong and you need to turn right round, don't try a full 180-degree pivot on the face. ADB says plainly that very few riders can do one on a vertical climb, "so don't do it." Stall it, hold it and turn the bike round as the kill/start lesson shows, or read the hill climbs and descents lesson for when to bail.
The front-wheel pivot: downhill switchbacks
Going down a tight switchback you can't wheelie round. The answer is to pivot on the front wheel instead: load the front brake so the rear goes light, then swing the rear round.
Ridden, this is a stoppie pivot, and it's covered in the stoppies lesson. Most riders do it off the bike, which is safer and just as quick on a steep hill. ADB's stoppie-turn feature puts it bluntly: "unless your name is Graham Jarvis you're probably best getting off the bike."
Shane Watts's method for Dirt Rider, when you can't ride the turn wide:
- Put the front tyre in the turn's rut if there is one, and "step off to the inside or uphill side."
- "Squeeze the front brake hard, press down and forward on the handlebar and press against the middle or rear of the bike with your thigh or butt."
- Let the rear swing round. "You just control the bike with your leg as to how far you want to swing that rear tire around."
- Get back on and weight the outside peg as you move off, "to limit the chance of that rear end sliding out".
Two cautions from ADB: "the bike will spin to the opposite side of the one you're standing on", and keep the bike "leaning slightly towards your body to prevent it from high-siding." On speed: "you need less than you think."
How to train pivot turns
Start on flat, grippy ground with two markers. Do every step in both directions. Most riders have a strong side; spend more time on the weak one.
1Full-lock turns with a rear-brake drag
Ride tight circles at full lock, dragging the rear brake lightly. This is the figure-eight drill, and it's the base for everything below. Move on when you can ride three circles each way without a dab.
2Brake-slide quarter turns
Ride at walking pace towards a marker. At the marker, lock the rear briefly and let it step out about 45 degrees, then drive away. Build to 90 degrees. Then set two markers a bike-length apart and slide round one to ride back past the other.
3Stationary rear-wheel pivots
Foot down, rear brake covered, lift the front a few centimetres and move it 20 to 30 degrees before landing it with the rear brake. Repeat until the landing is soft. Then aim for 45, then 90 degrees. Never go past 90 on flat ground while learning.
4Rolling rear-wheel pivots
Roll at walking pace, lift the front and turn it 20 to 30 degrees in the air, then land and ride on. This is the version you'll use between trees. Keep your foot over the rear brake.
5Gentle slopes and real switchbacks
Take the brake-slide and the rear-wheel pivot to a gentle, grippy slope. Pivot uphill first, weighting the downhill peg. Then find an easy switchback and ride it both ways. Only then add the dismounted front-wheel pivot on a short downhill turn.
Pivot turn mistakes and fixes
The front loops up and you land on your back.
Fix: Your foot wasn't on the rear brake, or you used throttle instead of clutch. Cover the brake before every lift and dab it the moment the front starts to rise.
The bike over-rotates past 90 degrees.
Fix: Too much throttle and muscle. Smaller lift, smaller turn, and land it with the rear brake. Two 45-degree pivots are easier than one 90.
The rear slides out when you drive away.
Fix: Weight on the wrong peg. Stand on the outside peg as you pull away so the rear tyre has grip.
A long skid digs a trench.
Fix: The lock should last a moment. Release the rear brake as soon as the rear starts to step out and go to the throttle.
You look at the tree you're trying to miss.
Fix: Turn your head to the exit before the bike starts to rotate, and keep it there.
You try a full 180 on a steep climb.
Fix: Don't. Pivot to a flat shelf, or stall it, hold it and turn round off the bike.
You can only pivot one way.
Fix: Practise the weak side twice as often. Real trails don't let you choose.
A 30-minute pivot turn session
Take a short break between drills. Rear-wheel pivots are hard on the clutch.
| Time | Drill | What to focus on |
|---|---|---|
| 0–5 min | Full-lock circles with a rear-brake drag | Both directions, no dabs. |
| 5–12 min | Brake-slide quarter turns at a marker | A brief lock, then straight to the throttle. |
| 12–20 min | Stationary rear-wheel pivots, 20 to 90 degrees | Foot on the brake, soft landings. |
| 20–25 min | Rolling rear-wheel pivots between two markers | Small lifts, head turned early. |
| 25–30 min | Pivots on a gentle slope | Weight on the downhill peg, land on the flattest spot. |
Swipe the table sideways to see every column.
Progress cues: you're ready to move on when…
- You can brake-slide 90 degrees at a marker and ride away without stalling, in both directions.
- You can do a stationary rear-wheel pivot of 45 degrees each way and land it softly with the rear brake.
- You never go past 90 degrees without meaning to.
- You can ride a real switchback both ways with no more than one dab.
- You know which of the three pivots a turn needs before you reach it.
Pivot turn questions
Is a pivot turn the same as a stoppie?
A stoppie is one way to pivot: on the front wheel. Most hard enduro pivots are brake-slides or rear-wheel pivots. The stoppies lesson covers front-wheel pivots on the bike.
Should I put my foot down in a pivot turn?
A foot on the ground is fine as a pivot point or a steadying dab, as long as it doesn't take the bike's weight. Keep the other foot on the peg and over the rear brake.
Which gear is best for pivot turns?
First for stationary rear-wheel pivots, where you need a quick lift from a standstill. First or second for rolling pivots and brake-slides.
Why can I pivot left but not right?
Most riders plant the left foot and keep the right on the rear brake, so left pivots feel natural. A right pivot puts the right foot on the ground, which takes away the rear brake. Clutch and throttle control are then all that stop the front coming over too far. Practise right pivots on flat ground until they feel as normal as the left.
All lessons in Advanced Techniques
Related lessons and guides
- Full-lock figure-eightsThe slow-turn drill every pivot is built on.
- Controlled front-end liftsThe lift that starts every rear-wheel pivot.
- StoppiesFront-wheel pivots on the bike.
- Rear brakeThe anchor for every pivot.
- Hill climbs and descentsWhere pivots and turn-arounds get used for real.
- Graham JarvisThe rider most associated with effortless pivots.