Lesson 2 of 7 in Advanced Techniques
Logs & Rocks
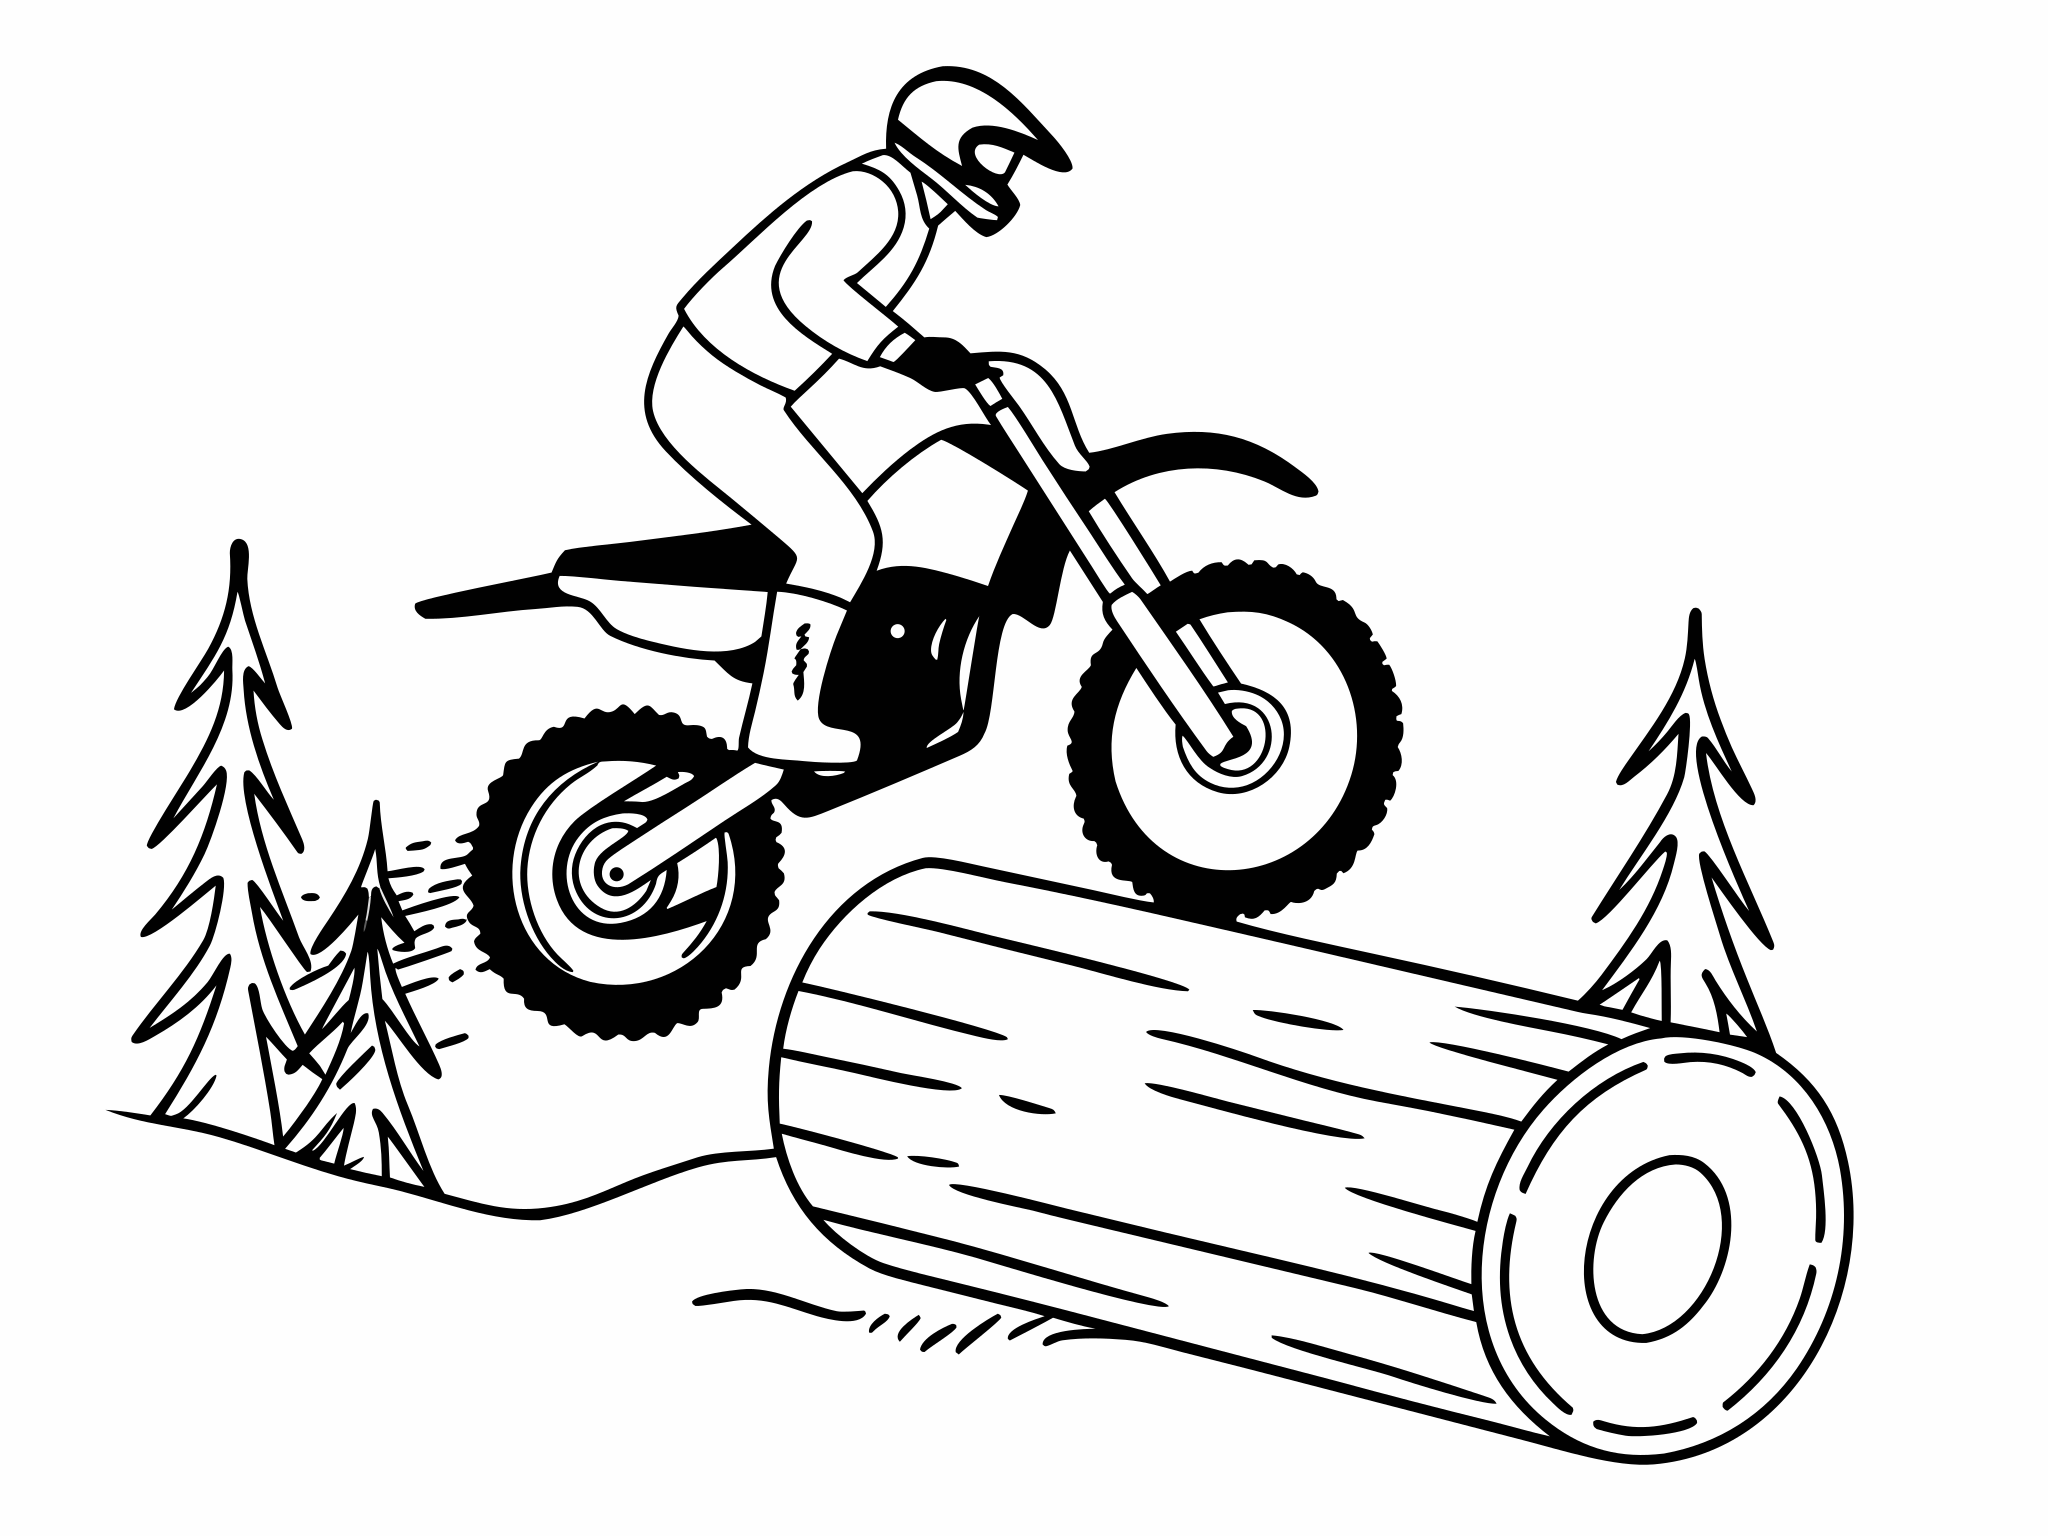
To ride a log, approach square in second gear, standing, then lift the front so it lands on the top half of the log. As the fork compresses, give a second burst of clutch and throttle to drive the bike up, and chop the throttle as the rear wheel hits so momentum rolls it over instead of wheelspin. Rocks work on the same principles: pick a line of big, solid rocks, keep the front light and the throttle smooth, and carry steady speed rather than attacking and stalling.
Updated October 2026. Sources are listed below. How we work
On this page
- Why logs and rocks matter in hard enduro
- Read the obstacle before you ride it
- Which log technique for which log
- The double blip, step by step
- Big, wet, sloping and downhill logs
- Rock gardens: line, momentum and a light front
- Rock steps and ledges
- How to train logs and rocks
- Log and rock mistakes and fixes
- A 40-minute logs and rocks session
- Progress cues: you're ready to move on when…
- Logs and rocks questions
Why logs and rocks matter in hard enduro
Logs and rock gardens are where hard enduro stops being a trail ride. They reward timing and line choice far more than horsepower, and they punish the rider who tries to power through. Get it wrong on a log and the bike lands on its bash plate, the rear spins on wet bark or you go over the bars. Get it wrong in rocks and the front deflects, the engine stalls and you're lifting the bike out of a hole.
Good technique does two things: it keeps you moving and it keeps the bike in one piece. Both matter when the next log is two hundred metres away and the finish is six hours off.
Everything here builds on the front-end lift and clutch control. If you can't lift the front a few centimetres on command and put it down with the rear brake, go back there first.
Read the obstacle before you ride it
Most log and rock failures are decided on the approach. Before a big one, stop, look, and if it's taller than your knees, walk it.
- Angle. Transmoto's log guide with Josh Green starts with one rule: "The golden rule with log crossings is to hit the log as square as possible." A log hit at an angle kicks the front sideways.
- Size. Compare the log with your front wheel. Below the axle, the front rolls over. From the axle to about the top of the tyre, the front has to be lifted onto it. Bigger than the front wheel, you need the big-log technique below, a splatter or a different line.
- Surface. Wet bark, moss and mud turn a log into ice. Look for dry patches and bark that's already been scuffed off.
- Landing. Check what's on the far side. A drop, a hole or a rut can flip a bike that cleared the log itself.
- A better line. Antoine Meo's rock advice for Transmoto: "Why ride up a six-foot step, and risk getting stuck or damaging your bike, if there's a much easier line only a few metres to your left or right?"
Which log technique for which log
Gear choices follow Transmoto's log guide: third for small logs at speed, "second, or even first" for bigger ones. Adjust for your bike and the grip on the day.
| Log | Technique | Gear | Key point |
|---|---|---|---|
| Below the front axle | Roll over, front light | 2nd or 3rd | Stand, weight back a little, steady throttle. |
| Axle height to the top of the front tyre | Double blip (wheel tap) | 2nd | Front onto the top half, second burst as the fork compresses. |
| Bigger than the front wheel | Drive the front into the face | 1st or 2nd | Green aims "about two-thirds of the way up" so the rear lifts. |
| Wet or slippery | Shallow double blip | 2nd | Square up, drive on grippy ground, coast over the slippery part. |
| Lying across a slope | Square up, then hop | 2nd | Fahringer squares up to "about 90 degrees" on a camber. |
| On a downhill | Slow almost to a stop, blip the front over | 1st or 2nd | Don't case the frame or linkage on the log. |
| At an angle to the trail | Skid the rear round to square up first | 2nd | Rear brake to set the angle, then gas. |
Swipe the table sideways to see every column.
The double blip, step by step
This is the core log technique, also called a wheel tap. Dirt Bike Magazine describes the timing in two bursts: the first lifts the front onto the log, the second drives the bike up it.
1Approach square, standing, in second
Line up at 90 degrees to the log from several bike-lengths back. Stand with your knees bent and your weight centred, and hold a steady speed. Choose the gear before you set off, not on the approach.
2First blip: front onto the top half
Lift the front with a quick burst of clutch and throttle so the tyre lands on the upper half of the log. Transmoto: "you'll usually be pulling a wheelie between one and two metres away." Dirt Bike Magazine: "You want to get your front tire off the ground with the first blip of the throttle, aiming it towards the middle of the log." Anywhere from the middle to the top works on most logs.
3Second blip: drive the bike up
As the front tyre lands, the fork compresses. Dirt Bike Magazine: "At that moment, you want to give the bike another blast of the clutch and throttle." Keep your weight back. Transmoto's log guide has Green "moving your bodyweight as far back as possible" once the front is up, because the rear hitting the log is about to pitch the bike forward. In PrimalEnduro's log session, Graham Jarvis adds a leg cue: extend your legs as the front touches and the gas comes on. That helps the rear drive up. Once you're getting over cleanly, slow it down. The slower you go, the more clutch control it takes.
4Chop the throttle as the rear hits
When the rear tyre meets the log, close the throttle. Transmoto: "you need to chop the throttle and let momentum carry you over. Too much throttle here will cause wheelspin." The rear hitting the log tries to pitch you forward; on bigger logs Green's answer is to "get over the rear guard to counter this force".
5Land and ride away
Let the front drop with soft arms and bent knees, keep your foot near the rear brake, and pick up the drive once both wheels are on the ground. The next obstacle starts now.
Big, wet, sloping and downhill logs
Big logs. On a log bigger than the front wheel, a lifted front just puts the bash plate on the top. Green's method is the opposite: aim lower, "so the point of first contact is about two-thirds of the way up. Push hard forward on the bars to drive the front wheel into the log." The impact lifts the rear so it meets the log in the air. It needs commitment.
Wet and slippery logs. Drive where the grip is and coast where it isn't. Fahringer told Dirt Rider to "apply throttle in areas where there is good traction so you have enough momentum to coast over the slippery parts." Push too hard into a wet log and "the front wheel will slide down the face of it", so he uses a "'shallow' double-blip".
Logs across a slope. Square up to the log even if the trail runs across it. On a camber, "If you smack the rear tire into the log, you'll cease momentum and the bike could follow the log down the hill."
Downhill logs. Fahringer slows "nearly to a stop just before the log" and blips the front only just far enough to clear it. The danger is the frame landing on the log: "If you case out on a log going down a hill, you could endo."
When you land on the bash plate. Sam King's RidersWest guide says imperfect timing "will most likely just put you on the sump plate of your bike, which is not a high consequence failure". Rock the bike forward with your body and a little clutch, or get off and lift the rear over. Cross Training Enduro's log video launches it instead: balanced on the plate, lean back, and as the rear suspension compresses, drop the clutch in a controlled way with some throttle. Keep your weight back until the rear hits the log, then roll off and let momentum ease it over. Then go back and practise the second blip.
Rock gardens: line, momentum and a light front
A rock garden is dozens of small obstacles in a row. You can't hop each one. You pick a line, keep the bike moving and let it move under you.
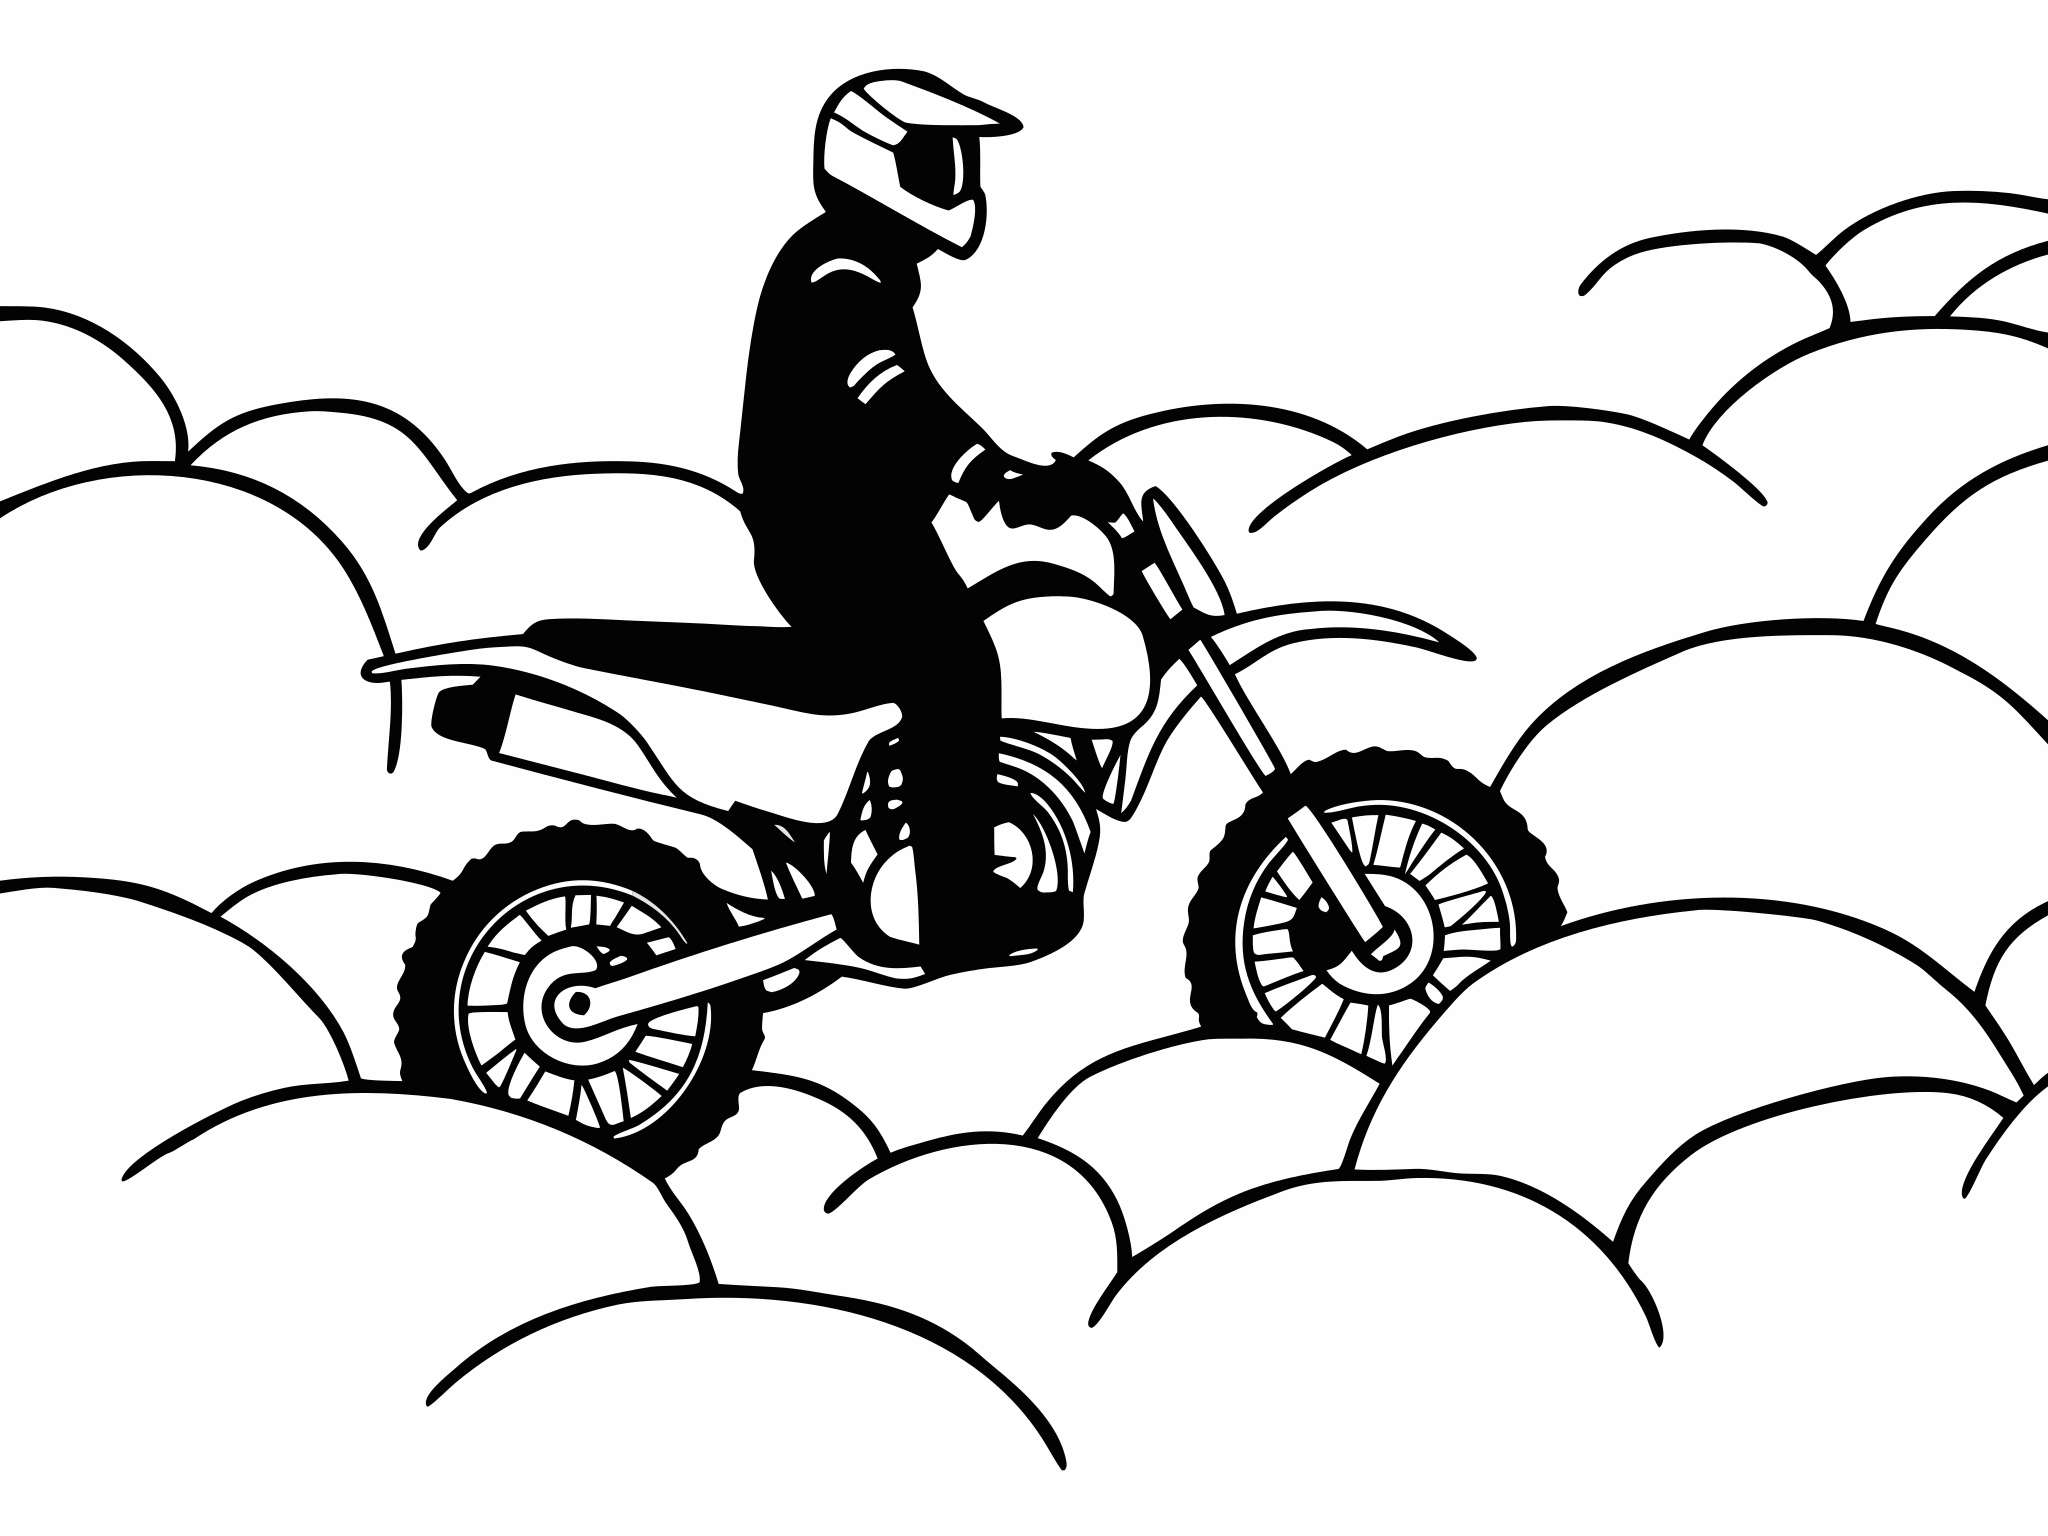
- Pick the big, solid rocks. Dirt Bike Magazine: "I usually look for the larger rocks to ride over instead of the smaller and looser ones." Big, bedded rocks don't move. Small loose ones roll under the tyre.
- Keep the front light. Cody Webb, talking to Dirt Rider about EnduroCross rocks: "Keep the front end light. People think I'm in the attack mode, but I'm definitely hanging off the back of the bike."
- Let the bike dance. Webb again: "you have to let the bike dance a little bit sometimes underneath you." Soft elbows and knees, loose grip.
- Steady speed beats attack. Meo: "Riding a little slower but maintaining speed is always better than going into a rock section hard, losing your speed and then having to try and regain it." Webb is "never wide open in the rocks" until he's near the exit.
- Don't shift in the rocks. Meo: "Changing gear causes the rear wheel to lose traction." Pick your gear before you enter. SoCal Off-Road School's rock tip uses second, or third where it's less rocky, because first is snappy and revs out too quickly.
- Easy on the front brake. Webb: "you don't want to pull the front brake in because it can grab on a rock and unsettle you." Control speed with the rear brake and clutch.
- Smooth throttle, clutch covered. Dirt Bike Magazine calls smooth throttle control and covering the clutch "key to maintaining traction and forward momentum".
- Round rocks only. If you have to jump into rocks, Meo says "only jump into round rocks". Square edges bend rims and cut tyres.
Webb also notes that in rocks "you're definitely not looking as far ahead as you would in other scenarios." Look two or three rocks ahead, where the front will be next, then lift your eyes again as soon as the ground allows.
Rock steps and ledges
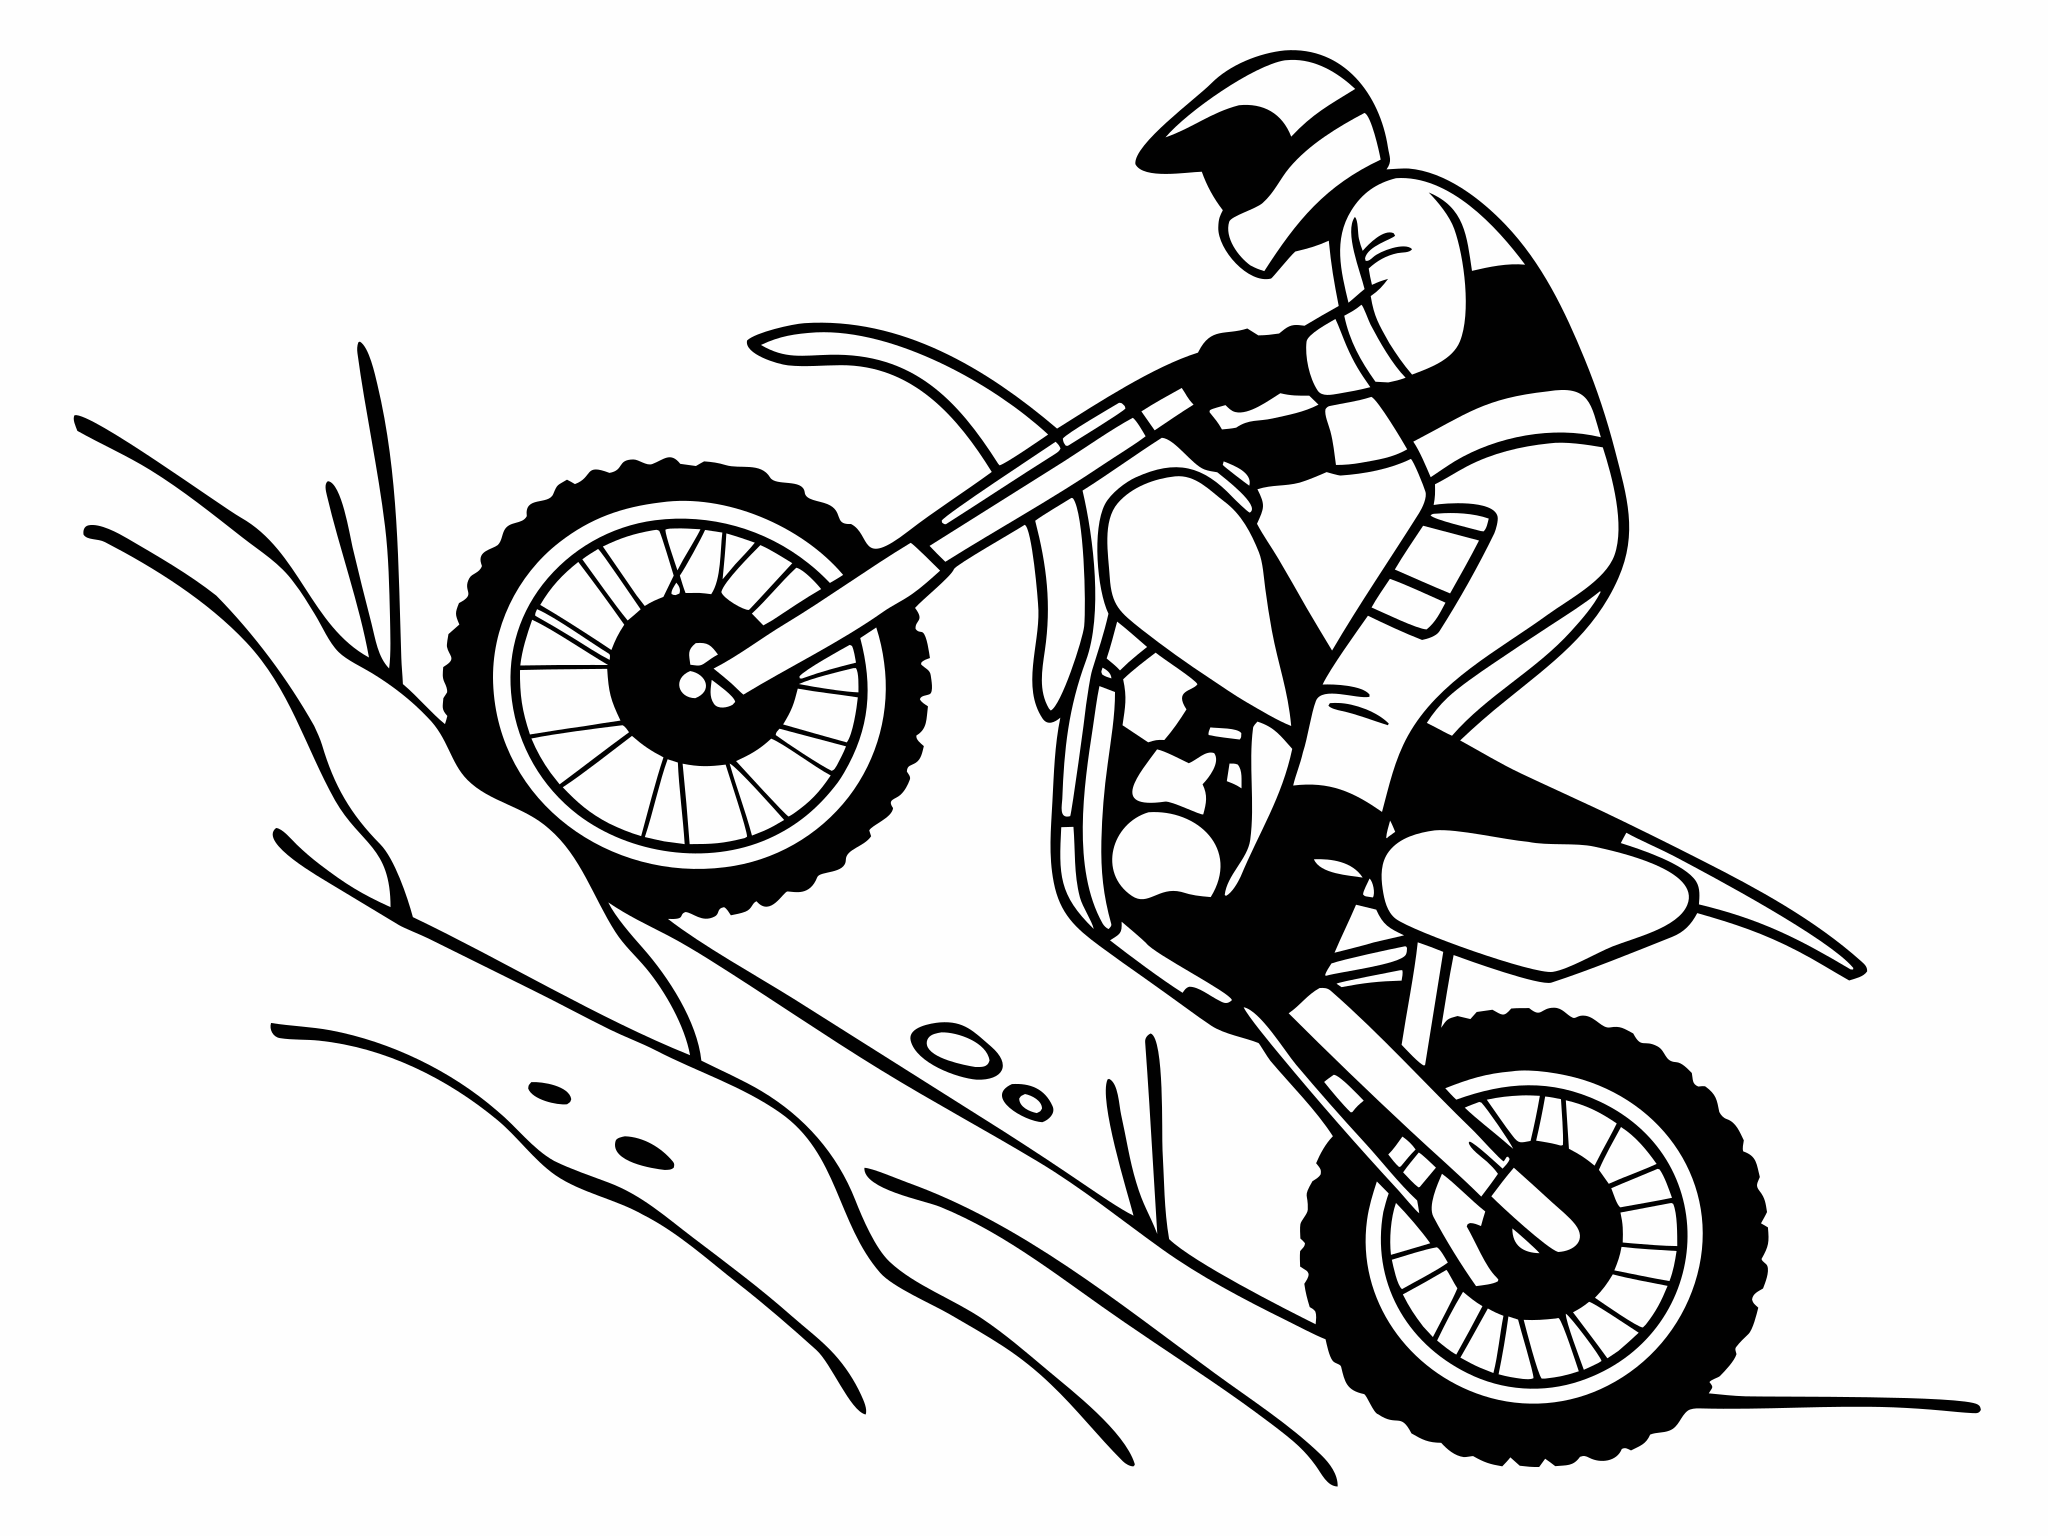
A step is a log you can't roll: a square face with no ramp. The lift is the same as the double blip, but the drive is not. A round log gets a throttle chop as the rear hits, so the tyre rolls over. A square step needs steady drive right through, or the bike hangs on its edge. Matt Phillips, riding a stump for Transmoto, compresses the suspension "like I'm just about to do a bunny-hop, before clutching the front wheel up into a wheelie". Once the front is up, keep the drive on: "Break drive at any point and there's a real danger that either the bashplate or bottom suspension linkage will catch the stump." If the rear spins, "I'll quickly dip the clutch so that the tyre finds traction again."
Steps taller than your front wheel need a splatter, and that's a separate lesson.
How to train logs and rocks
Start small, low and dry. Make one thing harder at a time: height, then wet, then angle.
1Branches and small logs
Ride over sticks and small logs below your front axle, standing, weight slightly back, steady throttle. Do it twenty times until you stop thinking about it.
2Wheel taps on a small log
Use a log around axle height. Practise just the first blip: front onto the top half, then stop. Next, add the second blip and ride over. Aim for a silent crossing: no bash-plate clunk, no wheelspin.
3A bigger log with a helper
Move to a log about as tall as the top of your front tyre. Have a helper stand beside it, never in front. Commit to the second blip and chop the throttle as the rear hits. If you land on the bash plate, that's the drill telling you the second blip was late.
4Wet, angled and downhill logs
Once dry logs are routine, try the same log after rain, then a log lying across a slope, then a small log on a downhill. Each one changes a single variable.
5Walk, then ride, a rock garden
Walk a short, moderate rock garden and pick two different lines. Ride each one five times, standing, in one gear, without stopping. Then pick a third line.
Log and rock mistakes and fixes
The bash plate lands on the log.
Fix: The second blip came late or not at all. Hit the top half with the front, then drive as the fork compresses.
The rear spins on the log.
Fix: Too much throttle as the rear hits. Chop the throttle and let momentum roll it over.
The front kicks sideways.
Fix: You hit the log at an angle. Square up, even if it means a brake-slide to set the angle first.
You're thrown forward over the bars.
Fix: Weight too far forward as the rear hit, or you smashed the front into a big log without drive. Get back as the rear meets the log and keep pressure through the rear wheel. Or you simply came in too fast. DirtWise's log-speed tip: the larger the log, the slower you need to go.
You stall halfway through a rock garden.
Fix: You attacked, lost speed and ran out of revs. Enter slower, hold a steady speed and keep a finger on the clutch.
The front washes out on a round rock.
Fix: Too much front brake or too sharp a steering input. Keep the front light, steer with your weight and use the rear brake for speed.
Panic revs when it goes wrong.
Fix: Revs dig the tyre into the dirt between the rocks. Pull the clutch, reset, and go again with a plan.
A 40-minute logs and rocks session
Use a log around axle height and a short rock section. Rest two minutes every ten.
| Time | Drill | What to focus on |
|---|---|---|
| 0–5 min | Branches and small logs, standing | Weight slightly back, steady throttle. |
| 5–15 min | First-blip wheel taps on the log | Front lands on the top half, from a square approach. |
| 15–25 min | Full double blip over the log | Second burst on compression, throttle chopped as the rear hits. |
| 25–35 min | Two lines through the rock section | One gear, steady speed, front light. |
| 35–40 min | Log, then rocks, back to back | Reset your body position between them. |
Swipe the table sideways to see every column.
Progress cues: you're ready to move on when…
- Medium logs are routine: five clean crossings in a row with no bash-plate contact.
- You chop the throttle as the rear hits without thinking about it.
- You can square up to an angled log with a brake-slide, then cross it.
- You can ride two different clean lines through a moderate rock garden without panic revs or a stall.
- You pick your gear before the obstacle and don't shift in the rocks.
Logs and rocks questions
Should I sit or stand in rocks?
Stand by default so the bike can move under you. On slippery rock, Antoine Meo sits to get his feet closer to the ground. If you sit to paddle, stand again as soon as the grip returns.
What gear should I use for logs?
Second for most logs. Third for small logs at speed and first or second for big ones, as Transmoto's log guide suggests. Pick it before the approach.
Do I need a bash plate?
Yes, if your bike didn't come with one. Every rider lands on a log sooner or later, and the plate protects the engine cases and frame. Linkage guards help too on bikes with a low shock linkage.
Which tyres work best on logs and rocks?
Soft, low-pressure rear tyres grip roots, bark and rock far better. The enduro tyres guide and the mousse vs Tubliss comparison cover the options.
All lessons in Advanced Techniques
Related lessons and guides
- Controlled front-end liftsThe lift behind every log crossing.
- SplattersFor faces too tall to hop.
- Controlled wheeliesFront-wheel placement for bigger logs and steps.
- Mousse vs Tubliss vs tubesTyre systems that survive rocks.
- Cody WebbEnduroCross and hard enduro rock specialist.
- Enduro tyresGrip for bark, roots and rock.