Lesson 2 of 6 in Controls 101
Clutch Control
Clutch control in hard enduro means using the friction zone — the part of the lever travel where the plates start to bite — to decide exactly how much drive reaches the rear tyre. Set a steady throttle, then feed drive in and take it away with one or two fingers on the lever. Done well, the bike creeps, climbs and lifts its front wheel on command, with no lurching, no stalling and no burnt-clutch smell.
Updated October 2026. Sources are listed below. How we work
On this page
- Why clutch control matters in hard enduro
- How the friction zone works
- Set up the lever before you practise
- Body position and hand position
- Clutch control drills: a step-by-step progression
- Common clutch control mistakes and how to fix them
- A 40-minute clutch control practice session
- You're ready to move on when…
- Clutch control questions
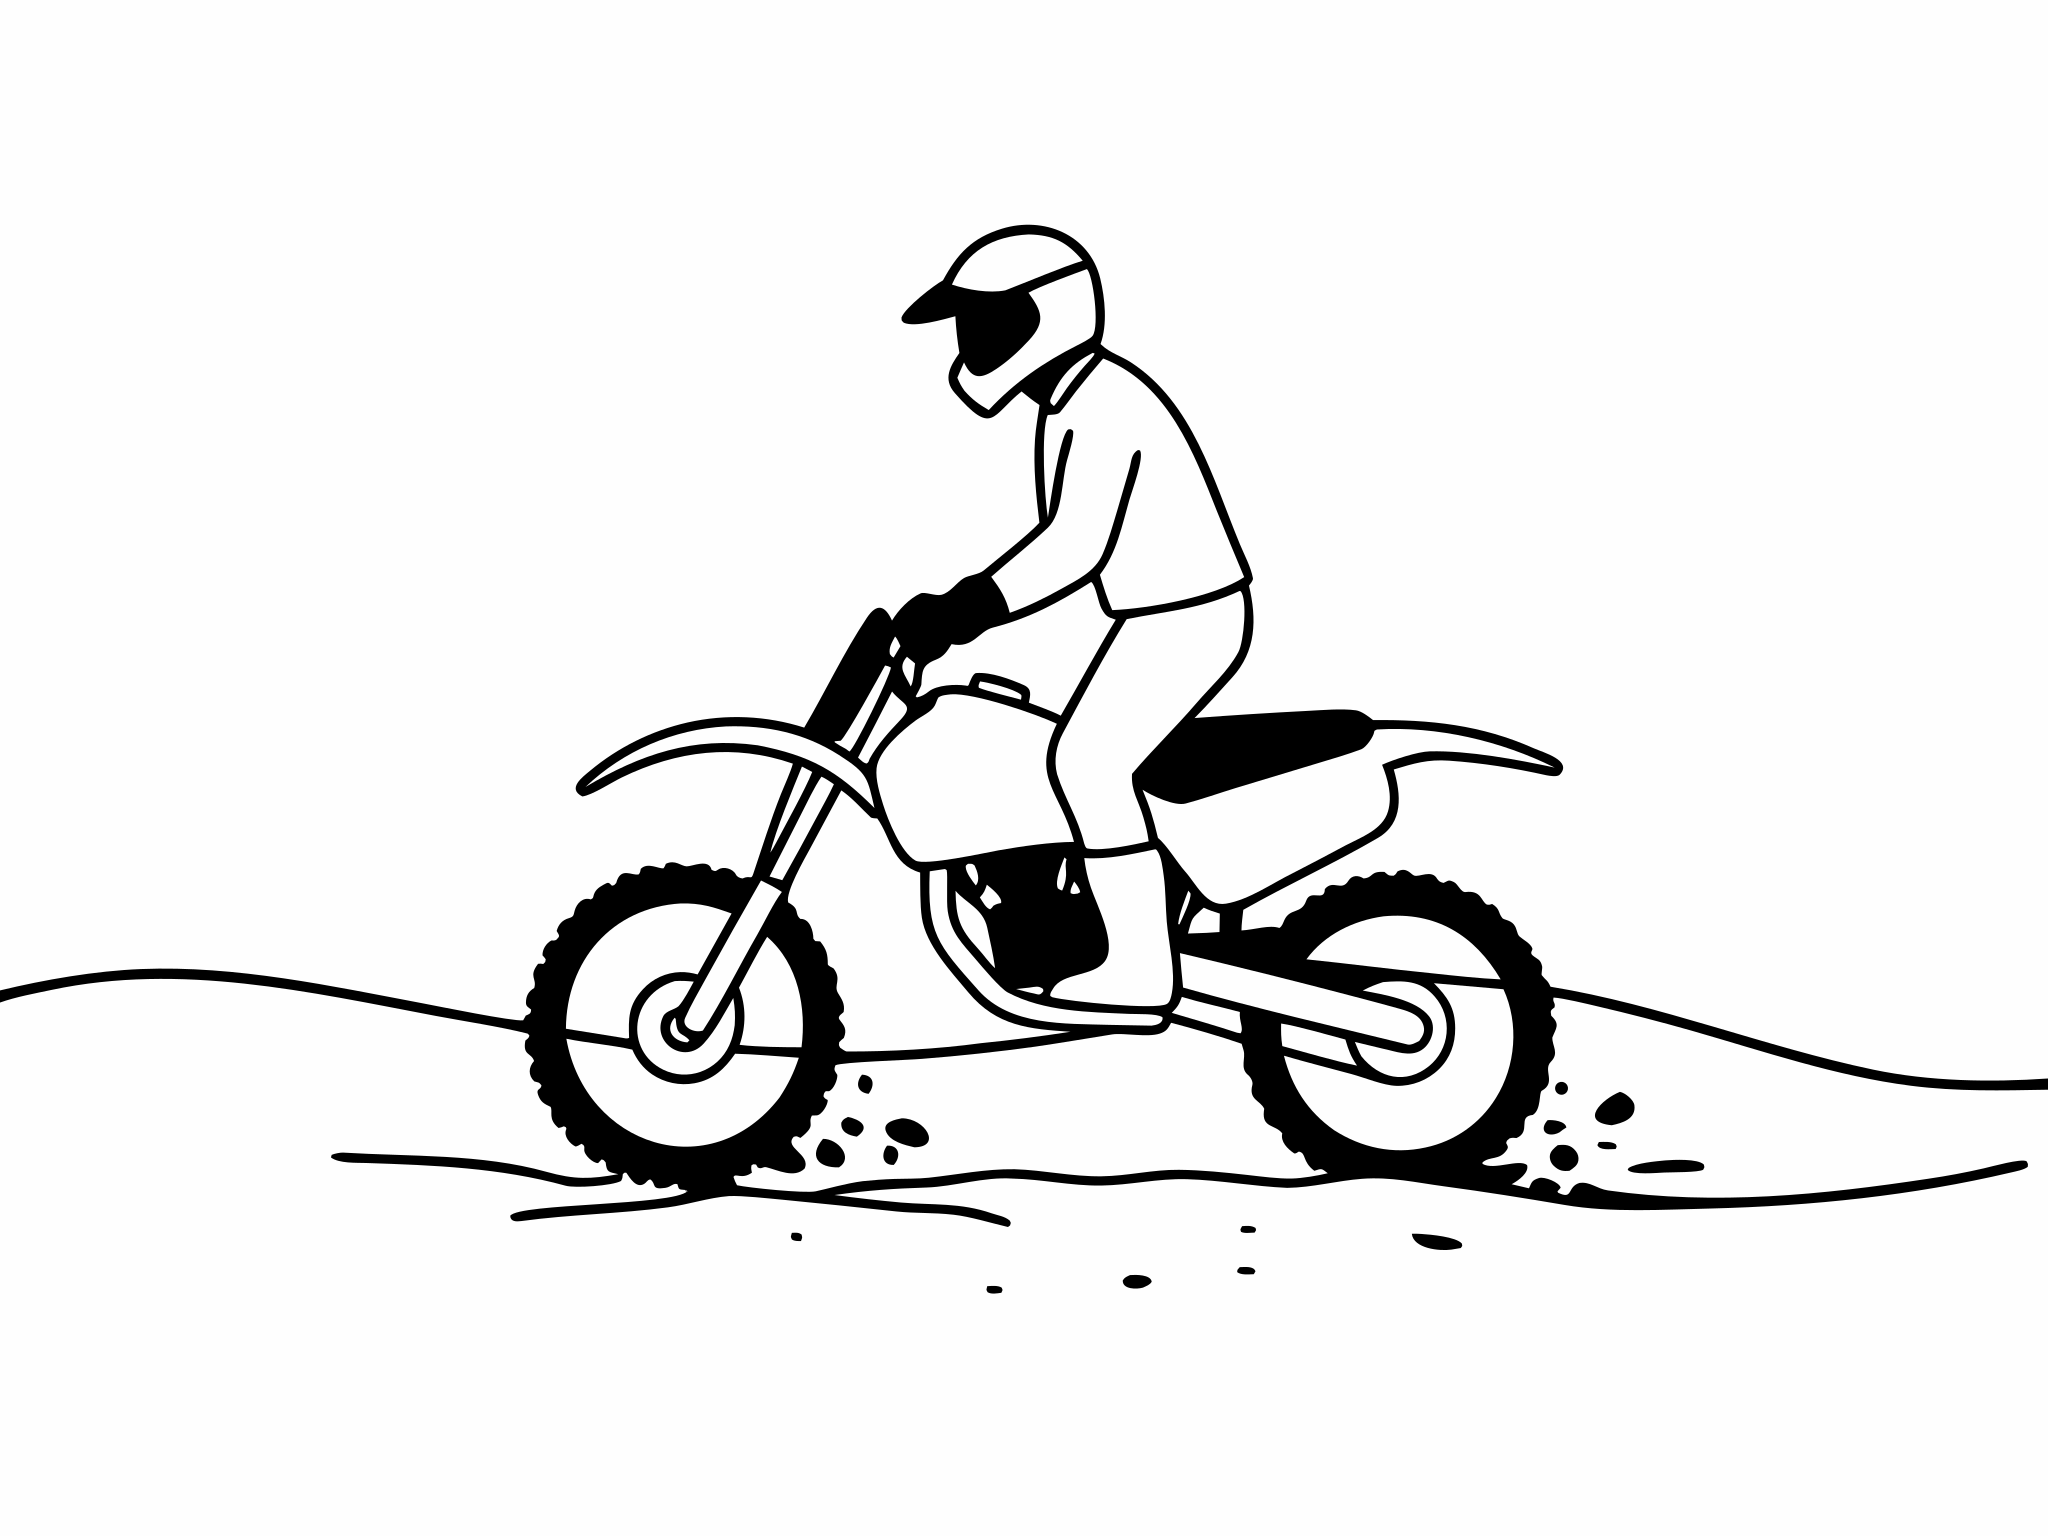
Why clutch control matters in hard enduro
The clutch is precision traction. It meters torque in smaller steps than your throttle hand can, keeps the bike moving below walking pace, and lets you recover when the trail gets too steep, tight or broken for clean momentum.
Hard enduro spends much of its time at walking pace or slower, on roots, rock steps, steep loose climbs and off-camber switchbacks where the rear tyre is always close to spinning. A spinning tyre digs, loses drive and throws you off line. The clutch is what stops that happening. With the throttle held steady, a small movement of the lever changes drive to the tyre smoothly, so it grips instead of spinning.
That is why top riders talk about the clutch as much as the throttle. Sherco rider Cooper Abbott told Enduro21 that on big, steep climbs he keeps the front end down "because you're able to modulate, you're making small changes with the clutch". Dirt Bike Magazine's balance feature holds a bike's pressure against two logs using "the clutch, rear brake and a steady throttle". Neither of those is possible with the throttle alone. On a steep pitch at Sea to Sky, Graham Jarvis talks through the order: he builds the revs up first, then slips the clutch in to pull himself forward.
The clutch also buys you recovery. When you stall on a hill, drop into a hole or hit a root at the wrong angle, a rider with a good clutch hand can stop, hold the bike and go again. A rider without one lets it roll back or pins it and hopes.
How the friction zone works
Pull the lever and the clutch plates separate; the engine spins but nothing reaches the rear wheel. Let it out fully and the plates lock together; all the engine's drive goes to the tyre. The friction zone is the band in between, where the plates slip against each other and pass on only part of the drive.
Three things follow from that:
- Small lever movements make big differences. The useful part of the friction zone is a short stretch of the lever's travel. That is why you control it with fingertips, not a fist.
- Slip makes heat. Every moment the plates slip, energy turns into heat in the plates and the oil. KTM's owner's manual for its 250 and 300 two-strokes says it plainly: "Avoid frequent and longer slipping of the clutch. This causes the gear oil, engine and cooling system to heat up." Short, deliberate slips are fine. Riding the whole trail half-engaged is not.
- The bite point moves. It changes from bike to bike and shifts as the clutch wears or its adjustment changes. Find it by feel at the start of every ride instead of trusting a remembered lever position.
Some clutches are easier to control than others. Abbott switched to a diaphragm-spring clutch because it gave "a good modulation and a smooth release point", where many clutches feel "more on-off". You don't need special parts to learn clutch control, but it helps to know that clutches do differ and that some fade sooner on long climbs.
Set up the lever before you practise
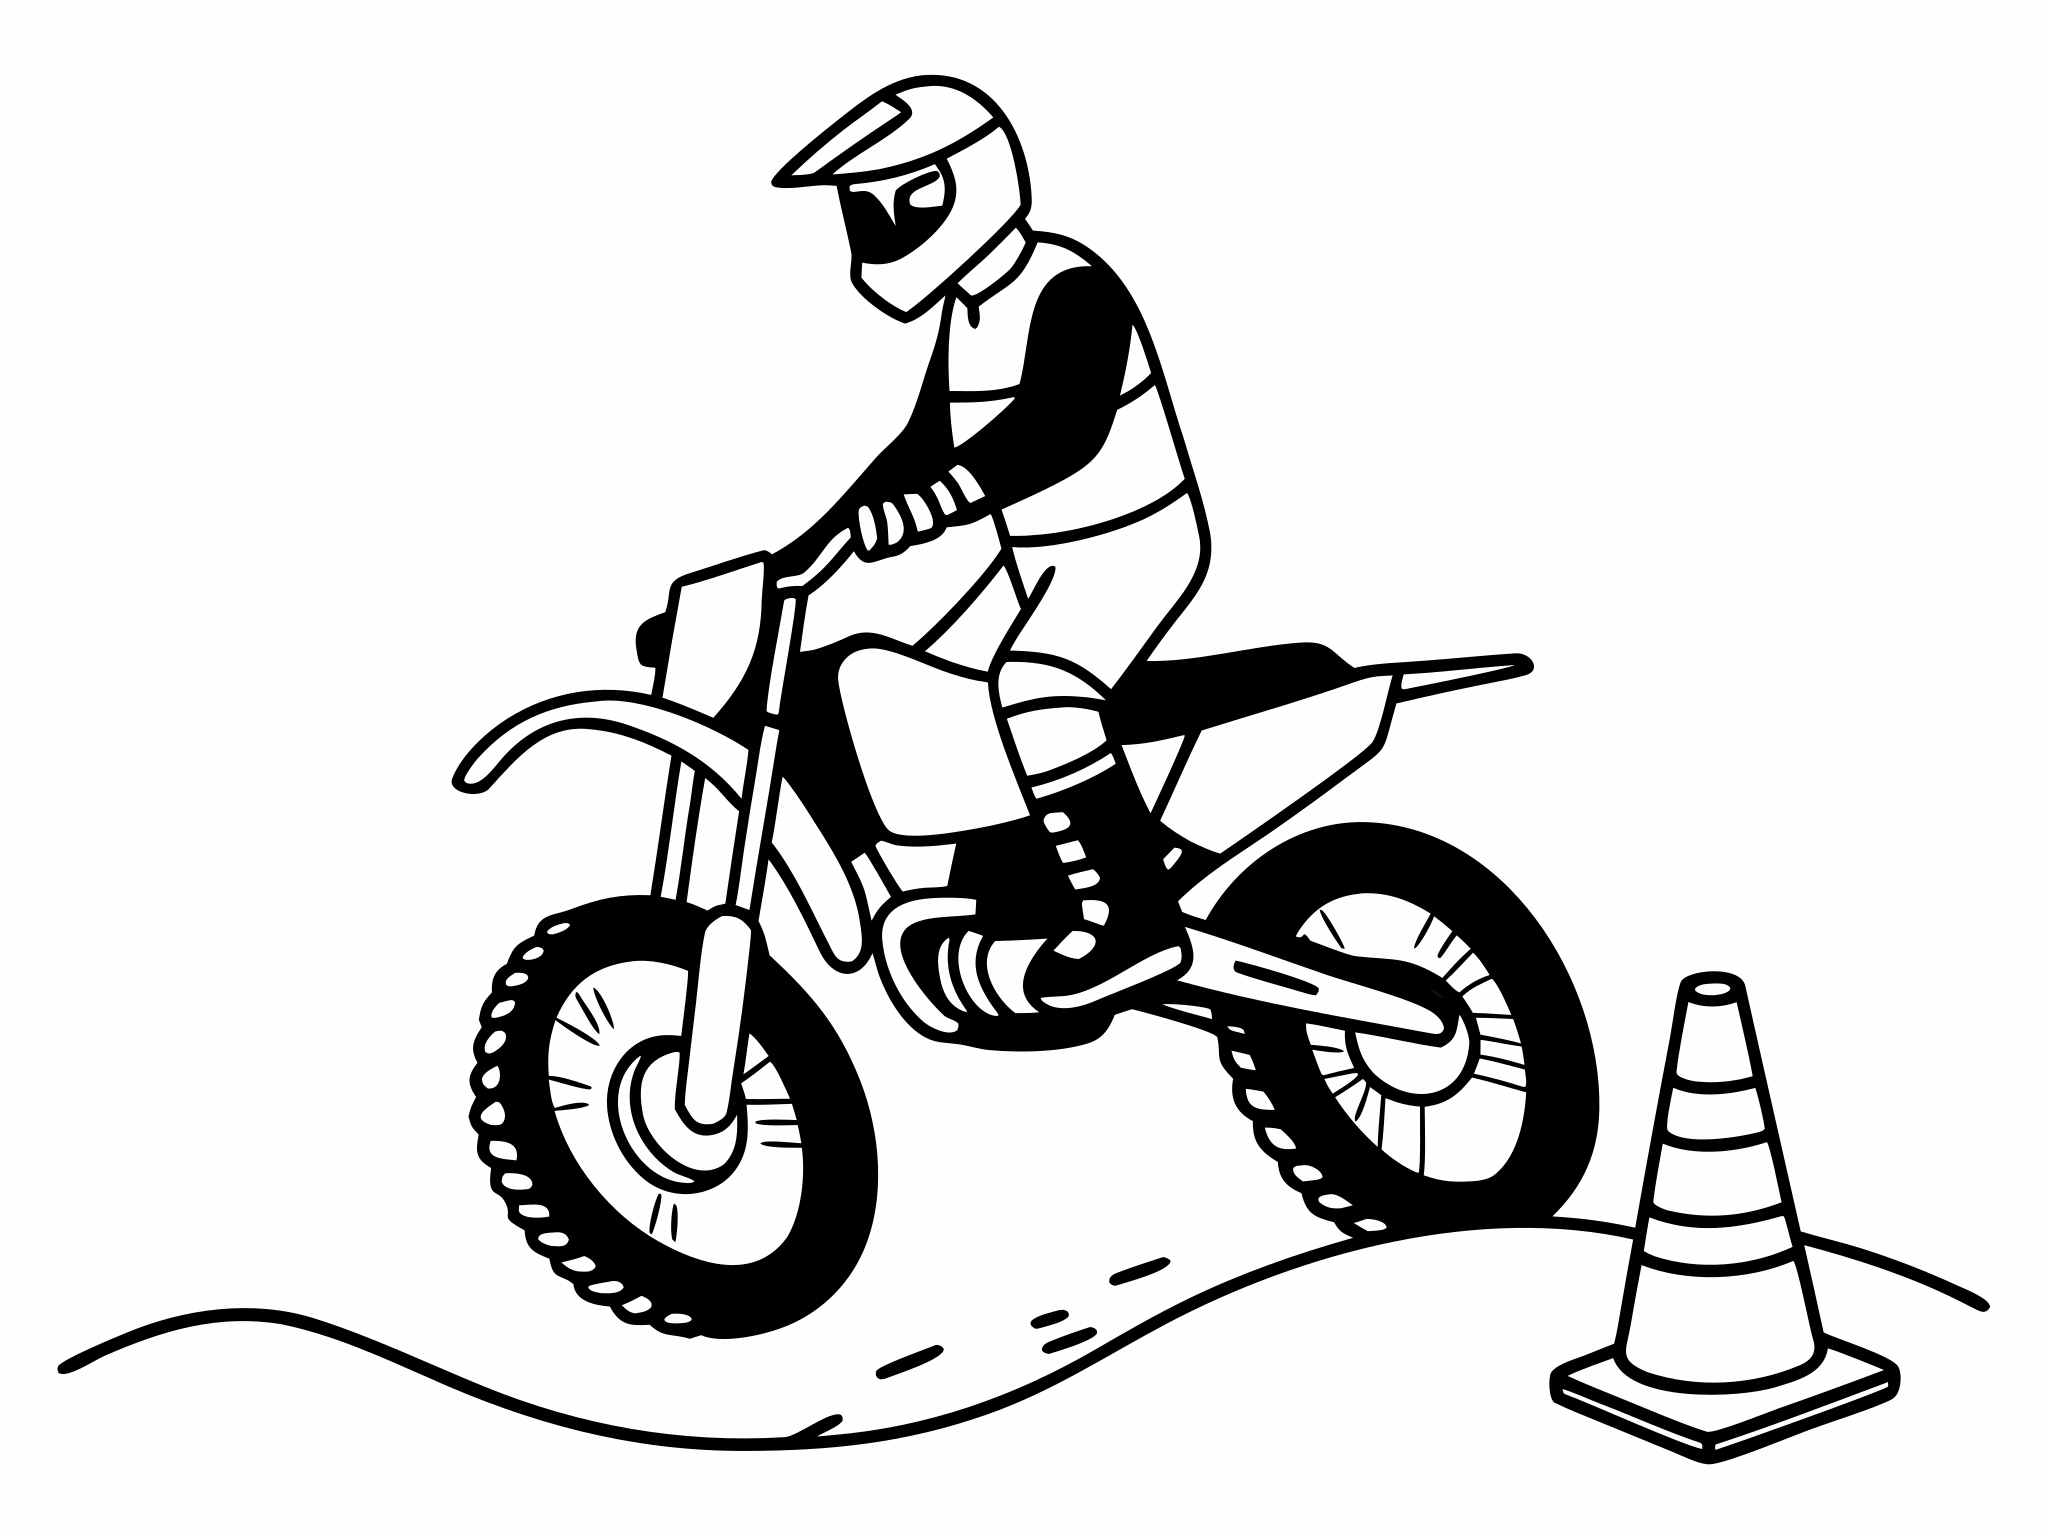
A lever you can't reach with relaxed fingers makes clutch control harder than it needs to be. Check these before your first session:
- Reach. Stand on the pegs in your normal riding position. With your index and middle fingers resting on the lever, you should be able to pull it without stretching or letting go of the grip with your other fingers. On hydraulic clutches, such as the one on KTM's 2024 250 and 300 EXC, reach is set with an adjusting screw at the lever. KTM's manual says to set it "to your hand size", turn the screw by hand only and never adjust it while riding.
- Angle. Rotate the lever on the bar so your wrist is straight when you stand. A lever set flat for sitting forces your wrist to bend when you stand, which tires the forearm and dulls feel. The arm pump guide covers lever setup alongside the other habits that spare your forearms.
- Free play (cable clutches). A cable clutch needs a little slack so the plates are fully engaged when the lever is out. Dirt Rider says a clutch adjusted too tight "will not only wear out your clutch plates quicker and make your clutch fade sooner", and that you should check free play with the engine cool, not hot.
- Fluid (hydraulic clutches). KTM notes that the fluid level in the handlebar reservoir "rises with increasing wear of the clutch facing discs". If the bite point wanders or the lever feels soft, check the reservoir and bleed or service the system as your manual describes.
If you run an automatic or assisted clutch, the skills below still apply for when you pull the lever. For how sprocket choice affects clutch heat, see the gearing guide.
Body position and hand position
Clutch control works best from a relaxed body. Stand with your knees and hips bent, your weight through the balls of your feet on the pegs, and your elbows soft. If you grip the bars hard, your fingers lose the feel of the bite point.
One finger or two? Both work, and top riders use both. Dirt Rider tells beginners to use the middle and index fingers because it will "allow your other two fingers to hang onto the handlebar". Johnny Aubert, testing KTM's clutchless gearbox prototype at Erzberg, told Enduro21 he has always ridden "with one finger on the lever". Start with two if the pull is heavy or your hands are small. Move to one once the bike's lever and your hand allow it. Never use all four: you lose your grip on the bar the moment you pull the lever.
Keep your right foot over the rear brake pedal. The rear brake is the other half of clutch control. It holds the bike still, stops it rolling back and brings the front wheel down if you give it too much. You will use the two together in almost every drill below. The body positioning lesson covers the standing stance in more detail.
Clutch control drills: a step-by-step progression
Work through these in order on flat, open ground with good grip. Stay at each step until it feels boring, then move on. Keep the throttle steady throughout: the point is to teach your left hand, not your right.
1Find the bite point without moving
Engine running, first gear, left foot down, right foot on the rear brake, no throttle. Let the lever out very slowly until the engine note drops and the bike just starts to pull against the brake — then pull the lever back in. Dirt Rider uses exactly this drill for new riders: let the lever out "until the motor begins to slow down but the bike still isn't moving". Repeat ten times. You are learning where the bite starts on this bike, today.
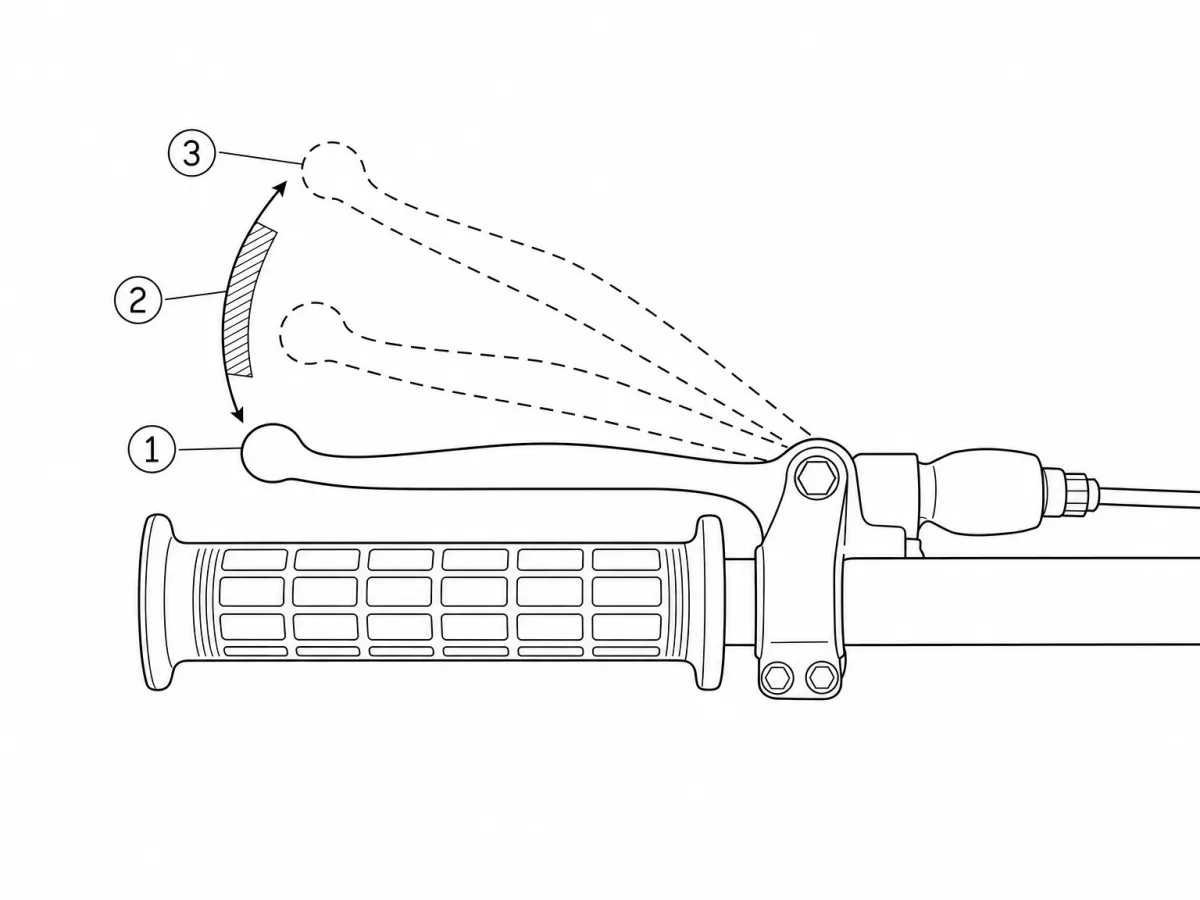
Clutch lever travel, seen from above. 1 Lever pulled in: no drive · 2 Friction zone: the plates slip and pass on part of the drive · 3 Lever fully out: full drive. Where the bite starts varies from bike to bike, so find it by feel. 2One-metre creeps
Now let the bike move. Ease into the bite, roll forward about a metre, pull the lever in and stop with the rear brake. Repeat until you can move a metre at a time without a lurch. Then do it standing. Aim for a start so smooth that a passenger wouldn't notice it.
3Creep in second gear
Select second and ride 30 to 50 metres in a straight line at slower than walking pace, standing, with a steady, slightly raised idle. Control speed only with the clutch. Second gear is less jerky than first, so it teaches finer control and makes the bike easier to ride slowly. When the bike starts to run away, pull the lever in a touch to slip the clutch more. When the engine starts to bog, pull the lever in a touch too so the revs recover, then ease it back to the bite. If you feel the bike surge, you're releasing too far past the bite.
4Full-lock turns and figure-eights
Put two markers about two bike-lengths apart and ride slow figure-eights around them at full steering lock. Dirt Bike Magazine describes this drill with the rider "applying pressure to the front and rear brakes while using smooth throttle control and lightly slipping the clutch", as slowly as possible. Weight the outside peg. If the bike starts to fall into the turn, a small release of the clutch gives drive and stands it up. If it runs wide, pull a little clutch in and drag the rear brake. Do both directions. Then move the markers closer together.
5Clutch-and-brake holds on a gentle slope
Find a short, gentle, grippy slope. Ride up it slowly, stop halfway with the rear brake, and hold the bike still with the clutch at the bite and your foot on the brake. Then ease off the brake while letting the clutch out a touch, and carry on up. This is the basis of every hill restart.
If you stall here, leave the clutch out. In a PrimalEnduro clip, Tim Coleman says the usual reaction is to grab the clutch, and then the bike rolls back down. Left in gear, the engine holds the bike. Grab the clutch and the front brake alone just skids. The kill/start lesson takes it further, including what to do when you stall.
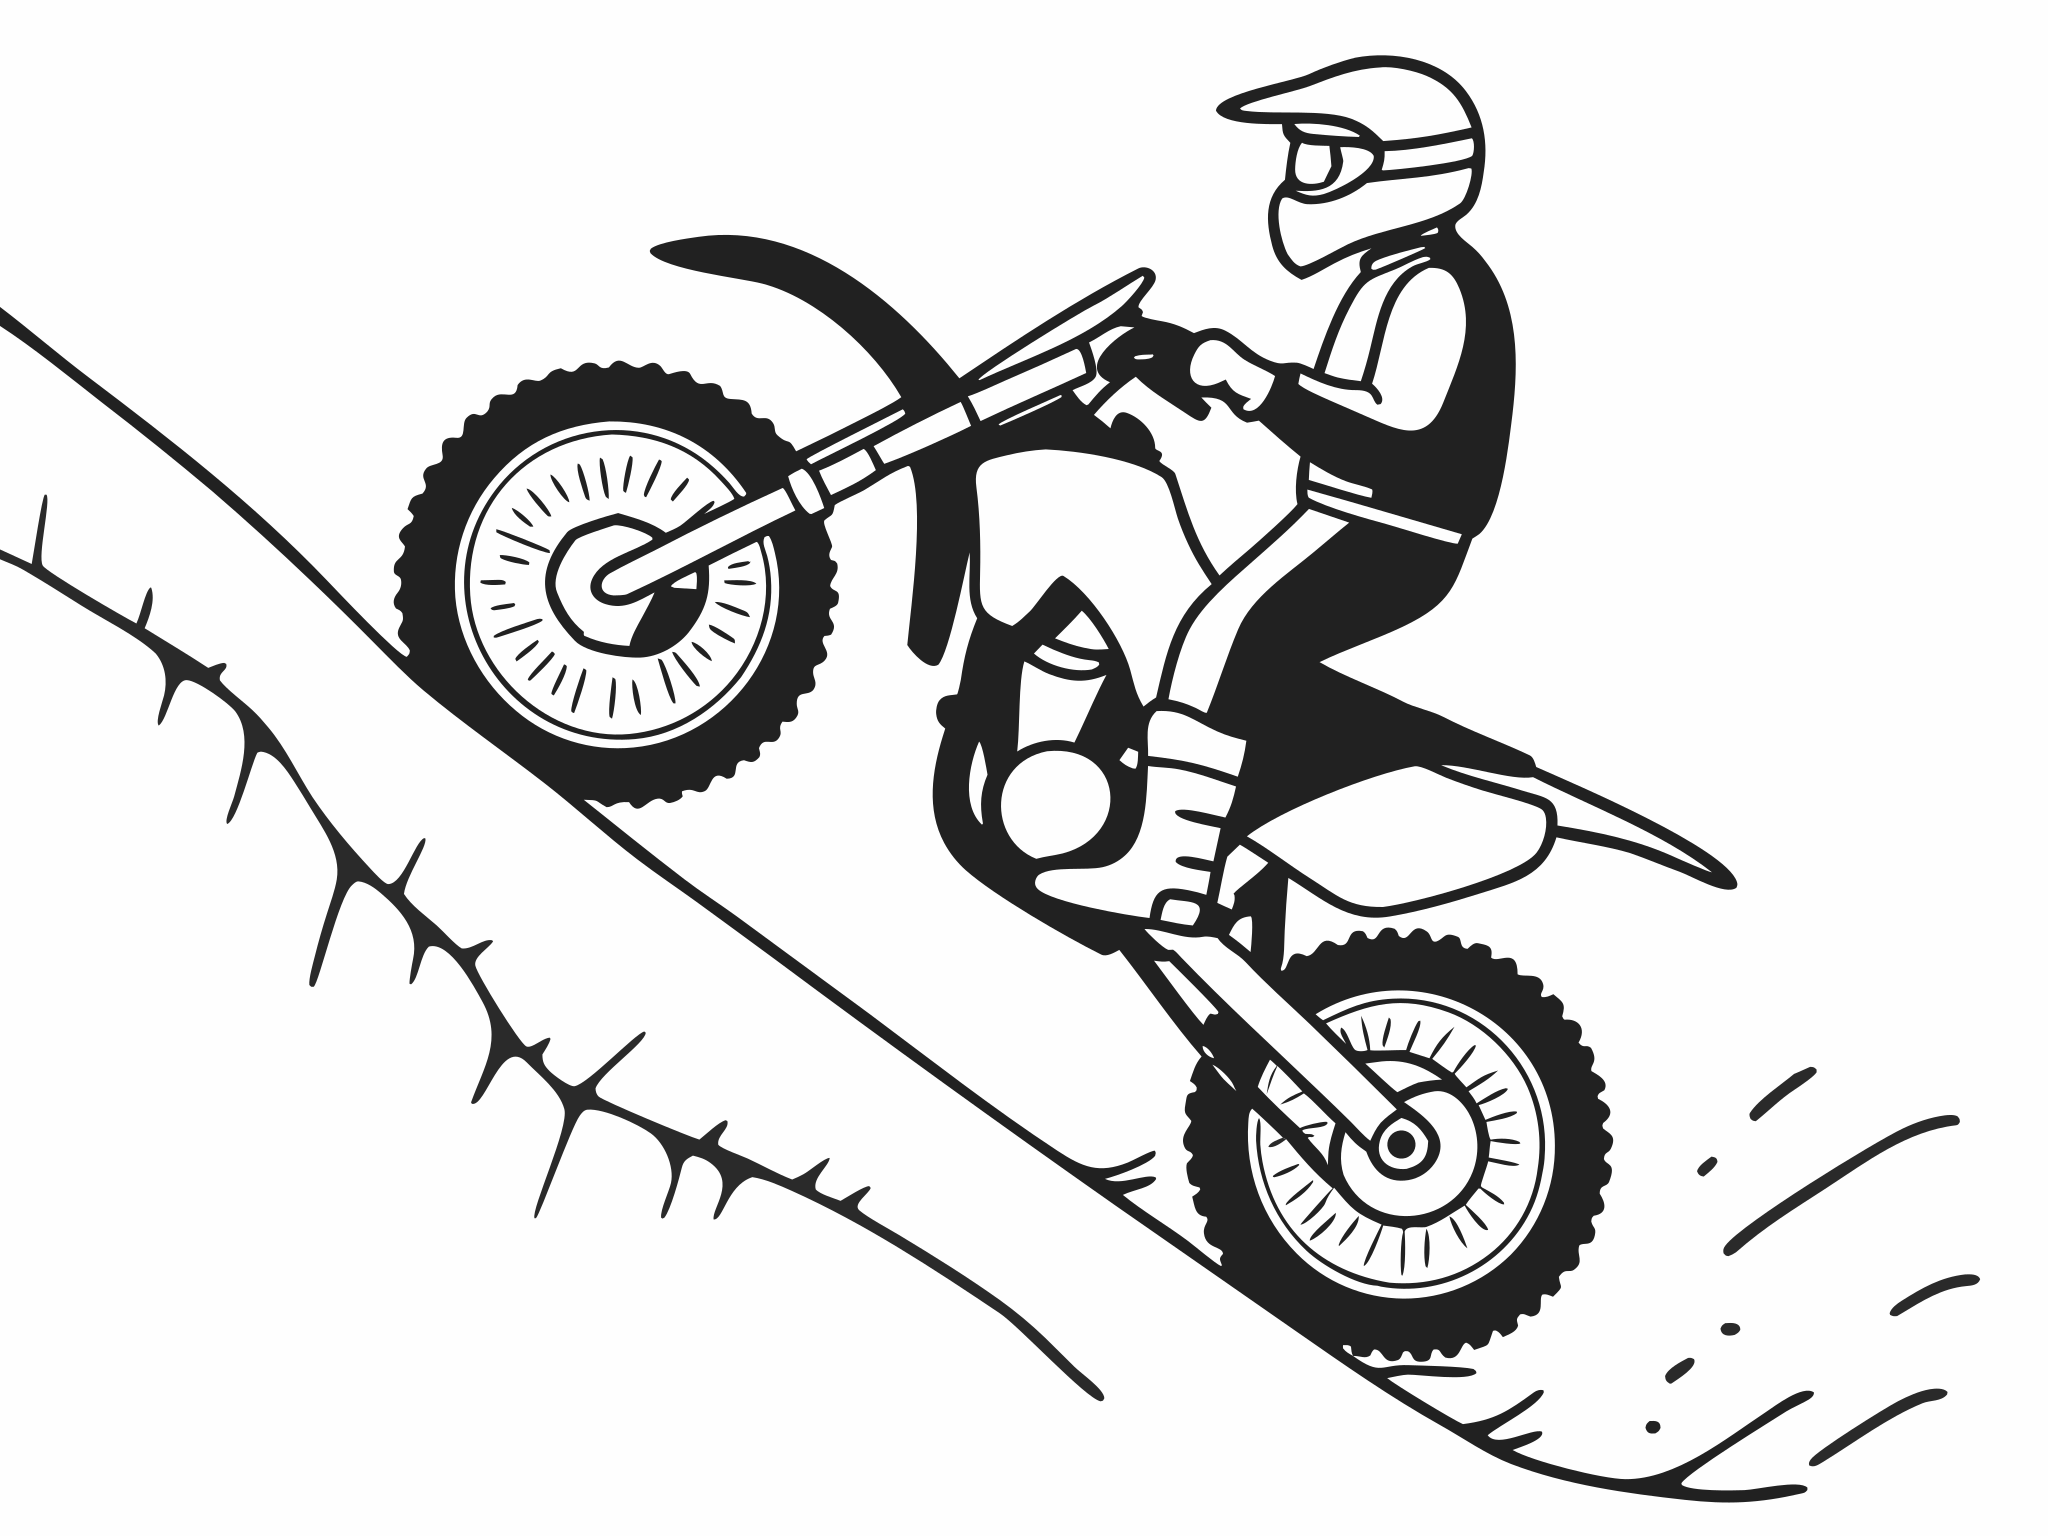
On a climb, keep your chest forward and let the clutch decide how much drive the tyre can take. 6Small front-wheel lifts
On flat ground in first or second, roll at walking pace with your foot on the rear brake. Hold a little more engine speed than a creep. Pull the clutch in, then let it out quickly but only a short way, and push down on the pegs at the same time. The front should rise a few centimetres and come straight back down. If it rises too far, tap the rear brake. Enduro21's write-up of Graham Jarvis's wheel-hop and pivot-turn video describes the same idea: body weight to work the suspension, then "just a little bit of clutch and throttle" to let the bike do the work. The full technique is in the front-end lifts lesson.
Common clutch control mistakes and how to fix them
The bike lurches forward.
Fix: You're releasing past the bite point too fast. Slow the release down and hold the lever still for a moment once the plates start to bite. Practise the one-metre creeps until the start is silent.
It stalls at low speed.
Fix: Too little engine speed or the lever went out too far. Hold a slightly raised, steady idle and pull the lever in a touch the moment the engine note starts to drop. On a two-stroke, a little extra engine speed helps a lot.
You rev harder when the tyre spins.
Fix: More revs just spin the tyre faster. Keep the throttle where it is and pull the clutch in slightly so the tyre can hook up again. Dirt Bike Magazine's advice when stuck is the same: "don't just drop the clutch and pin the throttle."
The clutch smells burnt or fades.
Fix: You're slipping it for too long at high revs. Use a lower gear so the engine can pull without slipping, let the lever fully out whenever the terrain allows, and stop to let things cool. KTM's manual says to "ride at a low engine speed instead of at a high engine speed with a slipping clutch."
Your whole hand is on the lever.
Fix: Use one or two fingers and keep the rest wrapped round the grip. Adjust the lever reach so this is comfortable while standing.
The front comes up and you let go of everything.
Fix: Cover the rear brake whenever the front could lift. Pull the clutch in and tap the brake. Practise small lifts on flat ground until this reaction is automatic.
The bite point feels different every ride.
Fix: On a cable clutch, check free play with the engine cold. On a hydraulic clutch, check the fluid level and condition. Worn plates also move the bite point, so a clutch that keeps changing may need servicing.
A 40-minute clutch control practice session
Use a flat, grippy area with a gentle slope nearby. Take a two-minute break every ten minutes so the clutch and your hand can cool.
| Time | Drill | What to focus on |
|---|---|---|
| 0–5 min | Bite-point finds and one-metre creeps | Silent starts. Same lever position every time. |
| 5–12 min | Straight-line creeps in second gear, standing | Steady throttle, speed set by the clutch alone. |
| 12–22 min | Full-lock figure-eights, both directions | Outside peg weighted, light rear brake, no dabs. |
| 22–30 min | Stop-and-hold on a gentle slope | Rear brake holds, clutch restarts, no rolling back. |
| 30–37 min | Small front-wheel lifts on flat ground | Foot over the rear brake. Height from the clutch, not the throttle. |
| 37–40 min | Slow ride over a root or small rock | Use everything above on one real obstacle. |
Swipe the table sideways to see every column.
You're ready to move on when…
- You can crawl 50 metres in second gear, standing, without stalling or surging.
- You can ride three clean full-lock figure-eights in each direction without putting a foot down.
- You can stop on a gentle slope, hold the bike still for five seconds and pull away without rolling back.
- You can lift the front wheel a few centimetres and set it down with the rear brake.
- You finish a 40-minute session with no clutch smell and no change in the bite point.
- When a drill goes wrong, you can say whether it was the clutch, the throttle or the brake.
Clutch control questions
Should I use one finger or two on the clutch?
Either. Two fingers give more pull on a heavy lever and suit beginners; one finger leaves more hand on the grip. Pick what lets you hold the bar firmly and move the lever smoothly while standing. Never use all four.
Is slipping the clutch bad for the bike?
Short, controlled slips are how the clutch is meant to be used off-road. Long slips at high revs overheat the plates and oil. Use a lower gear, let the lever out fully whenever you can and give the clutch time to cool.
Which gear should I practise clutch control in?
Start in first to find the bite point, then do most of your creeping in second, which is smoother. The gear selection lesson explains when to use first, second or third on real terrain.
What is the difference between clutch control and clutch feathering?
Clutch control is the whole skill: finding the bite point, creeping, holding on slopes and lifting the front. Feathering is the continuous, fine slipping used to crawl at very low speed. The clutch feathering drill page focuses on that one part.
All lessons in Riding Fundamentals
Related lessons and guides
- Throttle controlThe steady right hand that makes clutch control possible.
- Rear brake controlThe other half of every hold, restart and front-wheel lift.
- Clutch featheringThe crawl-speed drill page.
- Controlled front-end liftsWhere clutch timing turns into logs and steps.
- Enduro gearing guideSprocket choices that keep the clutch cooler.
- Arm pump guideLever setup and grip habits for long technical days.