Lesson 2 of 7 in Riding Fundamentals
Body Positioning
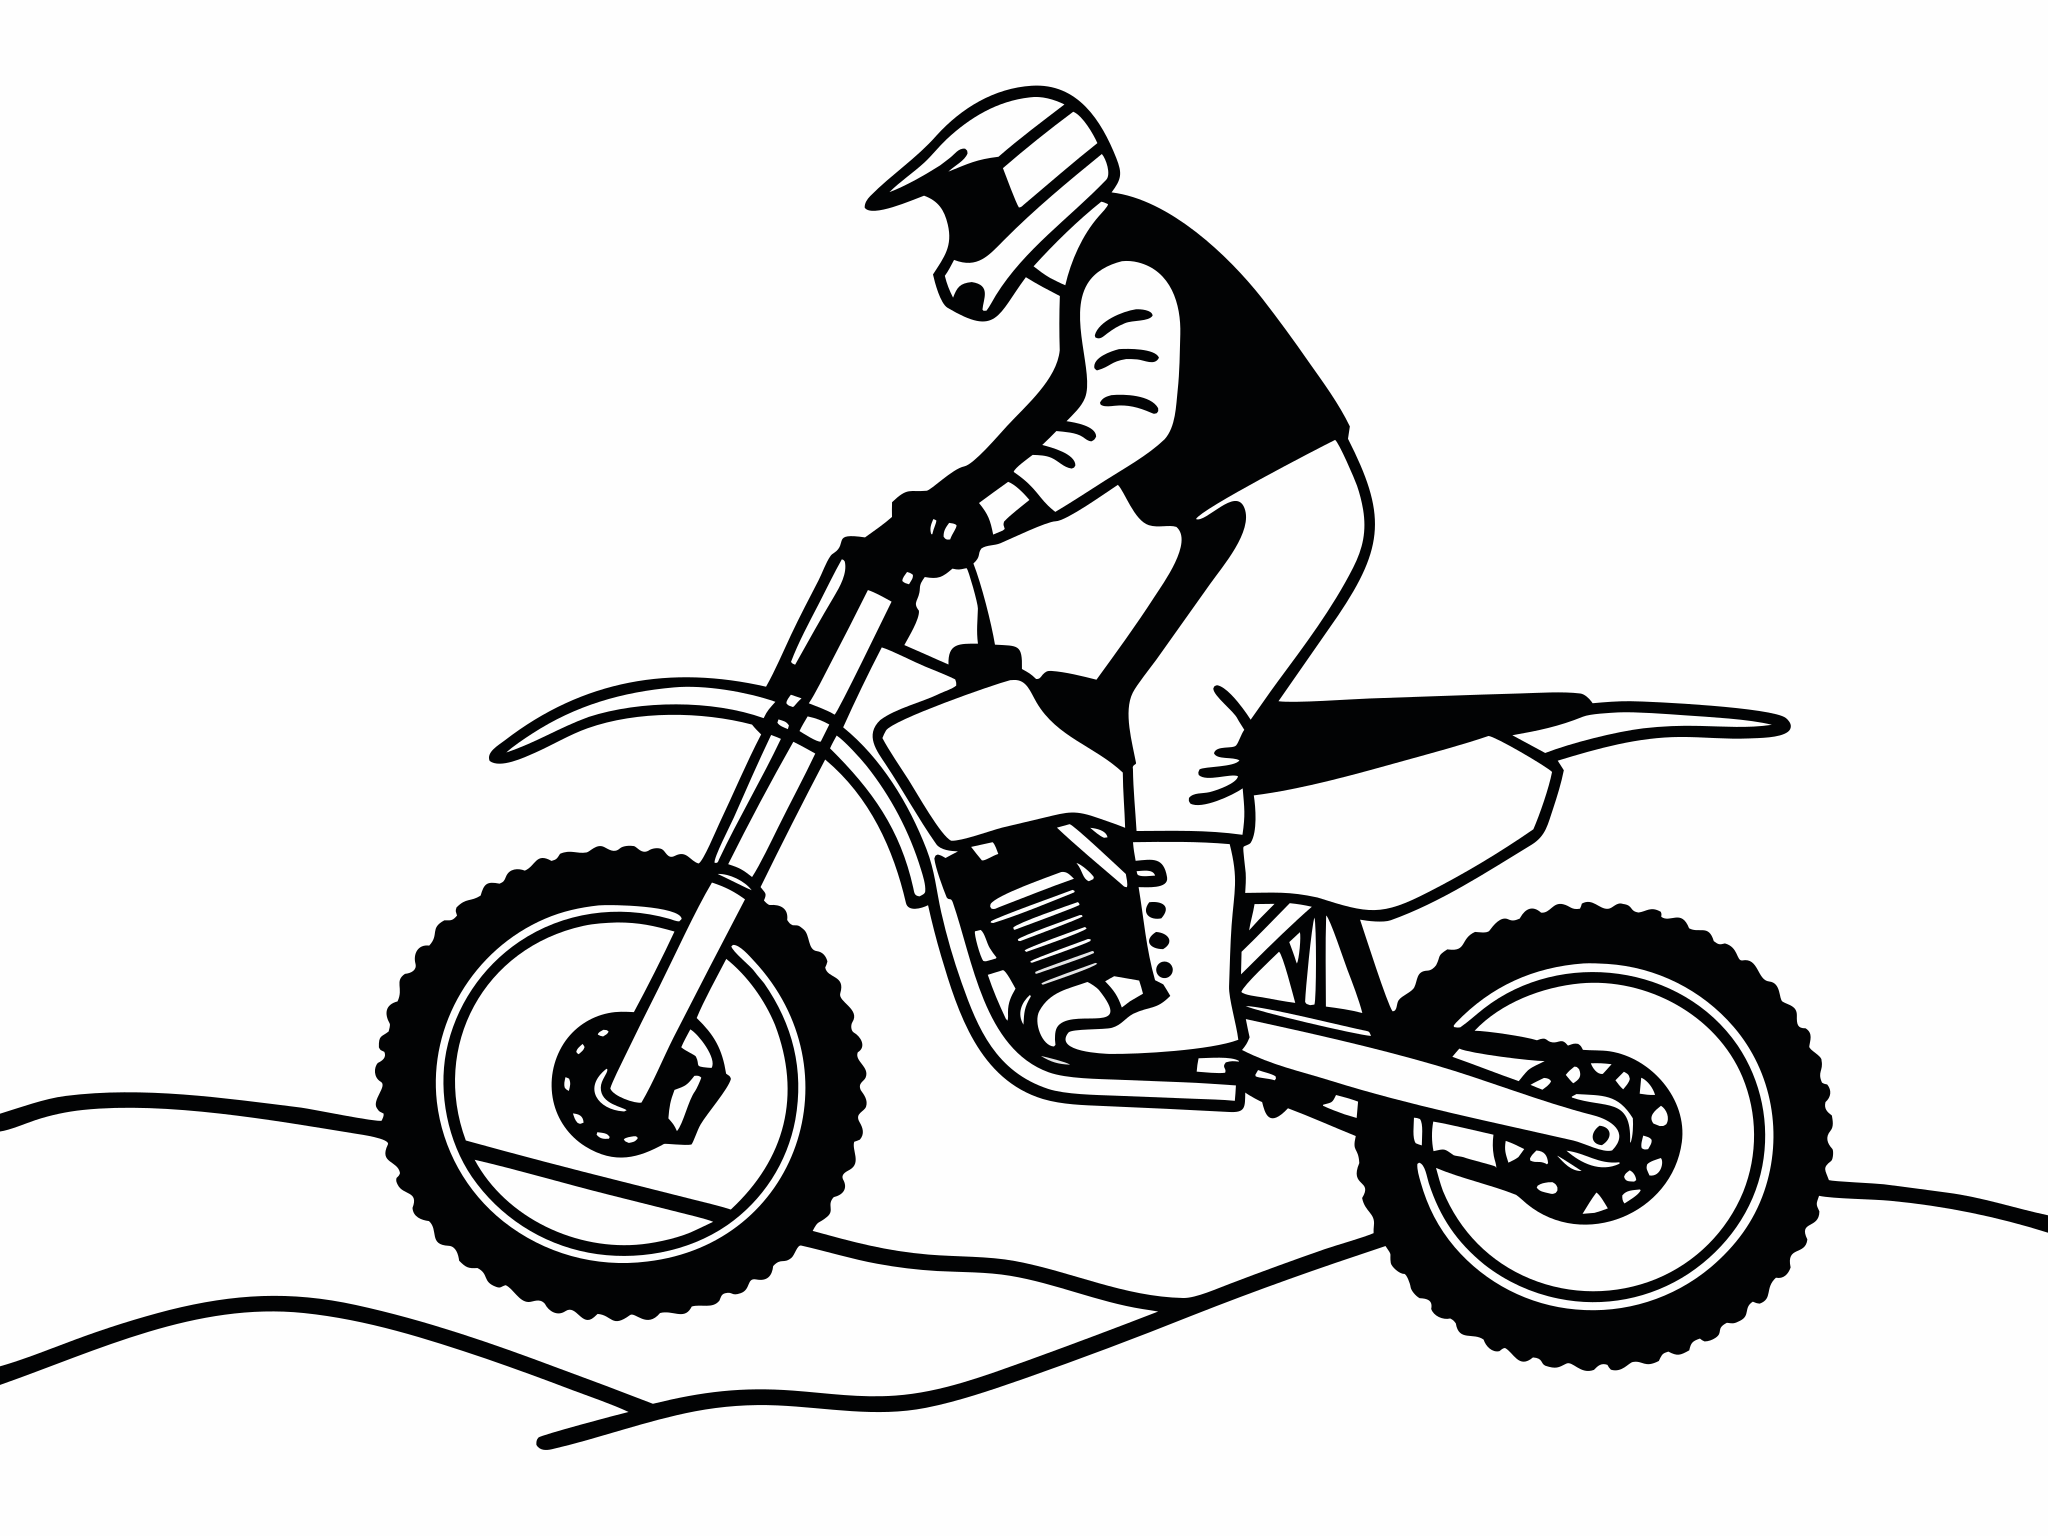
The base position for hard enduro is standing: balls of your feet on the pegs, knees and hips bent, lower legs gripping the bike, elbows bent, head over the bars and eyes well ahead. Your weight goes through the pegs, not the bars. From there your lower body steers the bike and soaks up the terrain, while your upper body manages balance and vision. Move your weight forward to climb, back to descend and onto the outside peg for grip in turns. Sit on purpose, to rest or for the tightest turns, not because you're tired.
Updated October 2026. Sources are listed below. How we work
On this page
- Why body position matters in hard enduro
- The neutral standing position, from feet to eyes
- How the position changes with the terrain
- Climbs and descents
- Steering with your lower body
- When to sit
- Body position drills
- Common body position mistakes and fixes
- A 30-minute body position session
- Progress cues: you're ready to move on when…
- Body positioning questions
Why body position matters in hard enduro
Your lower body steers the bike; your upper body manages balance and vision. A neutral, athletic stance makes the bike track straight and frees your hands for the controls.
Standing does three things sitting can't:
- Your legs become suspension. When the bike hits a rock, your knees and hips absorb the hit and your body stays still. Seated, the hit goes through the seat into your back and the bike bucks you. Cycle World puts it this way: standing "turns you into a dynamic part of your bike rather than just dead weight."
- The bike can move under you. In rocks and roots the bike has to pitch, twist and step sideways. If you're standing loosely over it, it can. If you're sitting on it, every movement throws you.
- You see further. Your eyes are higher. Jarrod Bewley, an outright winner of the Australian 4-Day Enduro, told Transmoto that standing "extends your vision, meaning you can look further through a corner".
Cody Webb, a SuperEnduro world champion, told Dirt Rider that when he has to sit in the rocks, "I always try to stand up again as soon as possible because I'm in more control standing."
The neutral standing position, from feet to eyes
This is the position you return to between every move. Riders call it the attack position. Dirt Rider's definition, from motocross instructor Dean Olsen, is short: "balls of your feet on the pegs, legs bent, head over the bar."
- Feet. Balls of your feet on the pegs, toes pointing forward. That lets your ankles work and keeps your toes clear of rocks: the Motorcycle Safety Foundation (MSF) advises keeping "the balls of your feet on the footrests so your toes do not hang below the level of the motorcycle frame." The ball of your right foot also puts your toe over the brake pedal.
- Lower legs and knees. Grip the bike with your lower legs and knees. Bewley says "gripping the bike with your calves while standing helps keep the rear-end from kicking sideways."
- Knees and hips. Bent, like an athlete ready to move. Stand up with your legs, not by pulling on the bars. Bewley: "use your legs to push yourself into the standing position". Cross Training Enduro adds a cue: bend your legs but keep your lower legs vertical. That puts your hips towards the back of the bike for traction, and the work goes mainly to your quads.
- Back. Flat, leaning forward from the hips so your weight is over the pegs, not behind them.
- Elbows. Bent and slightly out, so your arms can move with the bars.
- Hands. Light. You hold the bars; you don't hang on them. Webb: "Most of my weight's on the pegs. I'm not pushing on the grips."
- Head and eyes. Head roughly over the bars, eyes up and well ahead. The MSF's advice is simple: "Look well ahead on the trail."
A useful test: on smooth ground, relax your grip for a moment. You shouldn't tip forward or back. If you do, your weight is in the wrong place.
How the position changes with the terrain
The neutral position is where you start. Terrain moves you forward, back or sideways from it.
| Situation | Where your weight goes | Why |
|---|---|---|
| Flat trail, roots, small rocks | Centred over the pegs | The bike can move freely under you in any direction. |
| Steep climb | Forward: chest over the bars, knees bent | Keeps the front down and on line. The MSF: "lean well over the front wheel". |
| Steep descent | Back: hips behind the pegs, knees bent, arms bent enough to steer | Legs resist the forward pitch, so you don't go over the bars and the front can still steer and brake. |
| Tight, slow turn | Outside peg, body upright while the bike leans | Loads the tyres and balances the bike's lean. |
| Off-camber rock | Centred with a little forward bias, weight on the outside peg | Ben Grabham told ADB this pushes "the inside knobs into the rock". |
| Rock ledge or log | Back as the front lifts, forward as it lands | See front-end lifts. |
Swipe the table sideways to see every column.
Climbs and descents
Climbing. Move forward. The steeper the hill, the more your chest goes over the bars. The MSF advises that for steep hills you "stand on the footrests and lean well over the front wheel in order to shift as much weight forward as possible." Too far back and the front lifts and wanders off line. Keep your knees bent so your legs can still absorb ledges and roots.
This matters most on long, steady climbs. Rich Larsen, who coaches hard enduro and presents IRC Tire's riding videos, warns that riding a steady incline in the hips-back motocross attack position will tire you in the first 100 feet and bring on arm pump. On a steady climb, Larsen moves much further forward: inches off the seat, pushing down through the pegs on the balls of the feet, knees ahead of the toes. Larsen's test: "You should never feel as if you're hanging from the handlebars."
Descending. Move back. The MSF's advice when descending is to "transfer your weight to the rear." Push your hips back behind the pegs, keep your knees bent and your arms bent enough to steer. Your legs, not your arms, resist the bike pitching forward under braking. Grip with your knees so you don't slide forward. The front brake lesson explains why.
Both are covered in more depth in hill climbs and descents.
Steering with your lower body
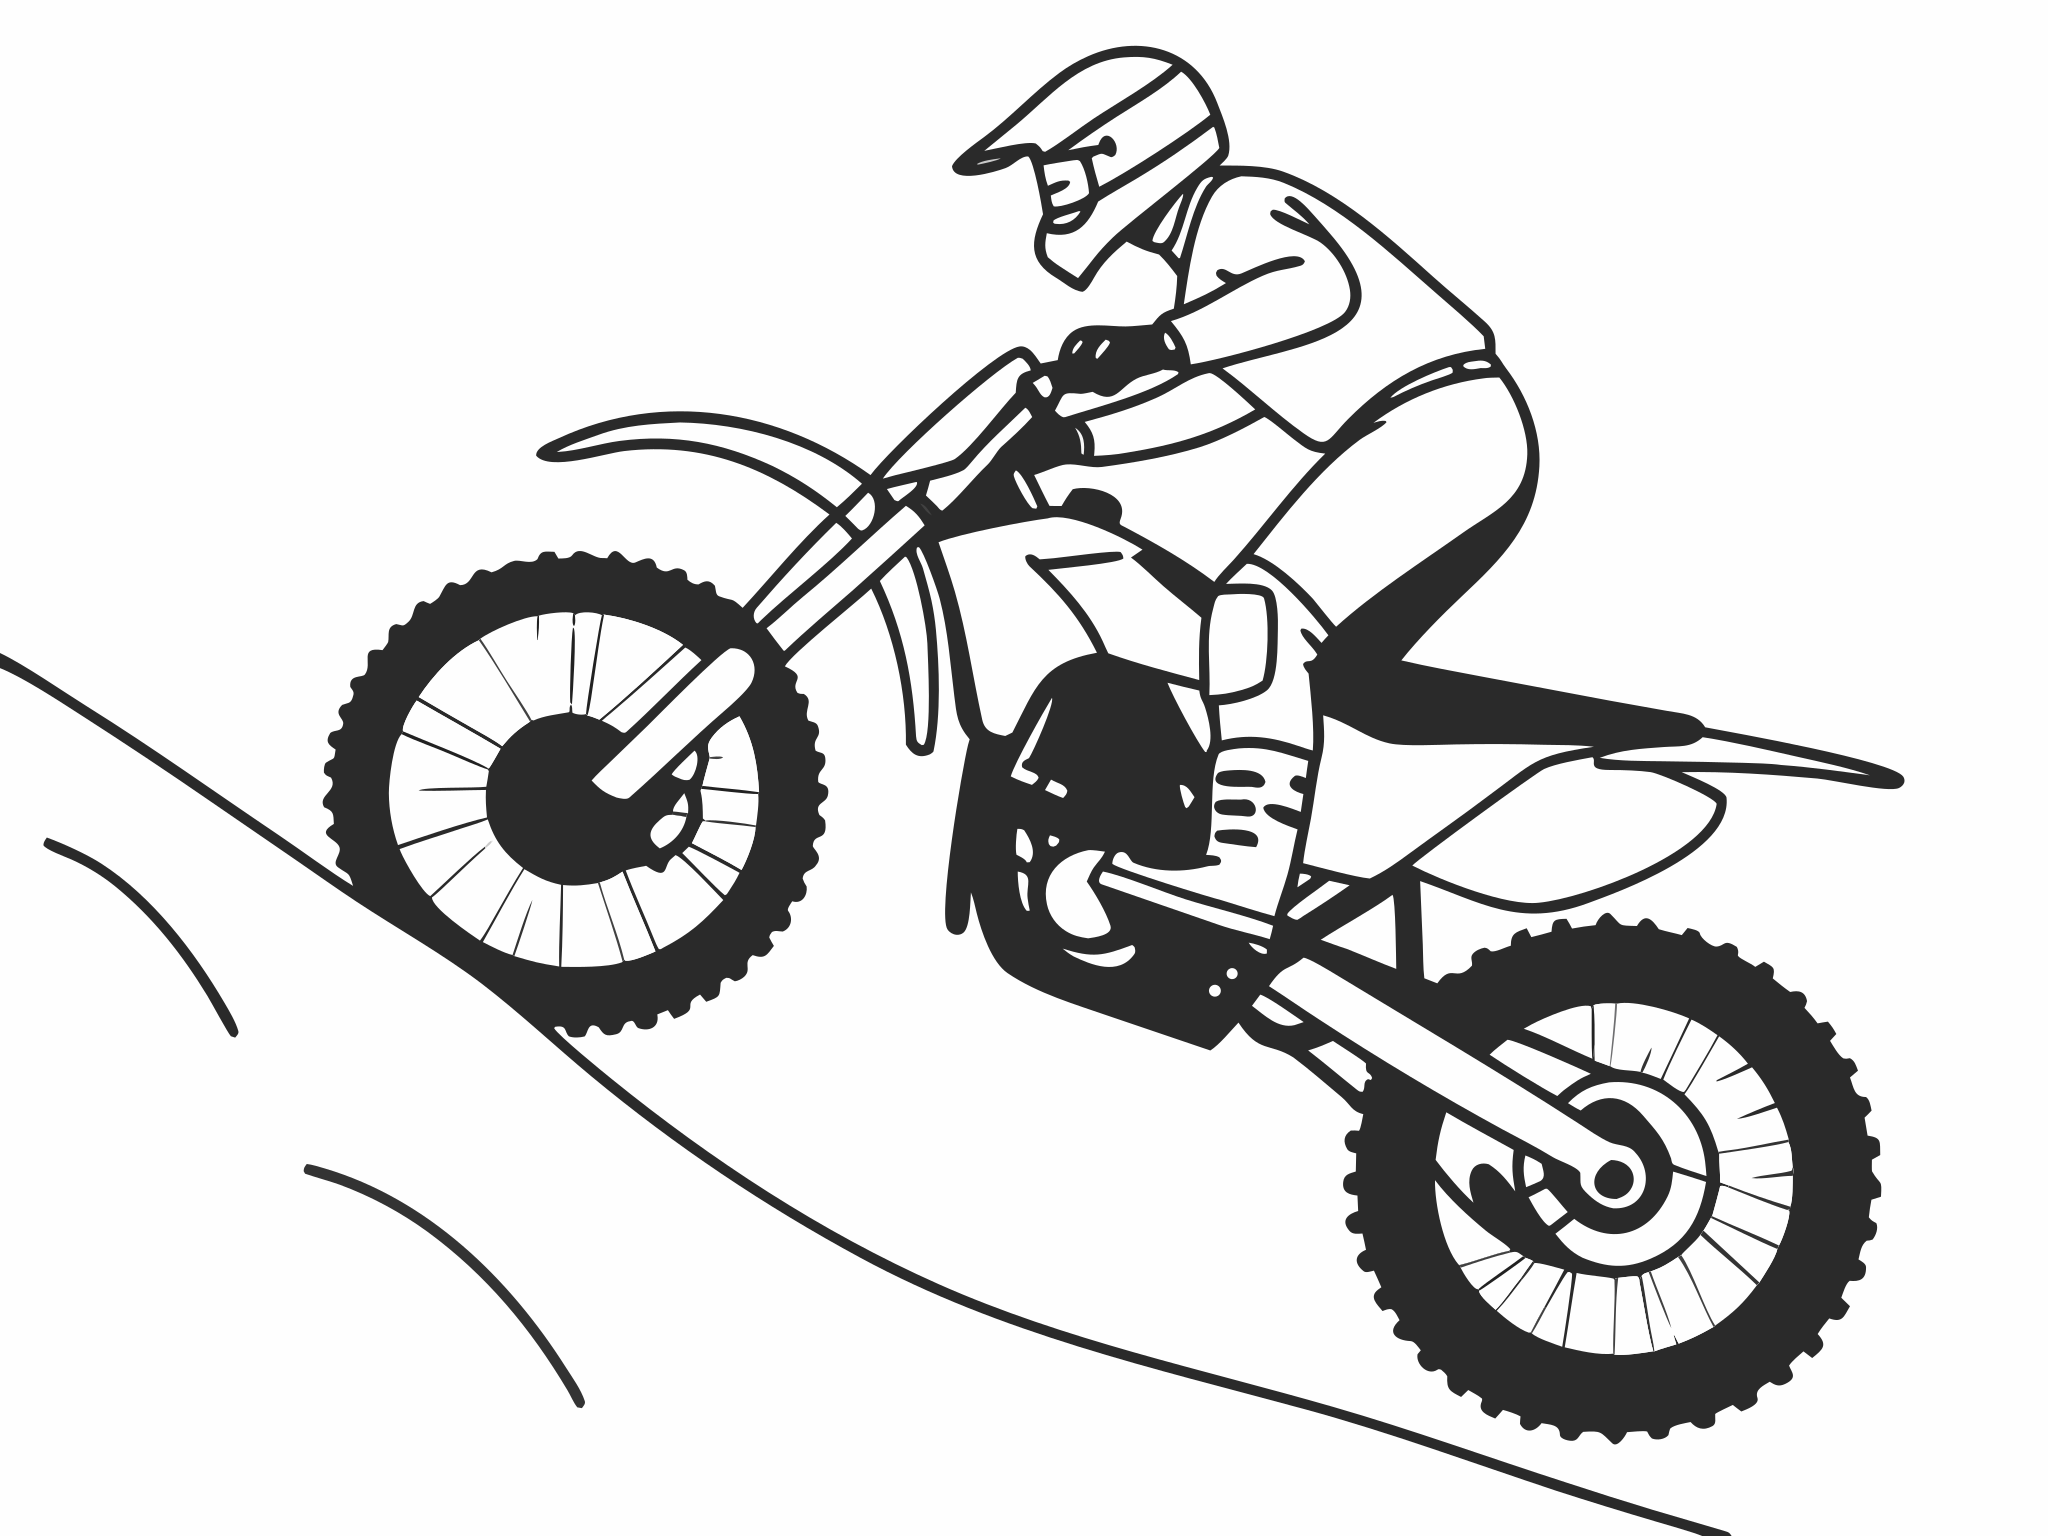
Move your hips to steer; let the front wheel find grip. At trail speed you steer a dirt bike as much with your feet as your hands.
- Inside peg to turn in. Pressing on the inside peg tips the bike into the turn. The Trials Training Center teaches it as "steering with your feet": "Initiate the turn using footpeg pressure, by pushing the inside peg to make the bike lean." Bewley calls it "footpeg steering".
- Outside peg for grip. Once the bike is turning, weight on the outside peg loads the tyres into the ground and keeps you balanced while the bike leans under you. Dirt Bike Magazine's full-lock turn drill has you "weighting the outside peg". Outside-peg pressure also stands the bike up as you leave the turn.
- Knees. Squeezing with your knees keeps the bike straight in rough ground. Russ Pearson, a Hare and Hound champion, told Dirt Rider that in rock fields "you should be standing and gripping the bike with your legs."
- Bars. Light hands let the front wheel follow the ground. Fighting every deflection with your arms just tires them.
There's a balance here. Grip too hard and the bike can't move under you. Webb's advice in the rocks: "I never try to grip too much in the rocks; you have to let the bike dance a little bit sometimes underneath you." Grip when you need the bike to stay straight. Loosen when it needs to move.
When to sit
Sit with purpose on long, smooth sections to rest, not because you're collapsing. Good reasons to sit:
- Recovery. A smooth fire road or easy trail is the time to rest your legs and breathe.
- The tightest, slowest turns. Daniel Milner, an Australian A4DE winner, told Transmoto that it's only "around the really tight corners" that he'll "even consider sitting."
- Small hills. The MSF's advice for small hills is to shift your weight forward "by sliding forward on the seat", which keeps the front down and on line.
- Getting unstuck. Webb puts weight on the seat to get out of trouble in rocks, then stands again as soon as he can.
Where to sit. Cross Training Enduro's advice is to sit with your backside in line with the footpegs, usually right at the front of the seat. Keep your elbows up and out, and keep your toes on the pegs so your boots don't point down into the terrain.
Bad reasons to sit: fatigue you could have trained for, or fear of a section. If you find yourself sitting through terrain you'd stand for when fresh, that's a fitness problem. The strength and mobility lesson helps.
Body position drills
Start on easy, open ground. Every drill is about feeling where your weight is.
1Stand up with your legs
Ride at a slow jog in second. Stand up and sit down twenty times, using only your legs. Your hands shouldn't pull on the bars and the engine note shouldn't change. If the throttle moves when you stand, your arms are doing the work.
2Light hands check
On a smooth, straight section, standing, relax each hand in turn and wiggle the fingers. If the bike stays steady, your weight is on the pegs. If you lurch, adjust your hips forward or back until you can.
3Peg-steering slalom
Set a line of five markers about three bike-lengths apart. Weave through them standing, steering as much as you can with peg pressure and knees and as little as possible with the bars. Notice how bar pressure and peg pressure each change steering. Then move the markers closer together.
Then take it to an easy trail. SoCal Off-Road School's drill is to ride it slowly with your left hand on your back. Use second gear, since you have no clutch. To turn, drop the left or right heel to put weight on that peg. With one hand off, the bars can't do the work, so your ankles and lower legs have to.
4Forward and back
Find a short, gentle hill. Ride up it standing with your chest forward, turn at the top, and ride down with your hips back. Do it until the shift happens without thinking. Then find a slightly steeper hill.
5Roots and bumps
Ride a trail with roots and small rocks, standing. Let the bike move under you and keep your head level: imagine a glass of water on your helmet. Your knees and hips should be working constantly; your head and hands shouldn't.
6Sit and stand on easy trail
Alternate between sitting and standing on easy terrain, a minute of each. Notice how differently the bike reacts to bumps and how much further you see standing. Keep your eyes far ahead and breathe steadily.
Common body position mistakes and fixes
Standing bolt upright with straight legs.
Fix: Straight legs can't absorb anything. Bend your knees and hips, lean forward from the hips, and feel your legs start to work.
Arms locked straight, weight on the bars.
Fix: Move your hips forward until your weight is over the pegs, and bend your elbows. Heavy hands are a fast route to arm pump.
Toes pointing out or hanging below the pegs.
Fix: Balls of your feet on the pegs, toes forward. It's safer in rocks and puts your toe where the brake and gear lever are.
Looking at the front wheel.
Fix: Look where you want to go. Grabham's advice on off-camber rock is to look where you want to finish and keep what's under your tyres in your peripheral vision.
Sitting down on every climb.
Fix: On a steep climb, sitting pushes your weight back and lets the front wander. Stand and move forward.
Gripping everything, all the time.
Fix: Grip hard when the bike needs to go straight through hits; loosen up in turns and rock gardens so the bike can move under you.
A 30-minute body position session
| Time | Drill | What to focus on |
|---|---|---|
| 0–5 min | Stand and sit with the legs only | No pull on the bars, no change in engine note. |
| 5–10 min | Light hands check on a straight | Weight on the pegs. |
| 10–17 min | Peg-steering slalom | Pegs and knees steer; bars follow. |
| 17–24 min | Forward and back on a gentle hill | Chest forward up, hips back down. |
| 24–30 min | Roots and bumps, standing | Head level, legs working. |
Swipe the table sideways to see every column.
Progress cues: you're ready to move on when…
- You can ride 10 minutes of easy trail standing without your arms or hands getting tired.
- Your bars stay calm over roots and small rocks, and the bike tracks straight.
- When the bike deflects off a rock or root, you correct it with your legs, not a grab at the bars.
- You shift forward on climbs and back on descents without thinking about it.
- You can steer through a slalom mostly with your pegs.
- You sit because you choose to, not because you're tired.
Body positioning questions
Should I stand on the balls of my feet or my arches?
The balls of your feet for almost everything. It lets your ankles absorb bumps and puts your toes over the controls. In rocks, some riders drop their heels to weight the back of the pegs for rear-tyre traction: Cody Webb told Dirt Rider he does it "so I've got all the pressure on the rear tire." It's a variation, not the base position.
Should I grip the bike with my knees?
Yes, most of the time — with your knees and lower legs, not your hands. Loosen your grip when the bike needs to move freely under you, such as in tight turns and loose rock.
Isn't standing all day exhausting?
Standing badly is. With your weight on the pegs and your legs bent, your skeleton and legs carry you and your arms rest. Standing well also takes leg fitness. See endurance.
I come from motocross. What's different?
Much more time standing at low speed, and much more time with the bike moving under you rather than you moving the bike. The motocross to enduro guide covers the switch.
All lessons in Riding Fundamentals
Related lessons and guides
- Full-lock figure-eightsOutside-peg weighting at walking pace.
- Static balanceThe standing position with the bike stopped.
- Hill climbs and descentsForward and back on steep ground.
- Arm pump guideWhy light hands matter over a long day.
- Strength and mobilityThe leg strength that makes standing easy.
- BootsPeg feel and protection for your feet.