Lesson 3 of 6 in Controls 101
Front Brake
Use the front brake with a progressive squeeze, never a grab. The first light pressure shifts weight onto the front tyre; only then can it take hard braking. On grippy ground the front does most of your stopping. On loose, wet or very steep ground you use it more gently and let the rear brake and engine do more. Used well, the front brake also holds the bike still, helps it turn in tight spots and, later, pivots it on the front wheel.
Updated October 2026. Sources are listed below. How we work
On this page
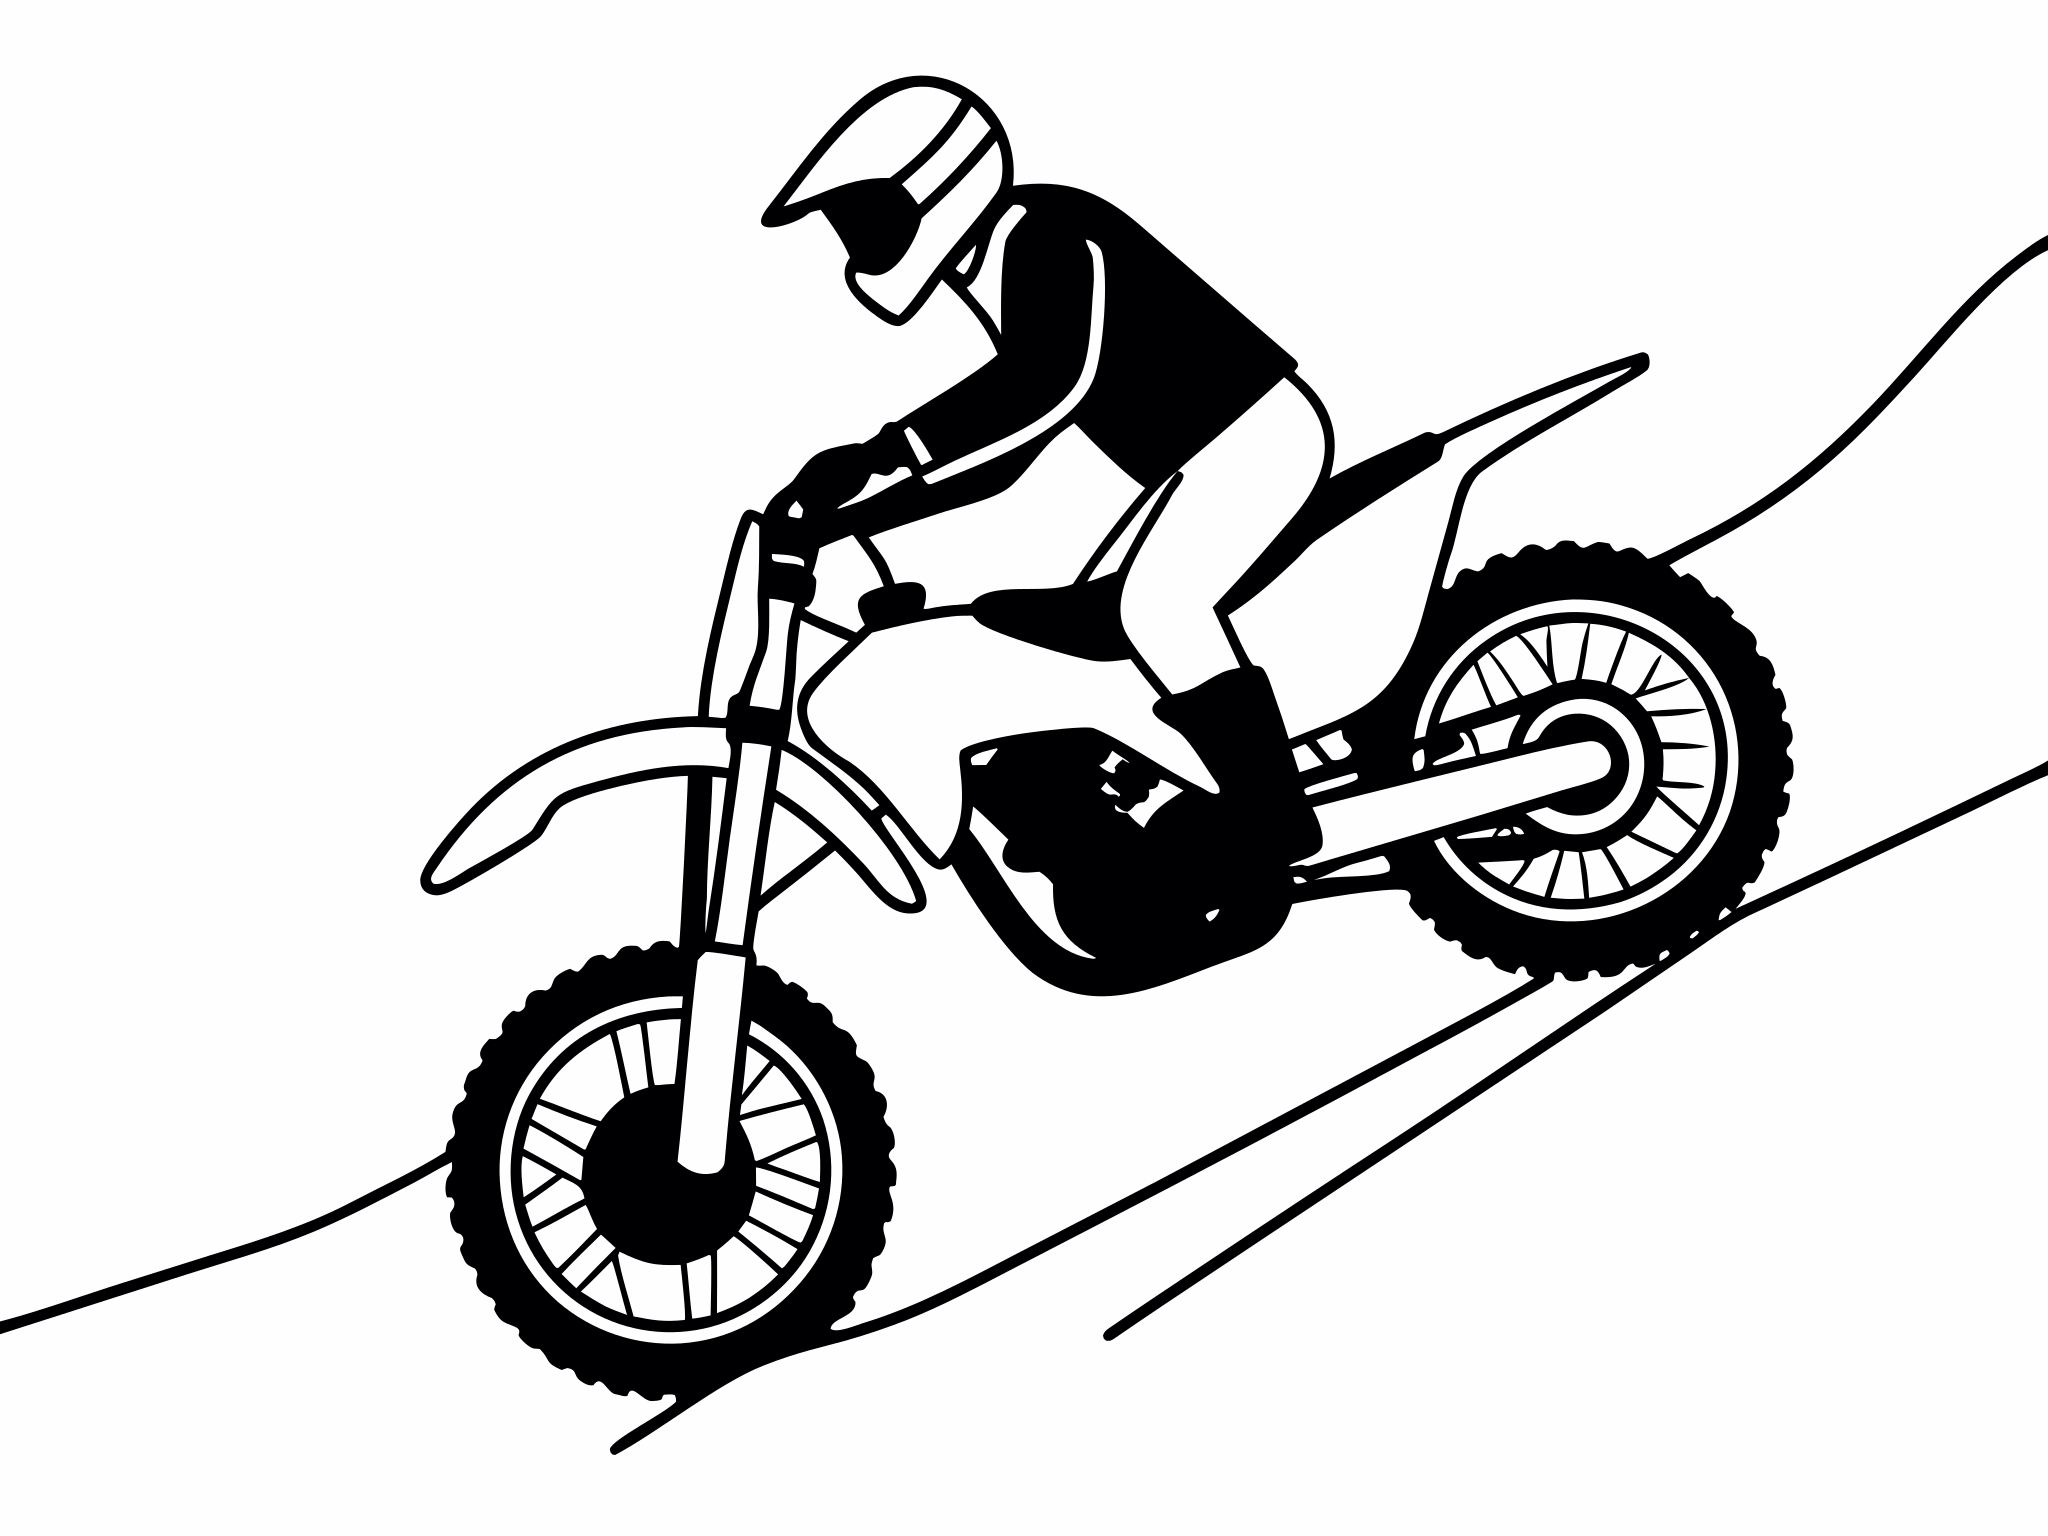
Why the front brake matters in hard enduro
When you brake, the bike's weight moves forward. That loads the front tyre, pushes it into the ground and gives it more grip, while the rear tyre gets lighter. This is why the front brake can stop you much harder than the rear on good ground. Even on hardpack, where Chris Hollis told Transmoto "traction is limited", he brakes "mainly … through the front wheel", estimating "nearly 90 percent front and 10 percent rear".
The front brake is also built for it. On the 2024 KTM 250 and 300 EXC, the front disc is 260 mm and the rear 220 mm. Dirt Bike Magazine's Mr. Know-It-All column points out that the larger front rotor sheds heat faster than the rear.
In hard enduro the front brake does more than slow you down:
- Descents. It controls speed on steep downhills, where you need it most and where it's easiest to overdo.
- Holding still. With the bars turned, light front brake pressure holds the bike in place while you balance. Dirt Bike Magazine's balance drill uses exactly this: "apply pressure to the front brake to hold yourself in place".
- Tight turns. A touch of front brake settles the bike and helps it turn tightly at walking pace.
- Pivots. Advanced riders load the front and lift the rear to swing the back of the bike round in places too tight to turn. That's covered in the stoppies lesson.
When to use less front brake
The front brake's strength is also its risk. A locked front wheel stops steering, and on a loose descent a locked front tyre slides, the bars turn and the bike drops. So the balance between front and rear changes with the ground:
- Grippy, level ground: mostly front.
- Loose, wet, sandy or slippery ground: less front and more rear. KTM's owner's manual advises: "On sandy, wet or slippery surfaces, use the rear brake."
- Steep drops and ledges: in Dirt Bike Magazine's drop-off feature, the rider "maintains less front brake than rear", which "keeps the rear end from extending and forcing the fork down".
This isn't a contradiction. The front brake is the most powerful brake on the bike when the tyre has grip to use it. When grip is in doubt, you ask less of it. Your job is to read the ground and set the balance before you need it.
Set up the lever
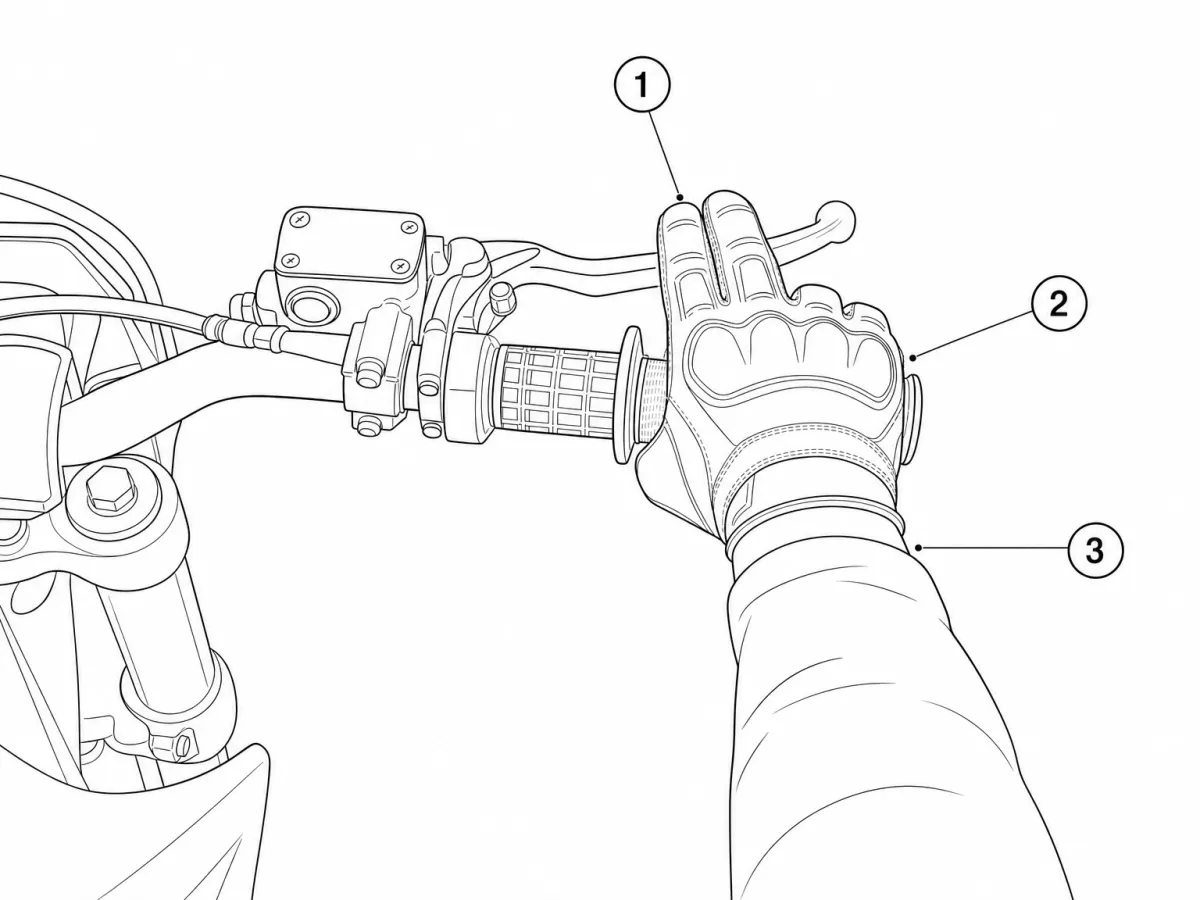
- One or two fingers. Cover the front brake with your index finger, or index and middle, and keep the rest of your hand wrapped round the grip. Many riders find one finger enough with modern hydraulic brakes.
- Reach and angle. Adjust the lever so a finger rests on it without stretching while you stand, and angle it so your wrist stays straight. Stand on the pegs to set it, not while sitting in the garage.
- Free travel. KTM's manual asks for at least 3 mm of free travel at the hand brake lever, because without it "pressure builds up on the front brake circuit". A brake that drags is always slightly on, which heats the brake and wastes energy.
- Wet and dirty brakes. After a water crossing or deep mud, the brakes grab weakly until they clear. KTM's advice: "Brake carefully several times to dry out and remove dirt from the brake linings and the brake discs."
Body position for braking
Braking throws your weight forward. If your arms take it, they lock, your weight goes over the bars and the steering gets heavy just when you need it light.
- Stand, and push your hips back as you brake, so your legs, not your arms, resist the forward pitch.
- Match how far back you go to how hard you brake. The Mx Factory's braking video calls this the thing most people don't get. Heavy braking needs your weight well back. Light braking needs less. Brake hard from the wrong spot and you go forward while the bike stays back.
- Keep your elbows soft so the bars can still move.
- Grip with your knees to stop yourself sliding forward on the bike. Rich Larsen, in an IRC Tire USA Moto video, squeezes with the knees and moves from centred to over the rear tyre under heavy braking. Larsen's test: "You shouldn't feel a heavy strain on your arms when under heavy braking."
- Eyes up. Look where you want the bike to stop or turn, not at the front wheel. The bike tends to go where you look.
On a steep descent this becomes the standard downhill stance: standing, hips back, legs doing the work. The hill climbs and descents lesson applies it to bigger hills.
Five front brake drills, from flat ground to descents
Start on flat, grippy ground at walking pace. Speed and steepness come last.
1Two-stage squeezes
Ride at walking pace. Apply the front brake in two steps: a light touch first, feel the fork compress, then squeeze harder. Stop. The first step loads the tyre; the second does the braking. Repeat until the two steps blend into one smooth squeeze.
2Stopping-distance ladder
Mark a start line and ride up to it at the same speed each time. Brake at the line using mostly front brake and stop as short as you can without a skid. Put a marker where you stop. Try to beat it, one step at a time. If the front tyre chirps or slides, release a little and squeeze again: that's the feel you're learning.
The Mx Factory runs a two-cone version: accelerate from the first cone, and as the front tyre reaches the second, snap back into position and brake. Leave the clutch alone. With the clutch out, the engine brakes too, so you learn to use all three brakes at once.
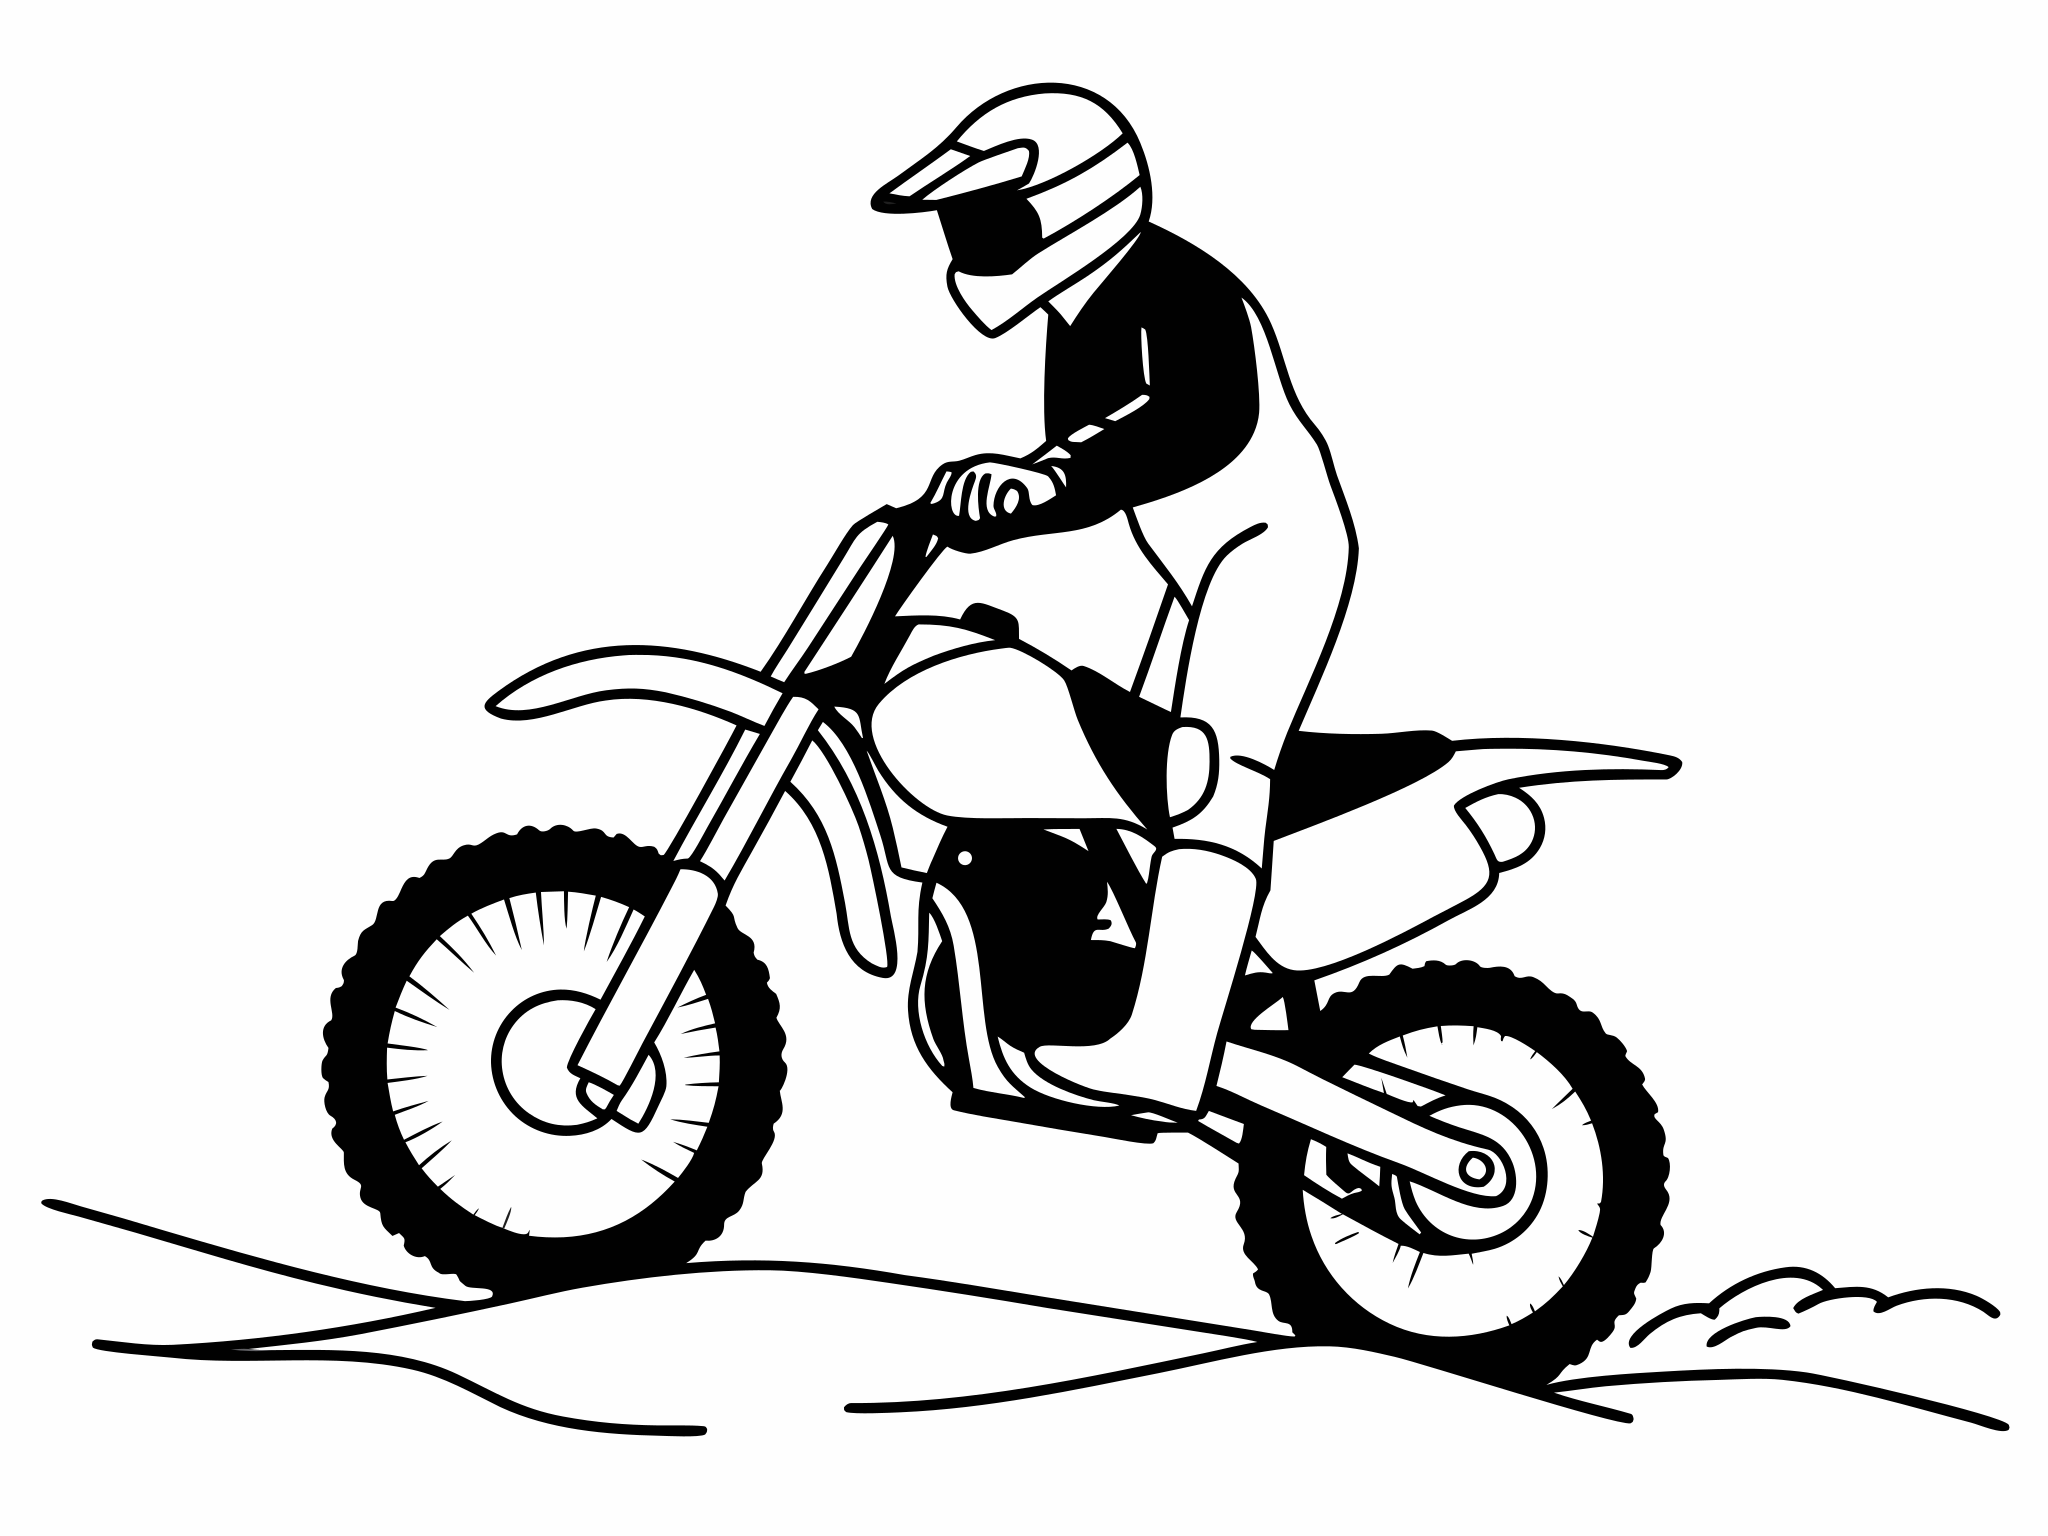
Practise stops on flat, grippy ground first, at one steady approach speed. 3Brake, then turn
Set two markers five metres apart. Brake to walking pace at the first, release the brake smoothly and turn around the second. Then try it with a light touch of front brake held into the turn. Feel how a little front brake settles the bike. Keep it light: at walking pace near full lock, too much front brake tips the bike into the turn and can drop it.
4Hold still with the bars turned
At a standstill, turn the bars to full lock, stand on the pegs and use light front brake to hold the bike still while you balance. Weight the outside peg. This is the start of static balance and a useful way to wait for a line to clear.
5Easy descents
Find a short, gentle, grippy slope with a flat run-out. Ride down it standing, hips back, controlling speed with both brakes. Use the front progressively and keep the wheel rolling. Then find a slightly looser slope and notice how much less front brake it will take before the tyre starts to slide.
Where front braking goes wrong
Grabbing the lever.
Fix: A sudden grab hits an unloaded tyre and locks it. Squeeze in two stages: touch, then squeeze.
Locking the front on a loose descent.
Fix: Release immediately and reapply more gently. On loose ground, set a slower entry speed and use more rear brake. A rolling front wheel steers; a locked one doesn't.
Stiff arms under braking.
Fix: Push your hips back and let your legs take the load. Your arms should stay bent enough to steer.
Braking in the turn instead of before it.
Fix: Do your hard braking in a straight line, then release as you turn. Hollis's advice on hardpack is to get it done "in a straight line and early".
Looking at the front wheel.
Fix: Look at where you want to stop or the exit of the turn. Your body and the bike follow your eyes.
Riding with the brake dragging.
Fix: Check free travel and that the lever returns fully. A dragging brake heats up and fades.
A 30-minute front brake session
| Time | Drill | What to focus on |
|---|---|---|
| 0–5 min | Two-stage squeezes at walking pace | Feel the fork load before the hard squeeze. |
| 5–13 min | Stopping-distance ladder | Shorter stops without a skid. |
| 13–20 min | Brake-then-turn around a marker | Braking done before the turn, eyes on the exit. |
| 20–24 min | Hold still at full lock with front brake | Light pressure, weight on the outside peg. |
| 24–30 min | Easy descents with both brakes | Hips back, front wheel always rolling. |
Swipe the table sideways to see every column.
You're ready to move on when…
- You can stop smoothly from the same speed five times in a row without a skid.
- You can feel the fork load before you squeeze hard.
- You can brake on an easy descent without locking the front.
- Your elbows stay bent and your eyes stay up under hard braking.
- You can hold the bike still at full lock with light front brake pressure.
Front brake questions
Is it dangerous to use the front brake off-road?
Grabbing it is. Squeezing it progressively is how you stop quickly on most surfaces. On loose, wet or very steep ground use it more gently and lean on the rear brake more.
How many fingers should I use on the front brake?
One or two. That leaves the rest of your hand holding the grip, which matters when the bike is bucking over rocks.