Lesson 7 of 7 in Riding Fundamentals
Controlled Front‑End Lifts
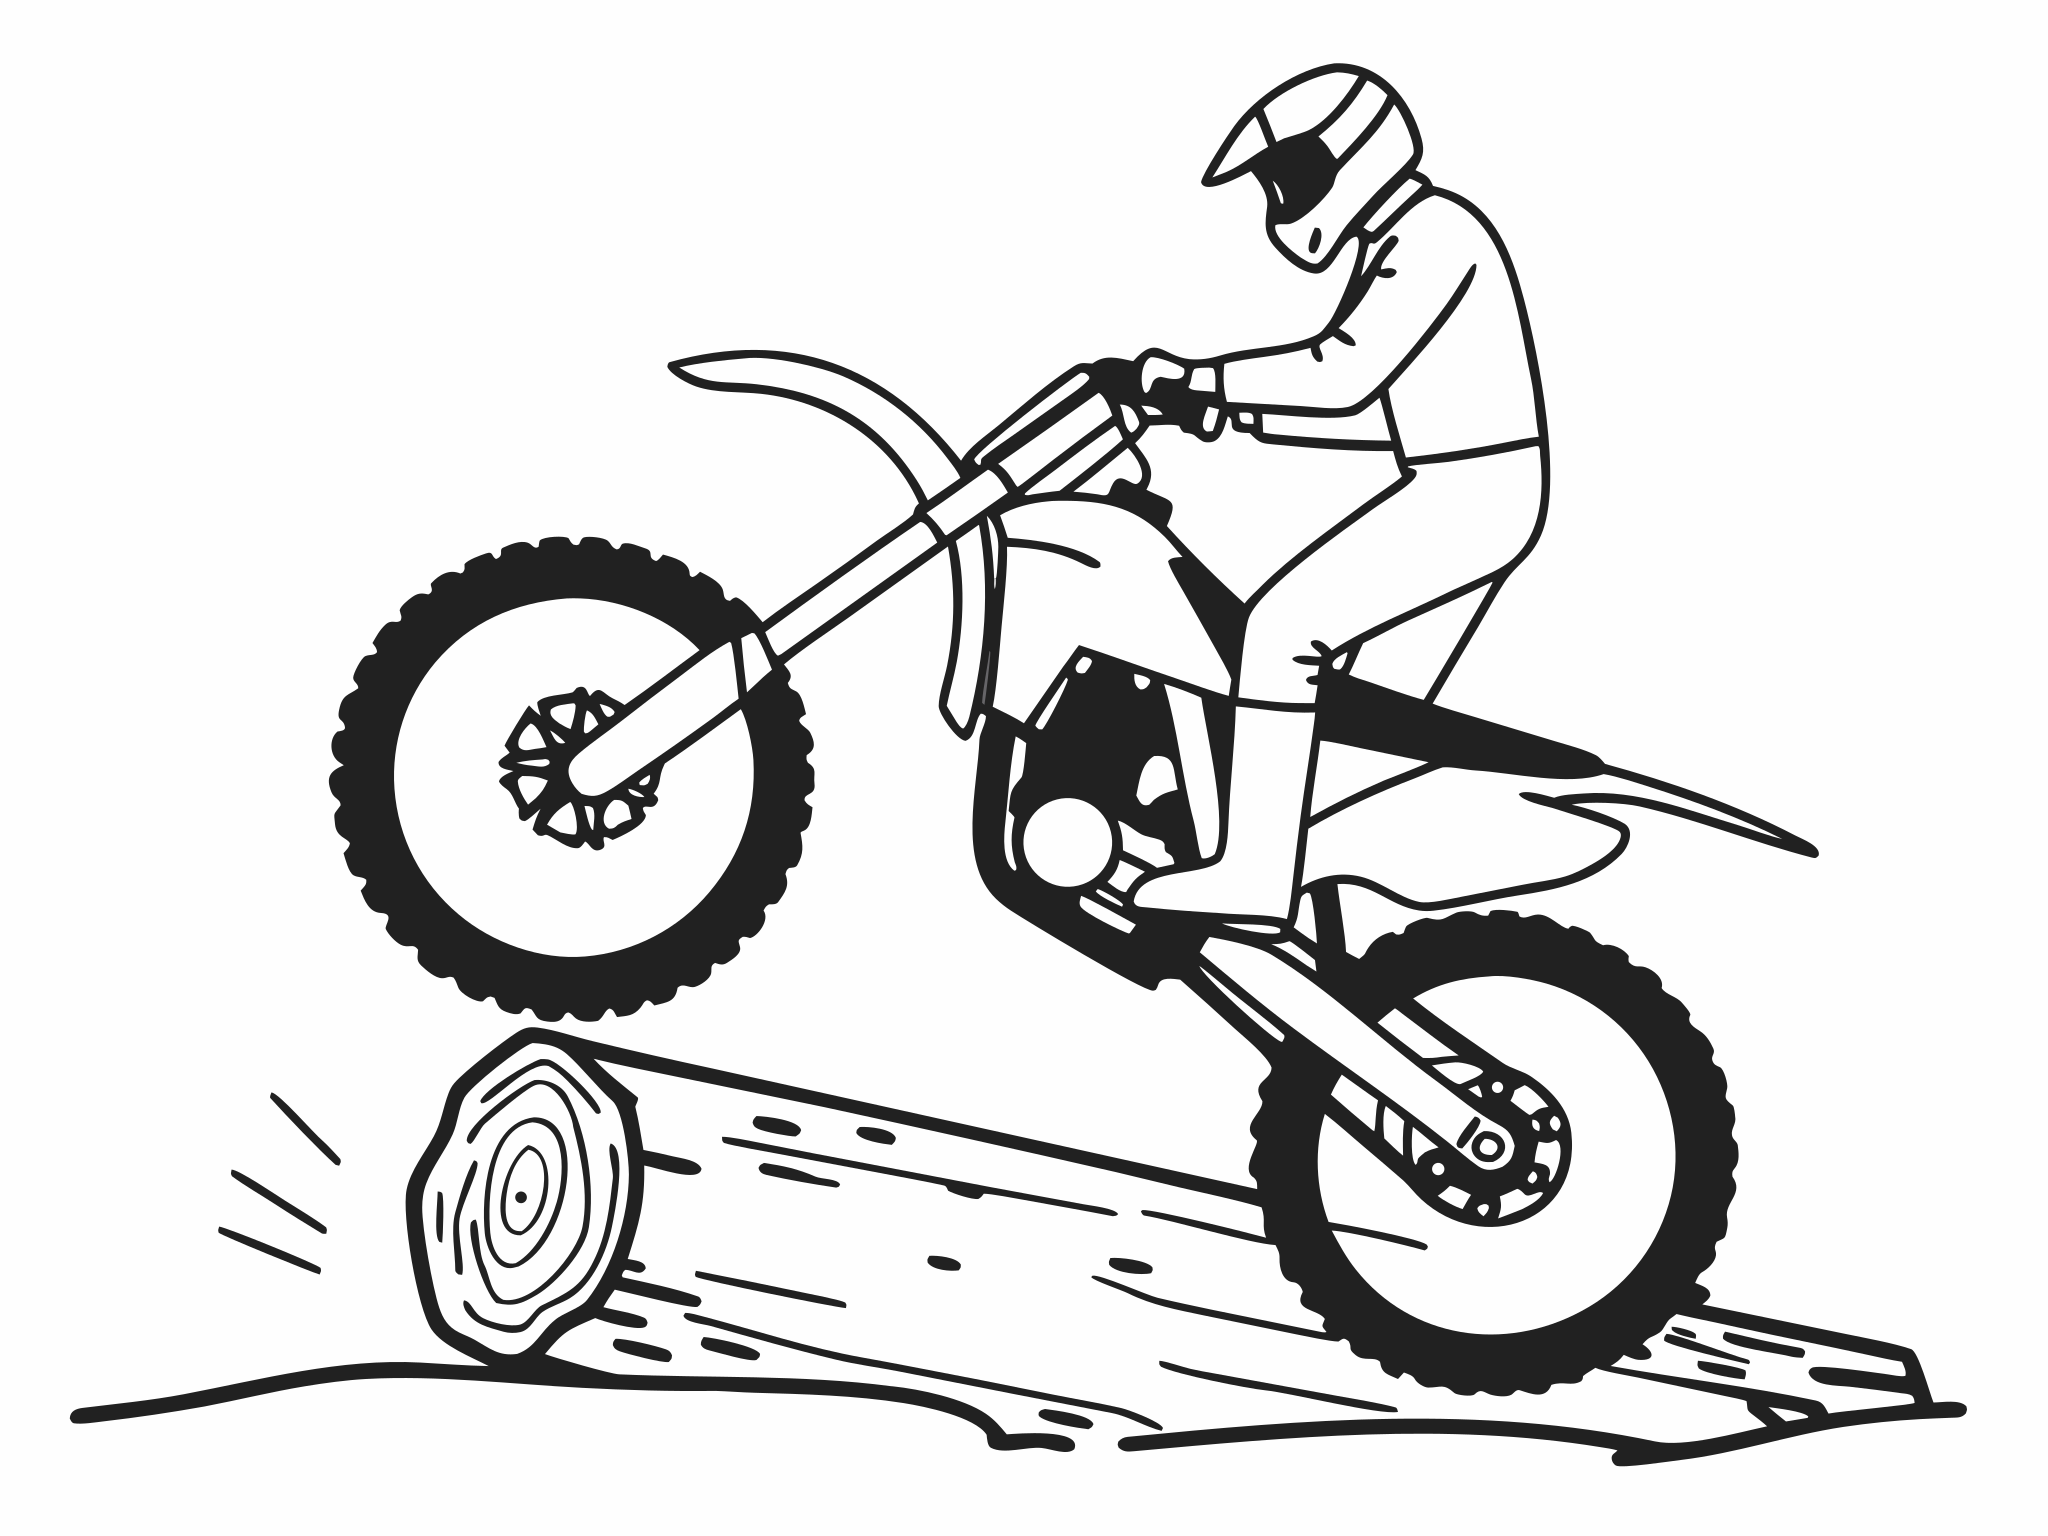
A controlled front-end lift raises the front wheel a set height, for a set moment, so you can place it on a log, step or rock, or carry it over a hole or root. It comes from timing, not power: dip your body to compress the fork, then as it springs back, let the clutch out a short, quick amount against a slightly raised throttle while your legs push against the pegs. Keep your right foot over the rear brake the whole time and tap it if the front comes up too far.
Updated October 2026. Sources are listed below. How we work
On this page
- Why front-end lifts matter in hard enduro
- How a lift works: preload, drive and timing
- How big a lift, for what
- Body position through a lift
- Where to put the front wheel
- Front-end lift drills: from a bounce to a log
- Safety: rear brake cover and clutch heat
- Common front-end lift mistakes and how to fix them
- A 30-minute front-end lift session
- You're ready to move on when…
- Front-end lift questions
Why front-end lifts matter in hard enduro
The front wheel steers and the front wheel stops. When it hits a square edge — a log, a rock step, the far side of a hole — it either climbs it or it stops the bike dead and throws you forward. The rear wheel is different: it's driving, and the rear suspension is built to take a hit. So nearly every obstacle in hard enduro is crossed the same way: lift the front onto or over it, then let the rear follow.
Where you'll use it:
- Logs. The front goes onto the top of the log so the rear can climb up behind it. The logs and rocks lesson takes it from there.
- Rock steps and ledges. Same idea: place the front on top, then drive the rear up.
- Holes, washouts and ruts. A short lift carries the front over the gap so it can't drop in.
- Roots and small edges. A few centimetres of lift stops the front deflecting sideways on a wet root.
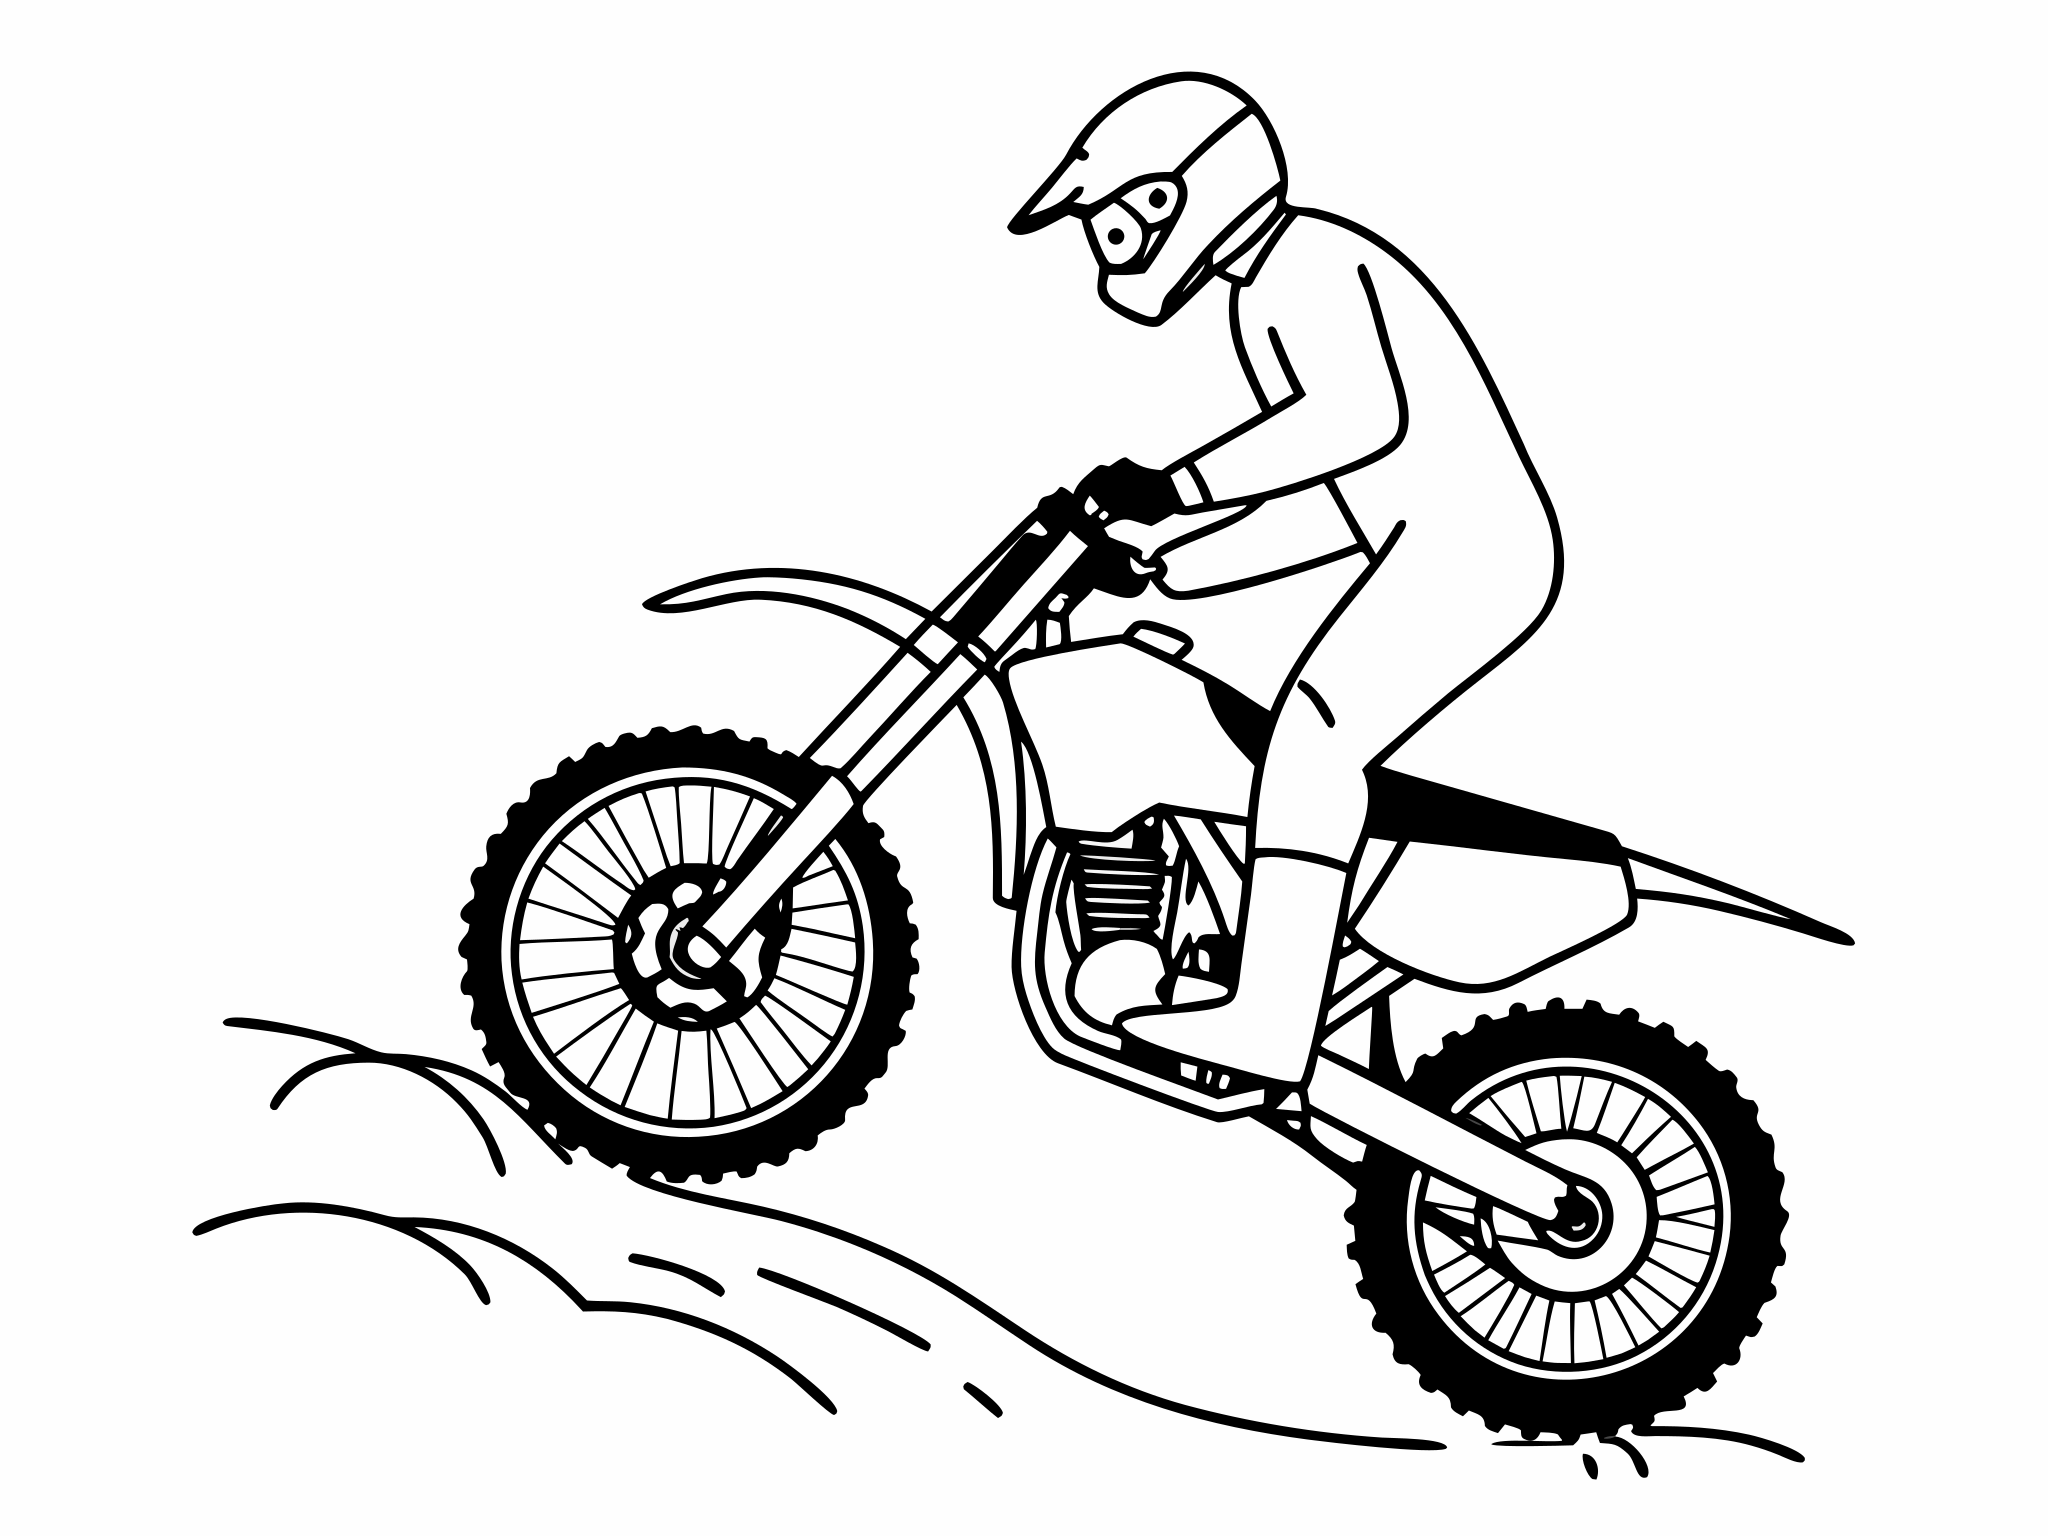
- Climbs. On a rocky hill, a small lift over each ledge keeps you crawling instead of stalling. Australasian Dirt Bike (ADB) editor Mitch Lees describes popping the front "10cm" on a climb, then squeezing the clutch "in ever so slightly" to bring it down and keep crawling.
The key is control. A lift that goes too high, too early or in the wrong place is worse than no lift at all.
How a lift works: preload, drive and timing
Three things lift the front wheel. Get them working together and it takes very little effort.
1. Preload. Dip your body by bending your knees and let your weight push the bike into its suspension. When you stop pushing, the fork springs back and the front wants to rise. The Trials Training Center, describing Bruce and Brent LeRiche's technique, puts it precisely: "The body comes down and forward with a dip of the knees, keeping the head and upper body still."
2. Drive. A short, sharp burst of drive to the rear tyre pushes the bike forward under you and rotates the front up. At walking pace that burst comes from the clutch: throttle held a little above idle, clutch pulled in, then let out quickly but only a short way. ADB's log article describes the same move: "Use the clutch to bring up the engine speed and then quickly engage it to get maximum drive to the rear wheel".
3. Timing. The drive must arrive as the fork is rebounding, not while it's still compressing. Too early and you're fighting your own weight. Too late and the rebound has gone. Sam King, a professional trials and off-road rider, describes the clutch version in RidersWest: "briefly pull the clutch in and then out again as the suspension rebounds."
And the brake. The rear brake is the height control. ADB's advice is to "cover the rear brake so that you can control how high your front wheel goes without killing the engine". A tap brings the front down immediately. Pulling the clutch in slightly lowers it more gently.
How big a lift, for what
| Obstacle | Lift | How |
|---|---|---|
| Root, small rock, rut edge | A few centimetres | Small dip and a quick blip of clutch or throttle |
| Hole or washout | Enough to carry the front across | Lift just before the hole; the rear rolls through under drive |
| Kerb-height log or step | Front wheel onto the top | Full dip, clutch release, legs push |
| Log or step close to wheel height | Front wheel onto the upper part of the face | Double-blip; see logs and rocks |
Swipe the table sideways to see every column.
Body position through a lift
Set up. Stand in your normal stance: knees and hips bent, balls of your feet on the pegs, head over the bars, eyes on the top of the obstacle. One finger on the clutch. Right foot over the rear brake pedal. The body positioning lesson covers this stance.
Dip. Bend at the knees to compress the bike. Keep your head and upper body quiet. Dipping your chest to pull on the bars is the most common mistake: the Trials Training Center names it and warns against using "too much arms to try to pull the bike up".
Extend. As the clutch bites, push with your legs against the pegs. Your arms stay bent and simply let the bars come towards you. The bike rises under you instead of you hauling it up.
Front up. Let your hips move back a little as the front rises, so you stay balanced over the bike, not behind it. At speed on small logs, Transmoto's Josh Green adds a hard pull on the bars and moves his weight well back. That's the fast version. At walking pace, legs and suspension do the work.
Front down. As soon as the front is on the obstacle, bring your weight forward over the bars again. That unloads the rear so it can climb. Cody Webb describes leaning forward "to kind of unweight the bike" as the rear hits a log.
Where to put the front wheel
On a low log or step, aim to put the front tyre on top. Transmoto's log guide says: "You want to lift the front wheel up so it comes into contact with the top half of the log".
On bigger logs and steps the aim changes. You drive the front into the upper part of the face and use the fork's rebound to help lift the rear. Transmoto's guide aims "about two-thirds of the way up" on big logs, and Webb aims for "just right in front of the top of the log, to get that rebound effect". On slippery or slanted logs, Fahringer warns that "if you push down too hard on the log, the front wheel will slide down the face of it."
Either way, once the rear tyre reaches the obstacle, ease off the drive. ADB's uphill log guide: "Once you feel the rear hit the log you should cut the throttle so the wheel just crawls over." Driving hard with the rear tyre on a log face just spins it.
Front-end lift drills: from a bounce to a log
Start on flat, grippy ground with nothing to hit. Do each step until it's boring. Before you begin, make sure you can do the small lift in the clutch control lesson and the "rise, tap, settle" drill in the rear brake lesson.
1Bounce without drive
Roll at walking pace in first or second, clutch in. Dip and rise with your knees to bounce the fork, keeping your upper body still. Feel the moment the fork starts to come back up. That's where the clutch release will go. Ten bounces, then rest.
The coach in IRC Tire USA Moto's front-lift clinic makes the dip a forward move: drive your "knees forward to the radiators", with a touch of front brake to compress the fork. Then snap your knees back and lock them as the fork rebounds. That loads the rear tyre. Done right, the front leaves the ground with no throttle at all. To learn the rhythm, stand on the bike while a friend holds it up: knees forward, back, lock.
2Tiny timed lifts
Same speed, throttle a little above idle. Dip, and as the fork rebounds, let the clutch out a short, quick amount and push with your legs. The front should rise a few centimetres. Set it down with a light rear brake tap. Aim for twenty lifts of the same height. In the IRC Tire clinic the order is knees forward, snap back, and only then out with the clutch, throttle steady the whole time.
3Lift to a target height
Put a line of tape or a thin stick on the ground. Lift so the front wheel crosses it in the air and lands just beyond, then keep driving so the rear rolls over it. Then change the target to a hosepipe, a branch and a shallow ditch. You're learning to choose where the front lands, not just whether it lifts.
4Front wheel onto a low step
Find a kerb, a railway sleeper or a low log about 15 to 20 centimetres high, with flat ground before it. Approach at walking pace, standing. Lift so the front tyre lands on top. Then move your weight forward, feed in a little drive and let the rear climb up. Ease off as the rear reaches the edge.
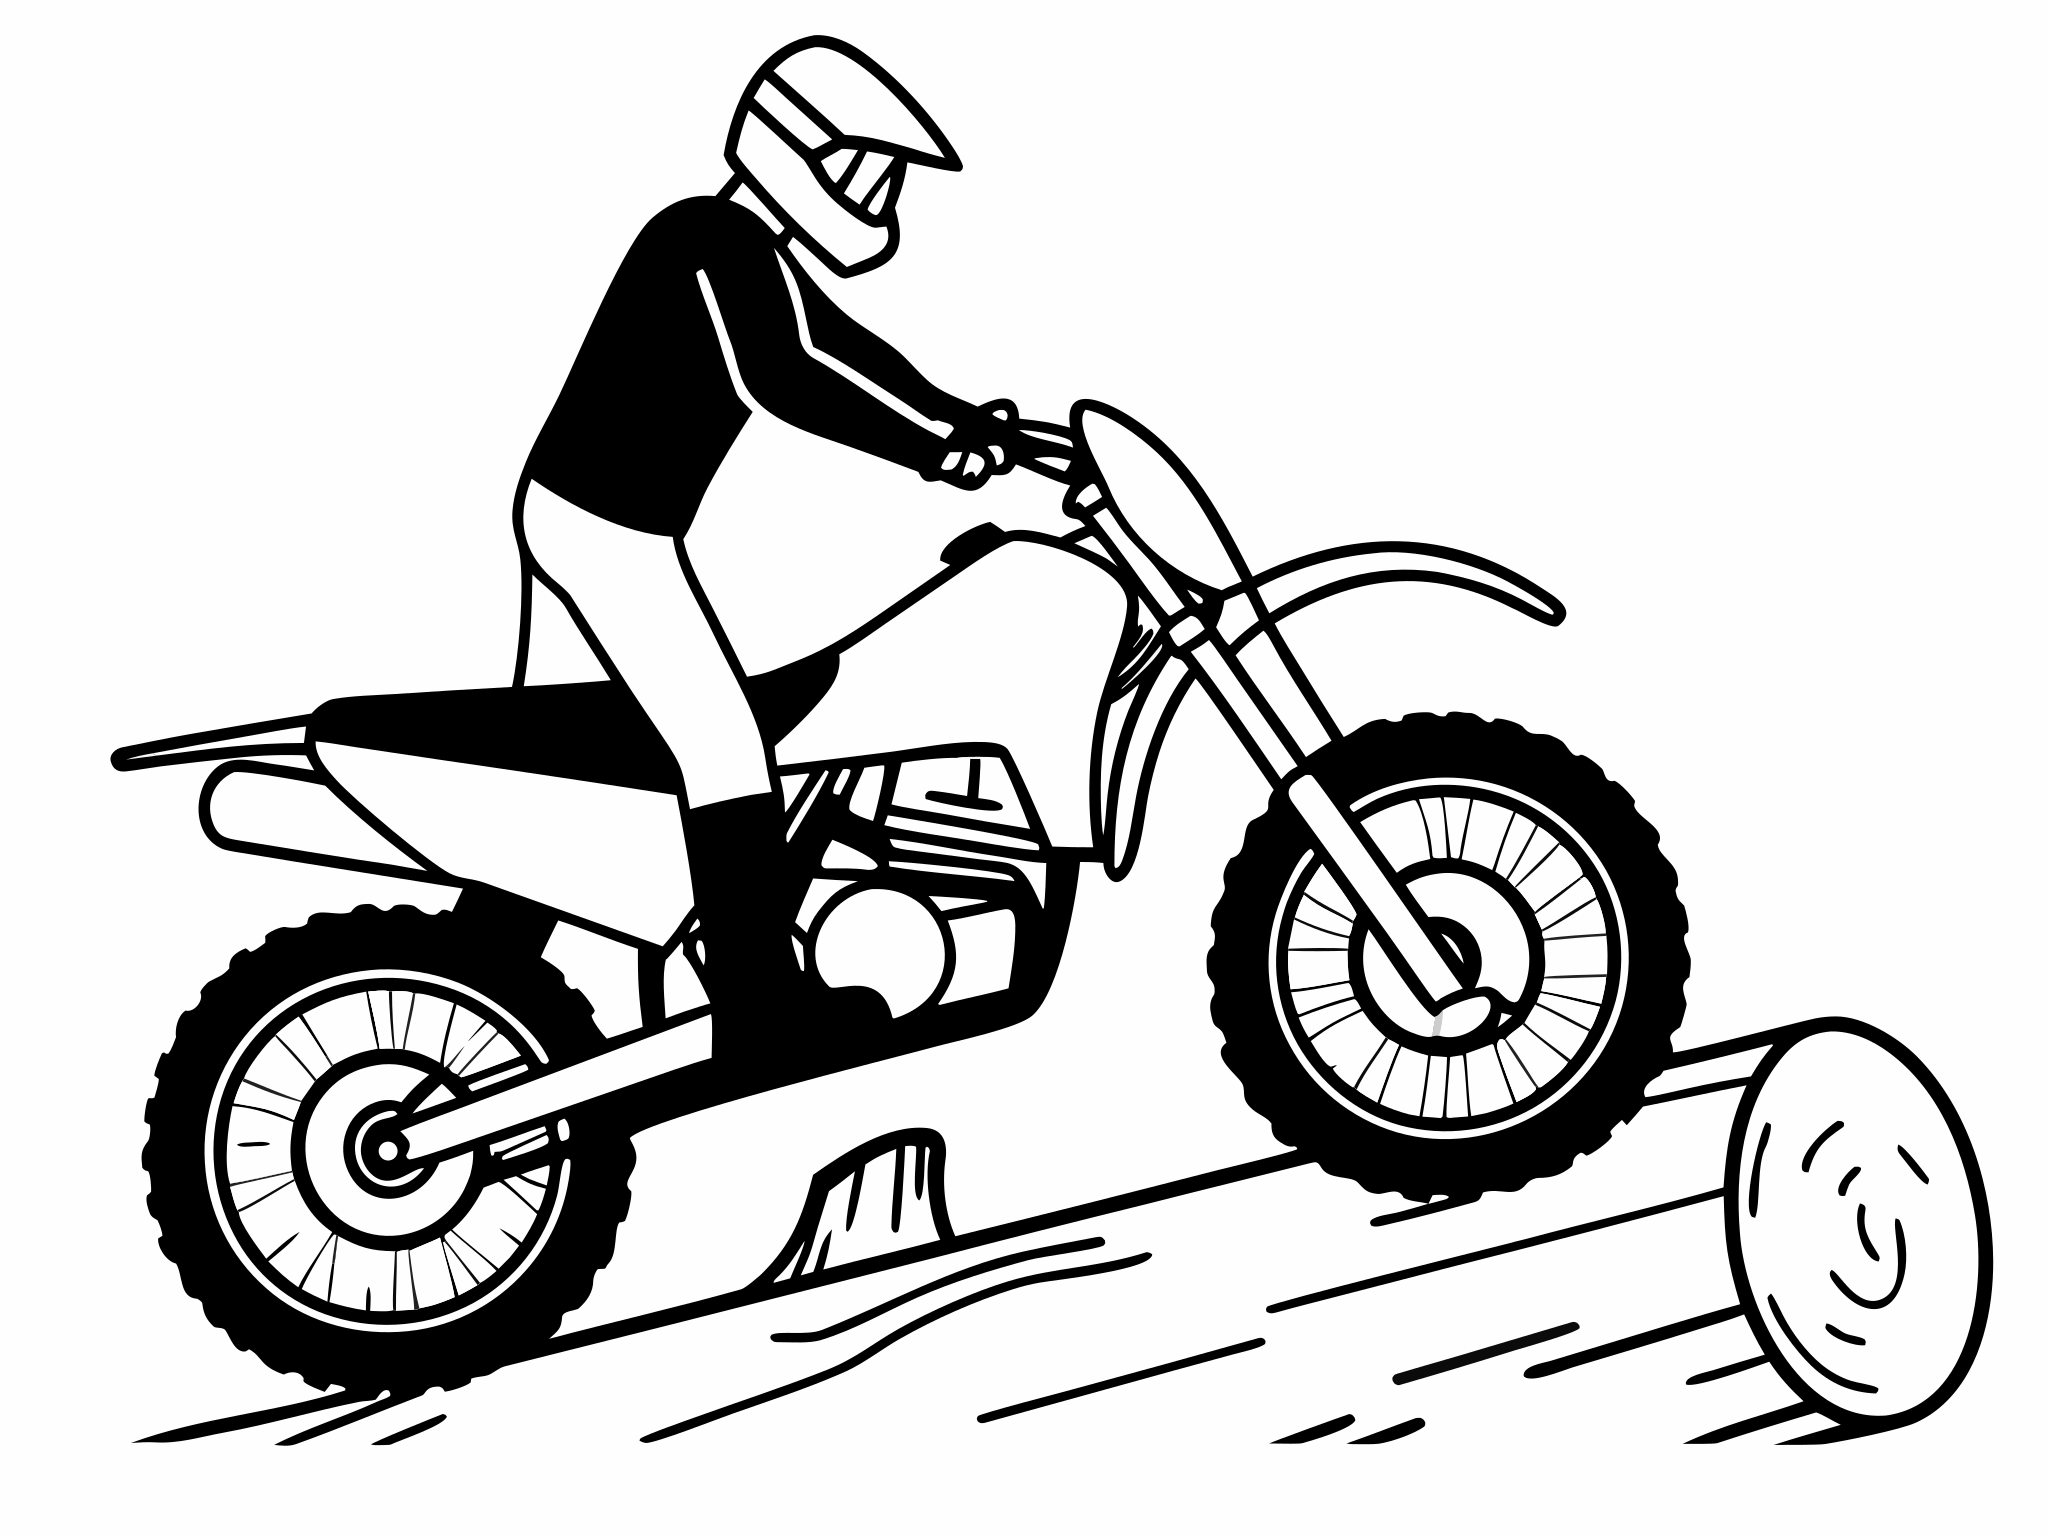
Front on top, weight forward, gentle drive. The rear climbs because it's light, not because it's spinning. 5Lift over a hole
Find or dig a shallow ditch or hole with firm edges. Approach at walking pace and lift just before it, so the front crosses without dropping in and the rear rolls through under steady drive. This one teaches timing: lift too early and the front lands in the hole.
6Lift on a climb
Find a gentle slope with a small root or ledge on it. Climb standing, in the gear you'd normally use for the slope. Lift the front onto or over the ledge, then keep crawling. ADB's uphill log guide says to "Stand up from the very start" and to cut the throttle as the rear hits. Uphill lifts come up more easily, so use less drive than on the flat.
Safety: rear brake cover and clutch heat
Always cover the rear brake. Every lift, every time. Your foot sits over the pedal before the front leaves the ground. If the front comes up further than you meant, one tap brings it down. This is the habit that stops a small lift turning into a loop-out.
Give the clutch time to cool. Each lift is a hard, short slip of the clutch, and a practice session is dozens of them. KTM's owner's manual for its 250 and 300 two-strokes warns that frequent, long clutch slipping heats the gear oil, engine and cooling system. Rest every ten minutes, and if the bite point moves or you smell the clutch, stop.
Build height slowly. Add height only when the smaller version is consistent. Practise on flat ground with no one near your line, and in full protective gear.
Common front-end lift mistakes and how to fix them
The front won't lift at all.
Fix: The drive is arriving while the fork is still compressing. Dip first, then release the clutch as the fork comes back up. A few more revs help, but timing is usually the problem.
The front shoots up much higher than you wanted.
Fix: Too many revs or too long a clutch release. Use a shorter, quicker release and tap the rear brake as soon as it's high enough.
You haul on the bars and your arms are tired.
Fix: Your arms are doing the legs' job. Keep your upper body still in the dip and push with your legs as the clutch bites.
The front lands on the log but the rear spins against it.
Fix: Too much drive as the rear arrives, or your weight is too far back. Move forward over the bars and ease off the throttle as the rear touches the log.
The front wheel slides off a slippery log.
Fix: You're driving the front down into it too hard. Aim for the top and carry your momentum forward rather than down.
You lift too early and the front lands before the obstacle.
Fix: Look at the top of the obstacle, not the ground in front of it, and lift later. Practise with a line on the ground until you can choose where the front lands.
You let the clutch out while your knees are still coming back.
Fix: That's too early, and the bike comes out from under you. Come all the way back with your knees, keep your head down, then release the clutch.
You drive your knees forward fast but drift back slowly.
Fix: The move back is where the lift comes from, so it has to be quick. Snap back and lock your knees.
A 30-minute front-end lift session
Flat, grippy ground, plus a low kerb or log. Rest two minutes every ten.
| Time | Drill | What to focus on |
|---|---|---|
| 0–5 min | Bounce without drive | Knees dip, head still, feel the rebound. |
| 5–12 min | Tiny timed lifts | Same height every time. Rear brake to set down. |
| 12–18 min | Lift over a line, then a branch | Choose where the front lands. |
| 18–26 min | Front onto a low step, rear follows | Weight forward, ease off as the rear touches. |
| 26–30 min | Lift over a shallow hole | Lift late, keep driving. |
Swipe the table sideways to see every column.
You're ready to move on when…
- You can lift the front a few centimetres twenty times in a row at the same height.
- Your right foot is over the rear brake before every lift without you thinking about it.
- You can land the front wheel just beyond a line on the ground, on purpose.
- You can put the front on a low step or log at walking pace and ride the rear up after it without spinning.
- Your arms aren't tired after a session. The legs and suspension are doing the work.
Front-end lift questions
Should I lift the front with the clutch or the throttle?
At walking pace, the clutch: it gives a sharper, more precise burst of drive. At more speed, a roll of the throttle is often enough. Cody Webb described riding an EnduroCross log section with no clutch at all — just a "burp, burp, burp" of throttle over each log. That's the fast version of the same idea.
Which gear should I use?
First or second for most lifts. Second is smoother and gives more control on flat ground. On an uphill log, ADB selects second and stands from the start. Choose the gear before the obstacle, as in the gear selection lesson.
What's a double-blip?
Two bursts of drive: one to lift the front onto the obstacle, and a second, as the front hits and the fork compresses, to drive the rear up. ADB describes it as giving "the engine a burst to get the front wheel up, then again to give you enough momentum to get your rear wheel up". It's the next step after this lesson.
How is this different from a wheelie?
A lift is short and placed: up, onto the obstacle, down. A wheelie holds the front up over a distance. The timing is the same, which is why lifts come first.
All lessons in Riding Fundamentals
Related lessons and guides
- Clutch controlThe friction zone behind every lift.
- Rear brakeThe height control and the safety net.
- Logs and rocksDouble-blips and full log crossings.
- Controlled wheeliesHolding the front up over a distance.
- Clutch featheringThe crawl you lift out of and back into.
- What is hard enduro?The terrain these lifts are for.