Lesson 1 of 2 in Advanced Skills
Controlled Wheelies
A controlled wheelie is a front wheel you can lift, hold at a chosen height and put down exactly when you want. In hard enduro that means carrying the front over holes, roots, water and log faces while the rear tyre keeps driving. Learn it seated, in first gear, on flat grippy ground, with your right foot always over the rear brake. The brake is the control that brings the front down, so it is also your safety net against looping out.
Updated October 2026. Sources are listed below. How we work
On this page
- Why wheelies matter in hard enduro
- Power wheelie or clutch wheelie?
- How a wheelie works: preload, drive and the balance point
- Body position, hands and feet
- Set up the space and the bike
- Wheelie drills: from a small lift to a held wheelie
- Looping out: how to stop it, and what to do when it goes too far
- Common wheelie mistakes and how to fix them
- A 30-minute wheelie session
- You're ready to move on when…
- Wheelie questions
Why wheelies matter in hard enduro
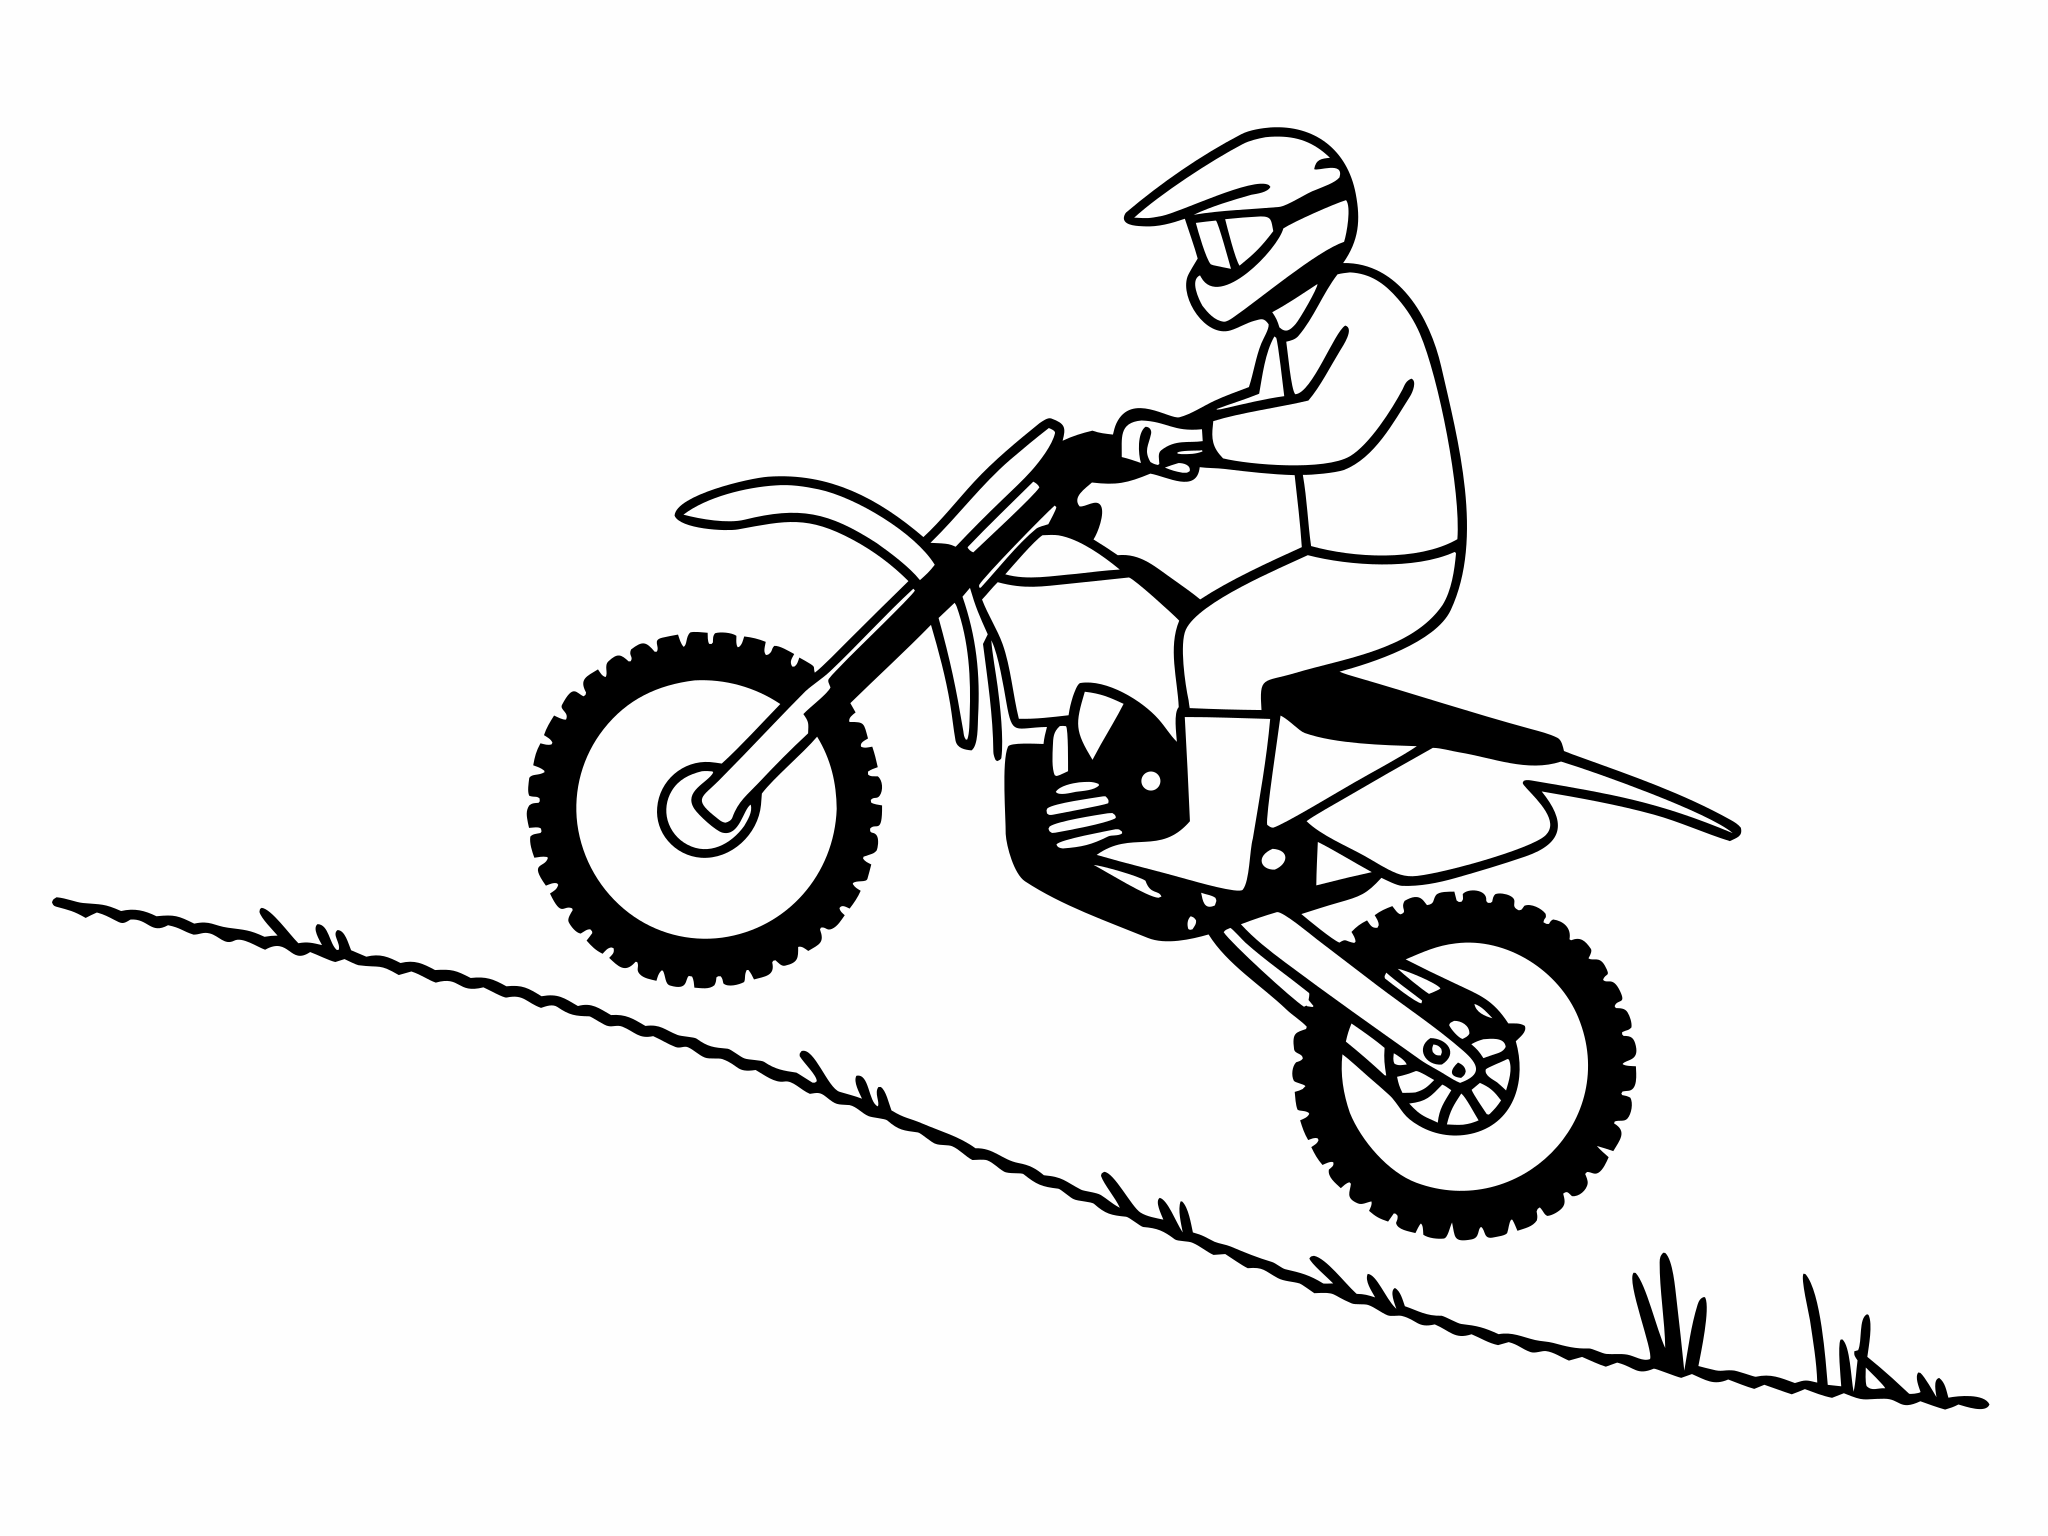
A wheelie in hard enduro is rarely a show. It is a way to stop the front wheel doing something stupid. The front tyre is the one that steers and the one that stops dead when it drops into a hole or hits a square edge. Take it off the ground for a moment and the obstacle only has the rear tyre to deal with, which is the tyre that is driving and has the suspension set up to take a hit.
Dirt Rider's Chris Denison puts the case simply: a good wheelie can help "from lofting the front end over a log, to setting the bike up to blitz through a whoop section". Chris Birch's Enduro21 tutorial is billed as three ways to wheelie a dirt bike, "how it helps in enduro and why it's not all about showing off!"
Where you'll use it:
- Holes and washouts. Lift the front just before the hole so the front wheel flies over and the rear rolls through under power.
- Roots and rock edges. A short lift stops the front deflecting sideways on a wet root or a sharp edge.
- Water and mud. A front wheel carried over a soft patch or a muddy hole doesn't dig in and stop the bike. The water crossings lesson covers what to do once you're in.
- Log faces and ledges. Every log crossing starts with the front wheel lifted onto or over the obstacle. The short, precise version of that is the front-end lift. The longer, held version is the wheelie.
The key word is controlled. A wheelie you can't hold at knee height and put down on command is no use on a trail.
Power wheelie or clutch wheelie?
There are two ways to lift the front. Learn the first, then use the second on the trail.
| Power wheelie | Clutch wheelie | |
|---|---|---|
| How it lifts | Preload the fork, then roll the throttle open as it rebounds | Throttle held slightly open; clutch pulled in briefly, then let out as the fork rebounds |
| Best for | Learning the feel of the lift and the balance point | Low speed, where the engine alone won't lift the front |
| Where it goes wrong | Too much throttle too fast | Too much revs before the release; the front arrives much faster |
| Hard enduro use | Lifting over holes and roots at trail speed | Logs, ledges and holes at walking pace |
Swipe the table sideways to see every column.
How a wheelie works: preload, drive and the balance point
Three things lift the front: your body, the suspension and the rear tyre's drive.
Preload. Push your weight down through the bars and pegs so the fork compresses. As it springs back, the front wants to rise. Timed well, that rebound does a lot of the work. Sam King, a professional trials and off-road rider, describes the power wheelie in RidersWest: "Lightly preload the front end by pushing your upper body weight through the forks", then open the throttle as the suspension returns.
Drive. A burst of drive to the rear tyre pushes the bike forward under you. The front wheel lifts because the bike rotates around the rear axle. The throttle gives a smooth burst. The clutch gives a sharp one.
The balance point. As the front rises, there's a point where the bike stops wanting to come down or go further. King describes it as "the near vertical-position of your bike, which allows you to maintain the front end high up in the air with absolute minimal body effort." For hard enduro you'll rarely ride at that height. What you need is to recognise when you're approaching it, because the next step past it is a loop-out.
Coming down. Two things bring the front down: less drive and the rear brake. Rolling off the throttle lowers it gently. A tap on the rear brake lowers it quickly. That's why the rear brake is your safety net: it works immediately, whatever the engine is doing.
Body position, hands and feet
Learn seated. Standing wheelies are for later.
- Seat position. Sit roughly in the middle of the seat, a little back from where you'd sit to corner. Sources differ here. Cycle World says "Sit back on the bike". Australasian Dirt Bike (ADB) asks for a neutral position and warns that "too far forward will make the wheelie awkward and too far back will see you loop it." Start neutral. Move back a little only if the front won't rise.
- Arms. Straight but not locked. You hold the bars, you don't pull on them. Pulling on the bars lifts the front but it also pulls your weight back, which is a quick way to loop out.
- Core. Keep your body in line with the bike. King's tip for bikes that drift to one side: "I always lock my core and use more stomach muscles to keep my body solid, rigid and in line with the bike".
- Hands. One finger over the clutch and one over the front brake, the rest round the grips. ADB's drill says: "Keep your index fingers over the front brake and clutch and your right foot hovering over the brake pedal."
- Throttle hand. Chris Birch uses what he calls a pre-grip. Take the throttle with your hand rolled forward, ready to open it, not gripped flat. Grip it flat and give it a handful, and your elbow and shoulder drop. That puts you off balance on the back wheel.
- Right foot. On the peg with the toe over the rear brake pedal. Not near it. Over it. King calls hovering the pedal while the front is up "a necessity in becoming confident with your wheelies."
- Steering. Small changes of direction come from your hips and legs, not the bars. Shift weight on the pegs and knees and the bike follows. Turning the bars with the front in the air does very little.
Set up the space and the bike
Wheelies go wrong in two directions: backwards over the rear, or sideways into whatever is next to you. Set up so neither is a big deal.
- Ground. Flat, with plenty of grip and no ruts. ADB's wheelie drill says to make sure the ground is "flat and has heaps of traction". Short grass on firm soil or dry, hard dirt is ideal. Keep off loose gravel and mud until the basics are automatic.
- Space. A long straight with nothing either side and a clear run-off. Nobody standing in front, behind or beside your line.
- Private land only. Learn on land where you have permission to ride, never on a road or a shared trail.
- Protection. Full gear, every attempt. Cycle World's advice: "wear all of the protective gear that you possibly can." That means a properly fitting helmet, boots, knee protection, gloves and body armour, including a chest protector.
- Bike. Check the rear brake works well and has free play before you start: this session depends on it. Set the pedal so you can reach it without lifting your foot from the peg. The rear brake lesson covers pedal height.
- Clutch heat. Clutch wheelies slip the clutch hard. KTM's owner's manual for its 250 and 300 two-strokes warns that frequent and long slipping heats the gear oil, engine and cooling system. Rest two minutes every ten and let things cool.
Wheelie drills: from a small lift to a held wheelie
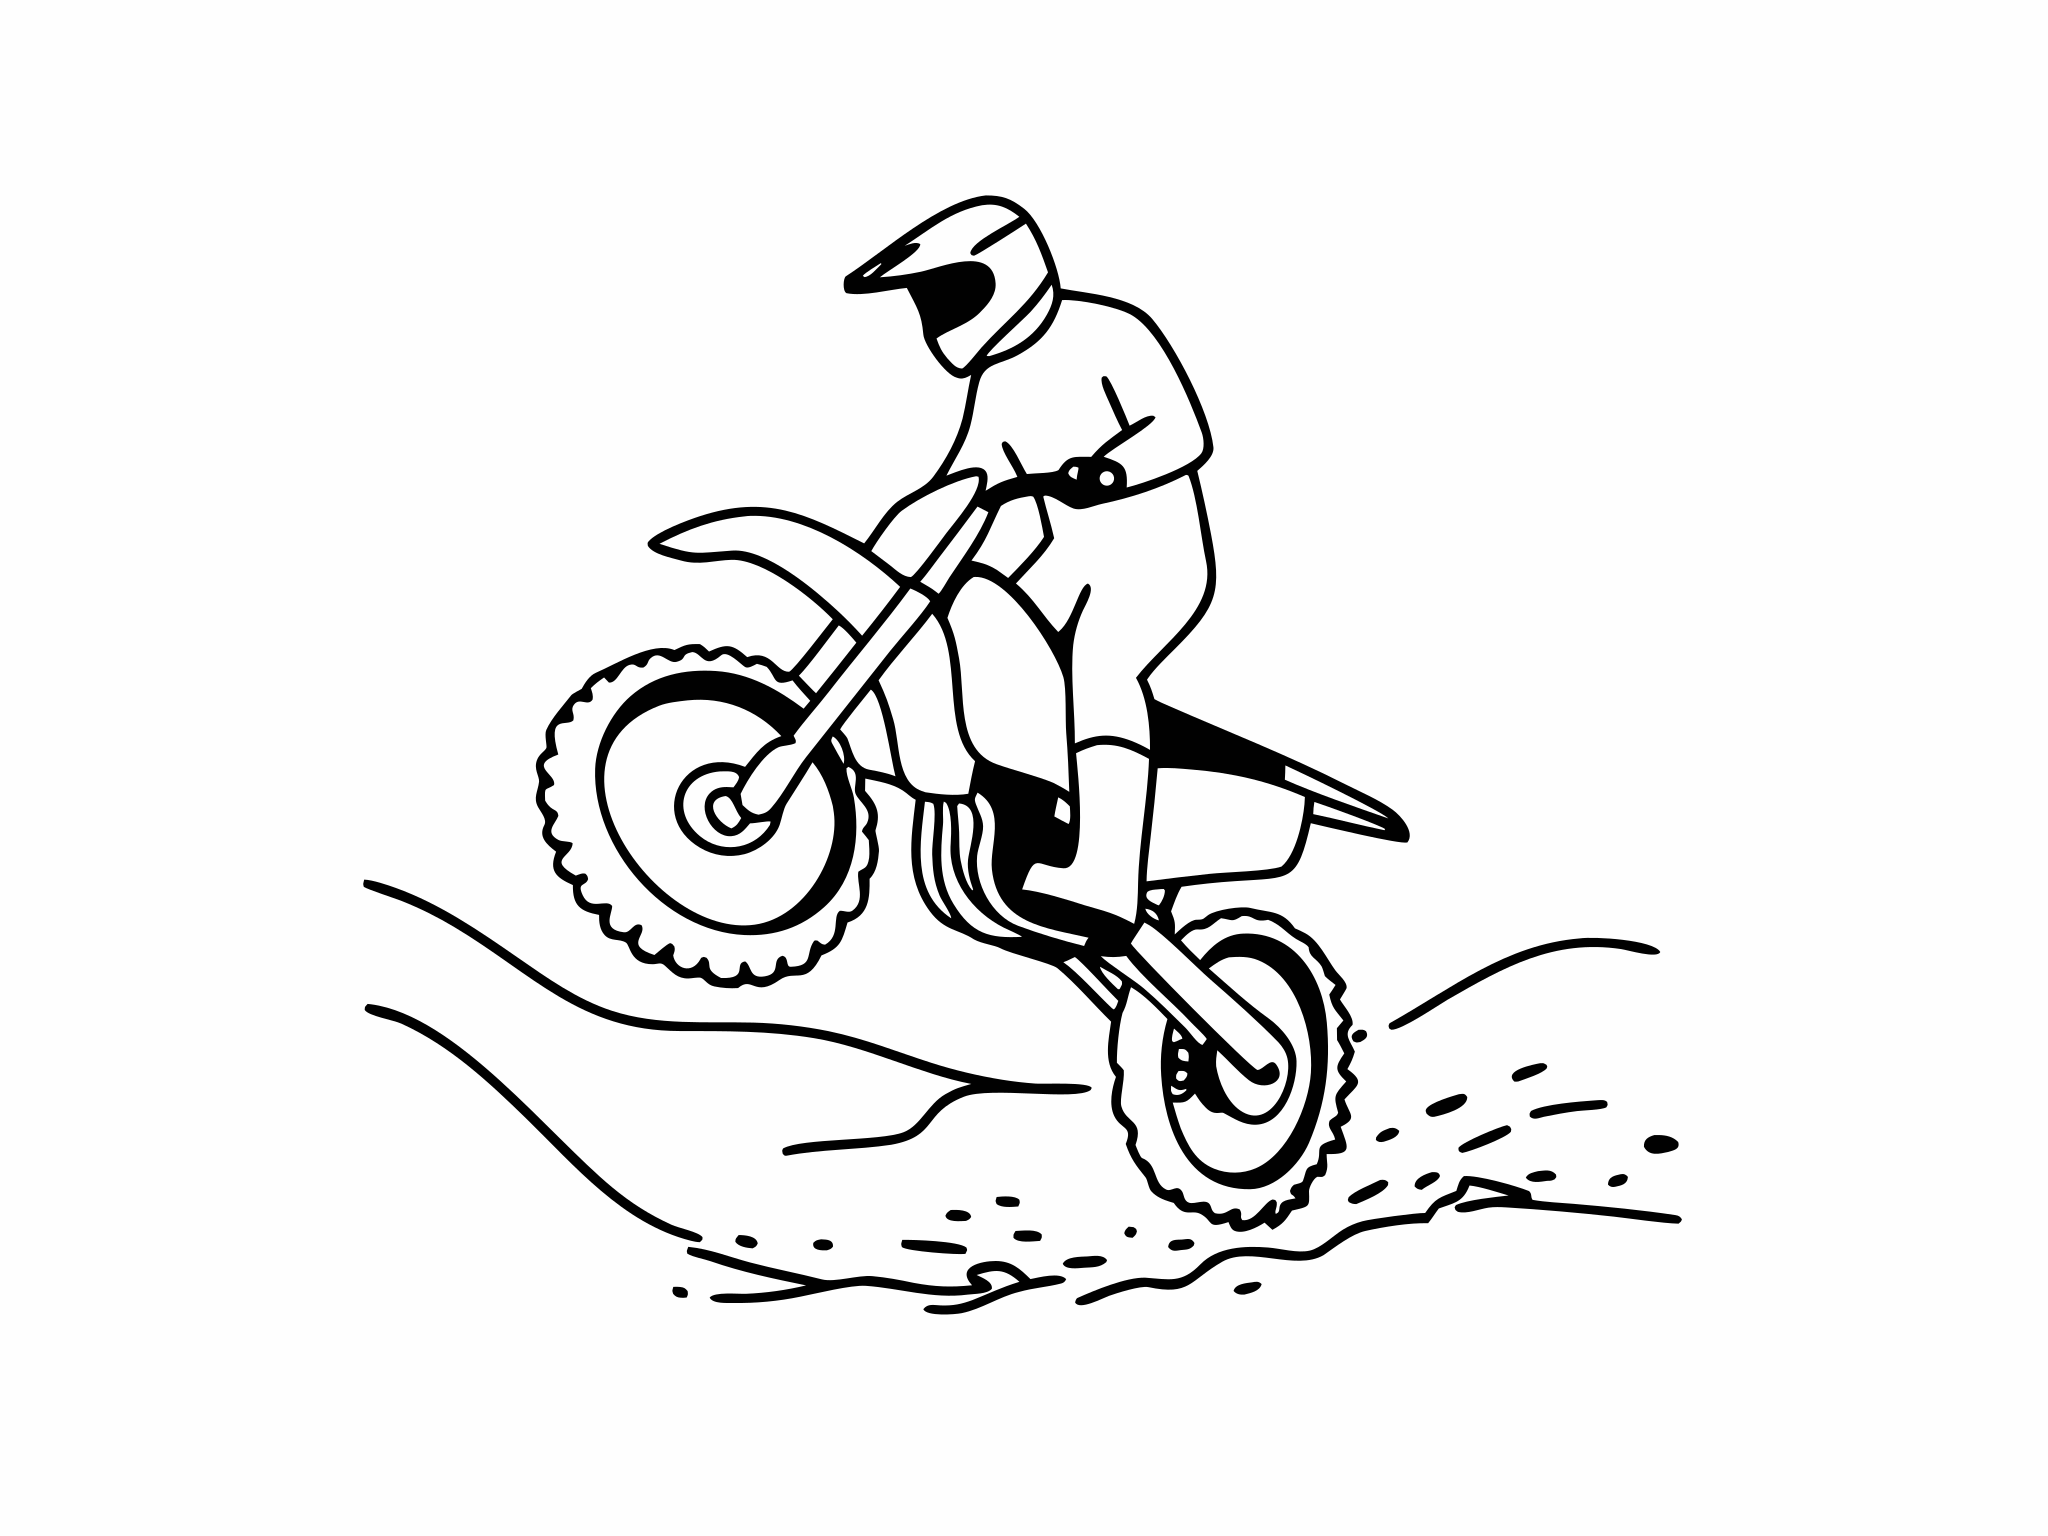
Do these in order. Each step should feel boring before you add height, speed or gear. Before step 1, make sure you can already do the small, clutch-lifted "rise, tap, settle" from the rear brake lesson.
1Rear brake reflex
First gear, walking pace, seated. Lift the front a few centimetres with a small blip, then tap the rear brake to set it down. Do twenty. The goal is that your right foot moves before you think about it. Everything else on this page depends on that reflex. Cross Training Enduro explains why it needs drilling: when the bike goes past the balance point, the natural instinct is to jump off, not to brake. Its fix is to keep the wheelies short at first, then lengthen them bit by bit before the brake tap.
2Power wheelie in first gear
Roll at a slow jog in first. Push down on the bars to compress the fork, and as it rebounds, roll the throttle open. Start with a small lift; over many attempts, work up to about knee height. Roll off and let it come down. Cycle World's version is "Sit back on the bike. Take off in first gear." King advises starting "slowly in first gear".
3Hold it for three seconds
Lift the front to knee height and try to keep it there. Too low: a touch more throttle. Rising: roll off slightly or tap the rear brake. Count three seconds, then set it down with the brake. This is the skill: small corrections, not one big lift.
4Clutch wheelie
Same speed and gear, throttle held slightly open. Preload the fork, then pull the clutch in briefly and let it out as the fork rebounds. King describes the timing as "briefly pull the clutch in and then out again as the suspension rebounds." Start with only a few extra revs: the clutch version comes up much faster than the power version. Chris Birch times the release for the very bottom of the compression, when tyre and suspension are pressed hardest. If you miss, he says a little early generally works better than a little late. Late power arrives as the tyre unloads, which means wheelspin. Cycle World's description is the same: let the clutch slip, rev the engine "and let the clutch out until the front wheel lofts."
5Wheelie to a line
Put a line of stones or tape on the ground. Ride towards it and lift the front so the front wheel passes over the line and the rear rolls across it under power. Then use a real object: a thick branch, a shallow ditch, a hose laid across the ground. This is the wheelie you'll actually use in hard enduro.
6Second gear and longer holds
Once first gear feels short and jerky, move to second. King's advice: "Once you are finding first gear to be too short, click it up into second and find that balance point." Second gear is smoother and holds a steadier speed. Only now start exploring higher front-wheel heights, still with your foot on the pedal.
Looping out: how to stop it, and what to do when it goes too far
A loop-out is the bike rotating past the balance point and coming over backwards. It happens when drive keeps coming after the front is already high, usually because the rider pulled on the bars or grabbed more throttle in surprise.
Stopping it: clutch in, rear brake. Cycle World: "If the bike's starting to loop out, stab the rear brake and the front end will drop back down." Braking the rear wheel pitches the bike forward, so the front drops. Pulling the clutch in cuts the drive.
Chris Birch makes the clutch the other half of the save: "Motorbikes will not loop out backwards with the clutch in." That's why he keeps one or two fingers resting on the lever the whole time. In a panic, your brain tells you to grip the bars tighter, not to let go and find the clutch. A finger already there just pulls. His save is clutch in, then the slightest tap of the rear brake. Quick doesn't mean hard. Cross Training Enduro puts it plainly: "It only needs the lightest pressure to bring that front down again."
Habits that prevent loop-outs:
- Foot over the pedal before the front leaves the ground. Every time.
- Low first, high later. Don't jump from knee height to near vertical in one attempt.
- Hold the bars, don't pull them. Let drive and preload lift the bike.
- One change at a time. More revs, a higher gear or a new surface: pick one per session.
If the bike does go past what the brake can save, let go of the bars, step off the back onto your feet and let the bike go. A bike can be repaired.
Common wheelie mistakes and how to fix them
The front shoots up and scares you.
Fix: Too much revs, or you dumped the clutch. Use fewer revs and a shorter clutch release. Go back to power wheelies until the height is predictable.
You can't get the front up at all.
Fix: Your preload and your drive are out of time. Push down, and add the drive at the bottom of the push, as the fork starts back up. If you miss, a touch early beats late. Move back slightly on the seat.
The bike drifts to one side.
Fix: Your body is off-centre. Sit square, look straight ahead at a point in the distance, and keep your core tight so your body stays in line with the bike.
Your foot is on the peg, not over the pedal.
Fix: Stop and set it before every attempt. Hovering over the brake is a habit, and this is the page where you build it.
The front slams down.
Fix: You're shutting the throttle completely. Roll off gradually, or use a light tap of the rear brake to set it down with control.
The clutch starts to slip on its own or smells hot.
Fix: You've cooked it. Stop, let it cool, and space your attempts. Use power wheelies for part of the session to rest the clutch.
A 30-minute wheelie session
Use a flat, grippy area with a long straight. Rest two minutes every ten.
| Time | Drill | What to focus on |
|---|---|---|
| 0–5 min | Small lifts with rear brake taps | The foot moves before you think. |
| 5–12 min | Power wheelies in first gear | Preload timing. Knee height, no higher. |
| 12–18 min | Three-second holds | Small throttle and brake corrections. |
| 18–25 min | Clutch wheelies | Few revs, short release, same height as the power wheelie. |
| 25–30 min | Wheelie over a line or a branch | Front over, rear driving across. |
Swipe the table sideways to see every column.
You're ready to move on when…
- Your right foot is over the rear brake before every lift, without thinking about it.
- You can lift the front to knee height ten times in a row with the same height each time.
- You can hold a low wheelie for three seconds and set it down with the rear brake.
- You can clutch-lift the front over a branch or ditch at walking pace and keep driving.
- When the front rises higher than you meant, your reaction is a brake tap, not a grab at the bars.
Wheelie questions
Which gear is best for learning to wheelie?
First, at low speed. Move to second once first feels short and jerky. Higher gears need more speed before the front will lift, which isn't what you want while learning.
Should I learn to wheelie sitting or standing?
Sitting. It's easier to find the balance point and keep your foot over the rear brake. Standing lifts come naturally later from the front-end lifts lesson, and short standing lifts are what you use over logs and holes.
Do I need to wheelie at the balance point for hard enduro?
No. Most trail wheelies are short and low: enough to carry the front over a hole or root. Learning the balance point teaches control, but a knee-high wheelie you can put down on command is the useful skill.
Why does the rear brake bring the front down?
In a wheelie the bike is rotating around the rear axle. Braking the rear wheel stops that rotation and pitches the bike forward, so the front drops. It works immediately, whatever the throttle is doing.
All lessons in Advanced Skills
Related lessons and guides
- StoppiesThe opposite end: lifting the rear with the front brake.
- Controlled front-end liftsThe short, precise lift behind every log crossing.
- Rear brakeThe control that brings the front down.
- Logs and rocksWhere a lifted front wheel meets real obstacles.
- Water crossingsCarrying the front over soft and wet ground.
- HelmetsThe first piece of kit for any wheelie session.