Why braking matters
Most riders practise throttle and clutch. Fewer practise braking. Yet braking decides how fast you can safely arrive at the next corner, rock or drop. Good braking is smooth, early and matched to the grip under your tyres.
This guide is the overview. The lessons go deeper, with drills and sessions:
1. Set up the controls to brake standing
Set everything while standing on the pegs in your riding position, not sitting in the garage.
- Front brake lever. Angle it so your wrist is straight. Set the reach so one or two fingers rest on it without stretching.
- Rear brake pedal. Your right boot should reach it with a small movement of the toe. Too low and you miss it. Too high and you ride with the brake on.
- Cover the rear brake whenever the front wheel could lift or the bike could roll back.
The bike setup lesson covers lever angle, reach and free travel.
2. Front and rear: match the balance to the ground
Braking moves your weight forward and loads the front tyre. How much of that the front can use depends on grip and slope, so there is no fixed split between the brakes.
- Hardpack. Racer Chris Hollis told Transmoto that on hardpack "traction is limited". Even so, he brakes "mainly … through the front wheel", estimating "nearly 90 percent front and 10 percent rear".
- Steep drops and loose descents. The front can take less before it slides, so the rear does more. For big drop-offs, Dirt Bike Magazine's feature with eight-time National Enduro champion Michael Lafferty says to "keep the braking to a 30% front, 70% rear force".
- The engine. Engine braking slows you too. On hardpack, Hollis will "shift down a gear earlier than I normally would and let the engine aid me with braking."
Whatever the split, squeeze the front progressively. Never grab it.
3. Practise on flat ground first
Start at walking pace on flat, grippy ground. Squeeze the front in two stages: a light touch to load the tyre, then the real squeeze. Then practise short stops with both brakes and the clutch out, so the engine brakes too. The front brake and rear brake lessons set out the drills step by step.
4. Brake before the corner
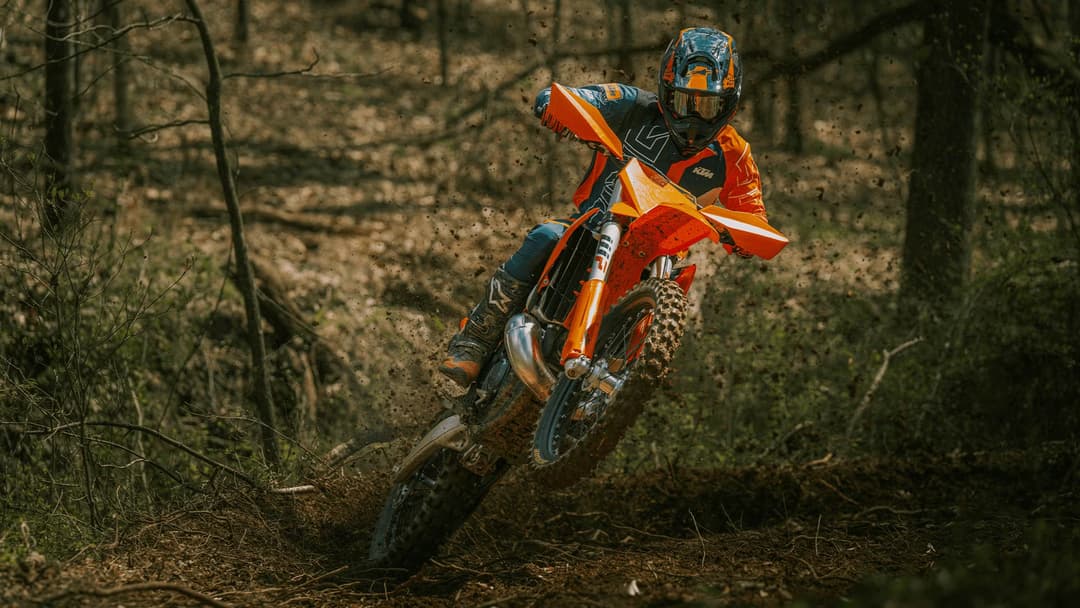
Do your hard braking upright and in a straight line. Hollis's rule on hardpack: "it is essential to get it done in a straight line and early." Then release the front as you turn. A front tyre that is braking hard while leaned over can wash out.
In tight, slow turns a light drag on the rear brake stops the bike surging and holds it on a tight line.
5. Descents: both brakes, wheels rolling
- Set your speed at the top. Dirt Bike Magazine's drop-off feature with Michael Lafferty: "It's critical to moderate your speed at the top of the obstacle-Not Later!" David Knight makes the same point: "Make sure you're 100 percent in control at the top and keep it slow."
- Use both brakes. On steep, loose ground, more rear than front. On grippy ground the front can do more.
- Don't lock the rear. Knight told Transmoto to keep the rear wheel behind the front, warning that "if you lock the rear brake you'll find that the back end will soon be ahead of you." If it slides sideways, "take your foot off the brake then gently reapply."
- Pulse when it keeps locking. Knight's method is to pulse the brakes, "applying them for no more than a second or two at a time".
- Stay in gear, finger on the clutch. Engine braking helps. If the engine stalls, the rear locks.
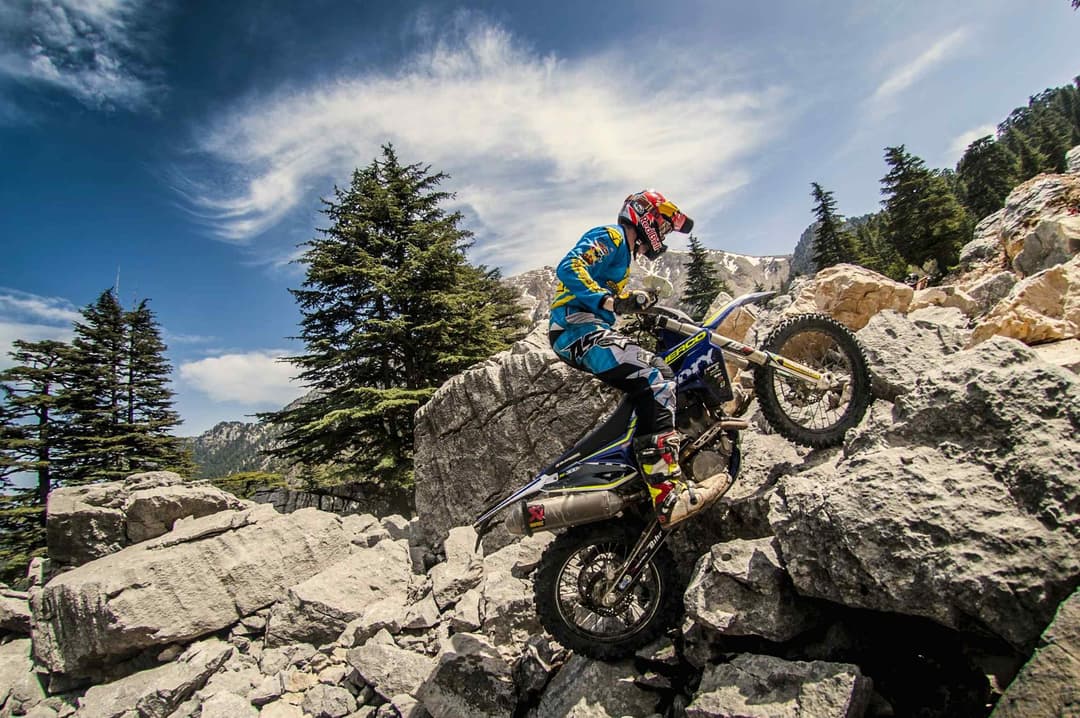
- Let go over rocks. A braked wheel stops against a rock. A rolling wheel climbs over it.
The hill climbs and descents lesson has a braking table by descent type.
6. Body position: let your legs take the load
Braking throws your weight forward. If your arms take it, they lock and the steering gets heavy.
- Stand, and push your hips back as you brake. Brake harder, move further back.
- Grip the bike with your knees so you don't slide forward.
- Keep your elbows bent and your eyes on where you want to stop or turn.
On long descents, Knight's advice is to "take your body weight with your lower body … to stop all your body weight pushing onto your wrists." Bracing on your arms all day is hard on your forearms. The arm pump guide explains why. The body positioning lesson covers the standing stance.
7. Find your braking points
Pick a corner on a loop you know. Mark where you start braking. Over a few runs, move the marker a little closer each time, keeping the braking smooth and finished before you turn. Stop moving it the moment you have to brake in the turn.